One feature I like to incorporate in bathroom showers I design for a remodel is a special shampoo niche.
I love that they are useful and can be an actual feature that brings interest and design to a space with flat surfaces.
I’m so over that one skinny little horizontal “banding” at eye level — I never was much of a fan, unless it was done in stripes, wide or repeated bands, or bands ran vertically. It always seemed sort of skimpy and purposeless to me: to do one little horizontal band of deco tile at eye level.
I’ve always preferred entire walls of specialty tile, or the contrasting features created with niches and benches. Even a small niche is a nice break from the surface, and it has purpose.
I’m sharing a few niches I’ve designed with you today, along with a few tips, to help get your creativity going for your next bathroom remodel.
Enjoy! :-)
Shampoo niche #1
In this bathroom remodel below, the shower was very open and visible from the entry. I had to make that niche look good and knew it would inspire my clients to keep simple and nice looking products on the shelves. The tall space within the niche made room for the 9” floor tile to be repeated in that space.
I think it provides an interesting yet sutble contrast on the tiled wall. The verticality of the niche relates to the vertical blue cabinet on the same wall.
SEE THE FULL REMODEL: Before and After: A Boutique Hotel Inspired Master Bath Remodel
Carrara marble tile makes for a luxurious shower experience. The handy shampoo niche does double duty as a subtle design feature and useful shelving. Designer: Carla Aston | Photographer: Tori Aston
Shampoo Niche #2
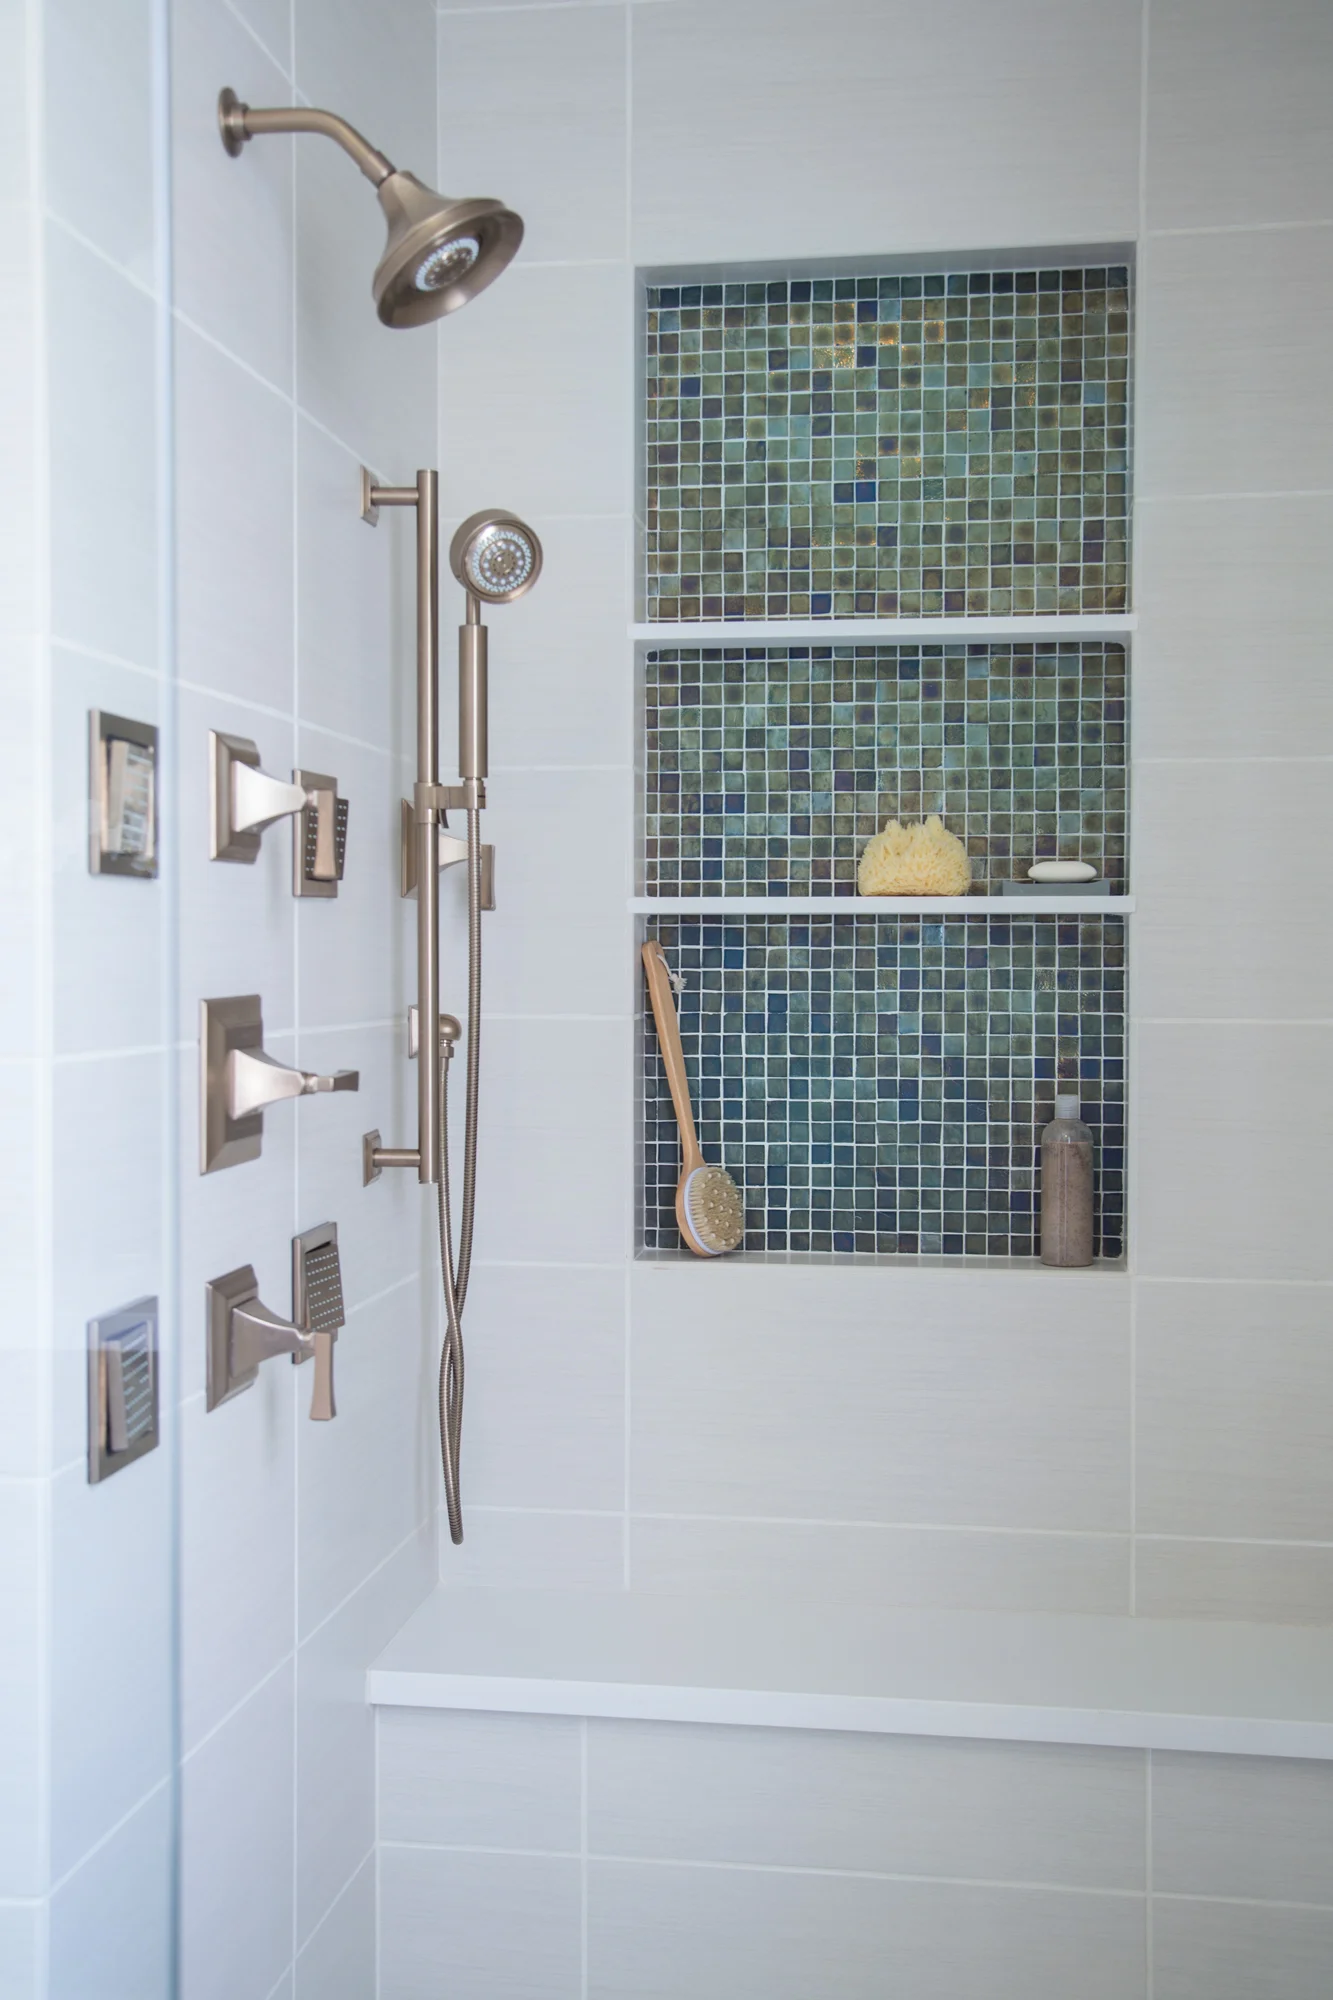
This shower was tucked behind a corner, but the very plain 12” x 24” wall tile dictated the need for some pizazz!
A niche with iridescent glass tile on the back wall worked to give this shower some interest and detail. It adds a little color too, which is nice.
SEE THE FULL REMODEL: Before & After: A Master Bathroom Remodel Surprises Everyone With Unexpected Results!
Glass tile brings color and interest to the back wall of a plain tile shower. Designer: Carla Aston | Photographer: Tori Aston
Shampoo Niche #3
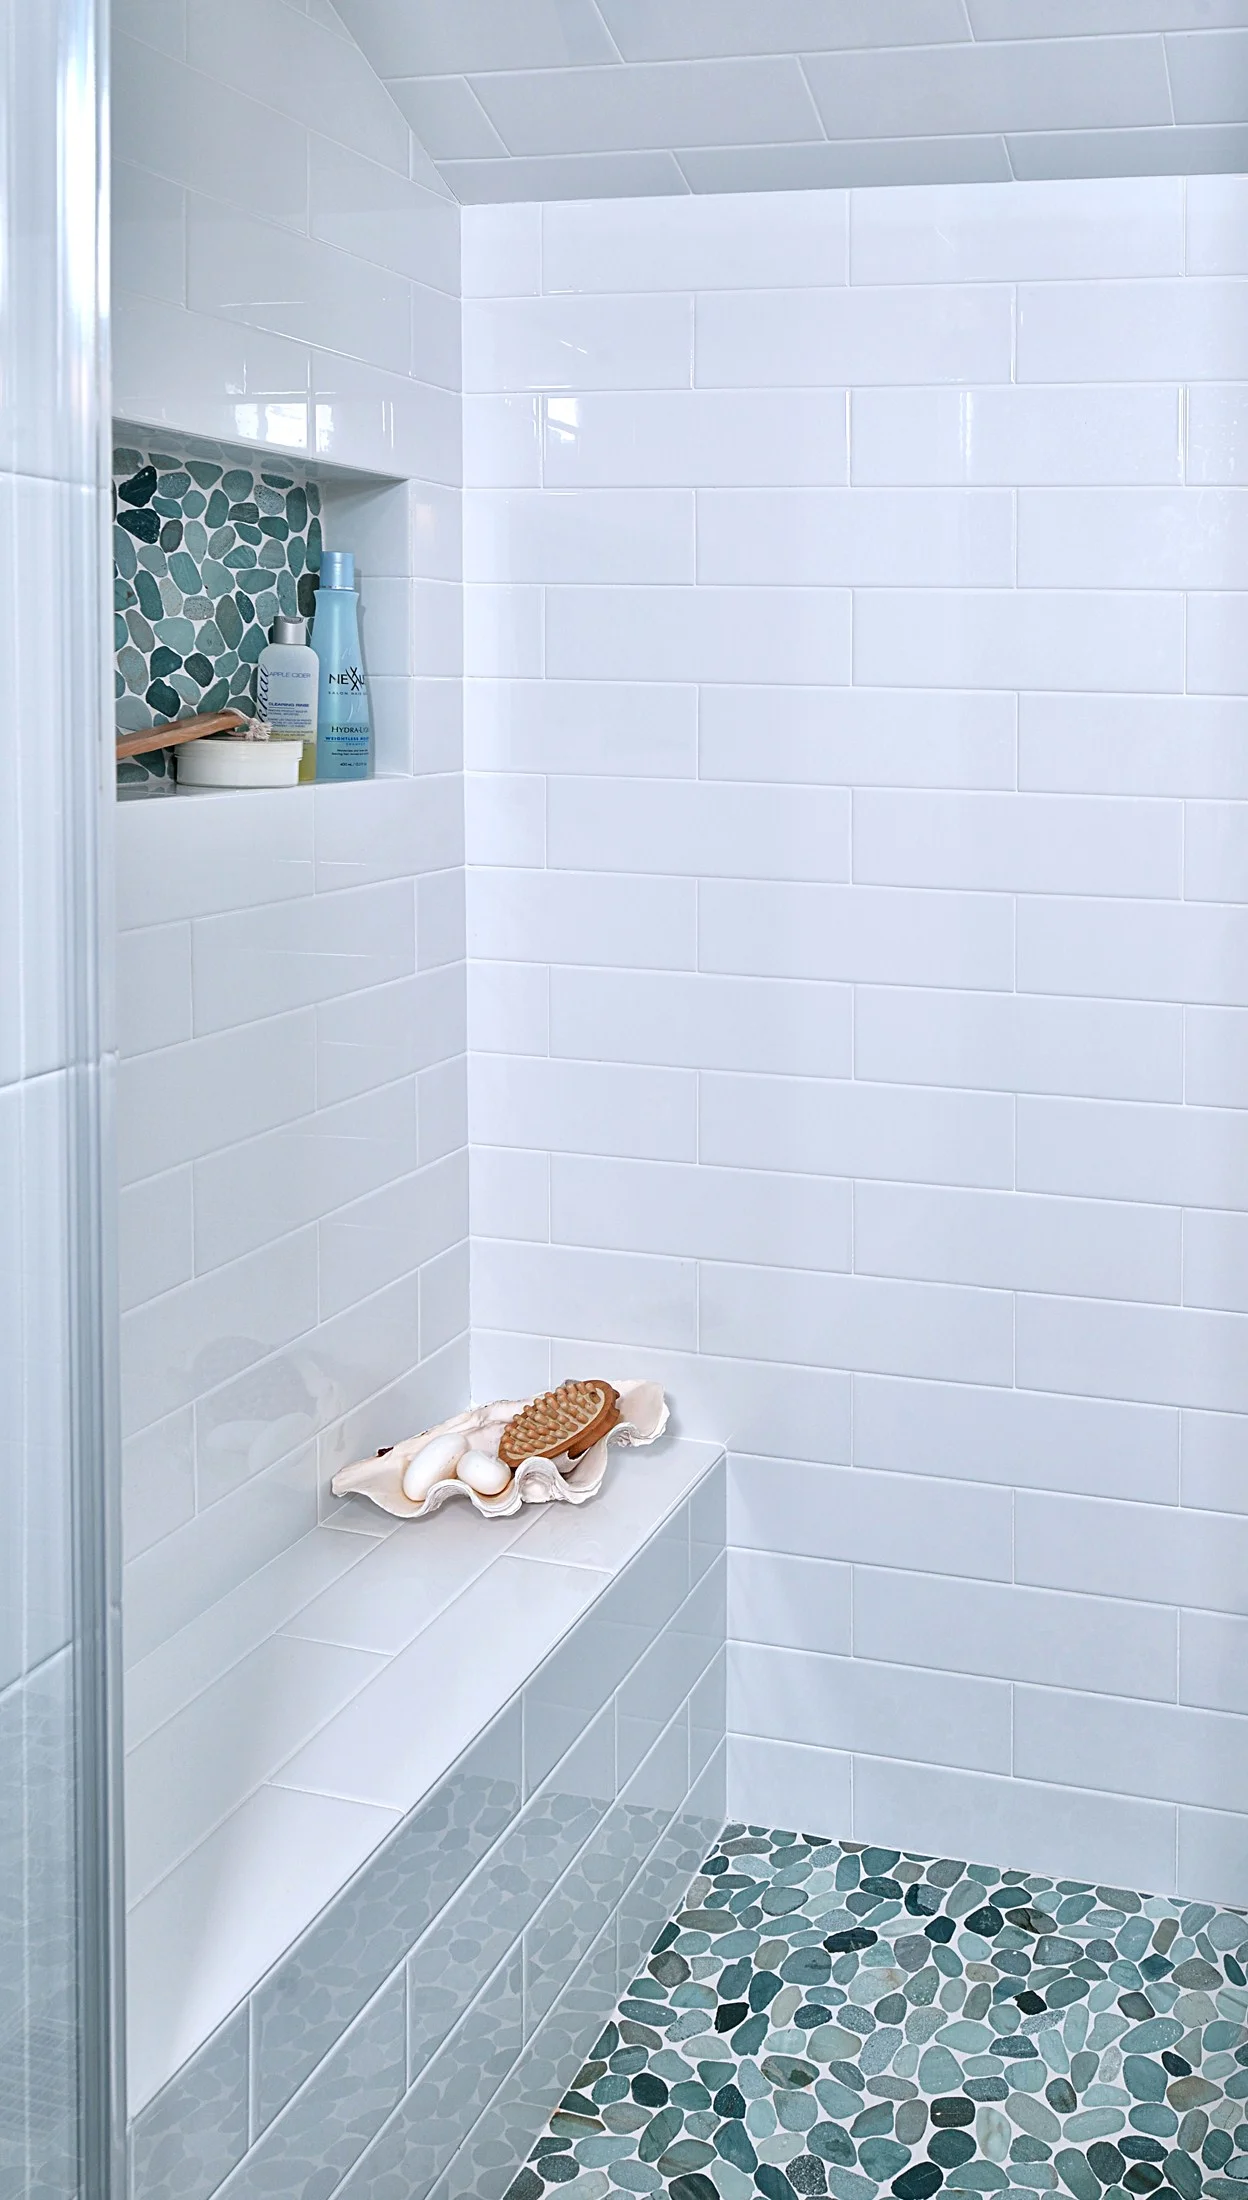
I often repeat the shower floor material on the back wall of the niche, like I did in this shower stall. The pebbles add a spa-like feel and some much needed color.
It all just feels nicely coordinated and purposefully designed, when you consider details like the shampoo niche in a bathroom remodel.
SEE THE FULL REMODEL: Before & After: This Upstairs Bathroom Gets A Fresh Update
Turquoise sliced pebbles add a punch of color on the floor and on the back wall of the shampoo niche in this bathroom. Designer: Carla Aston| Photographer: Miro Dvorscak
Shampoo Niche #4
This bathroom belonged to a homeowner who loved vintage style. They wanted a footed tub and the exposed shower plumbing, as seen below.
A classic black and white vintage look was the way to go. Black Nero marble, used for the shelves in the niche, adds a touch of real luxury.
SEE THE FULL REMODEL: Before & After: This Vintage-Inspired Master Bathroom Is An Instant-Classic!
This vintage bathroom deserved a special shampoo niche to highlight the black and white tile. Designer: Carla Aston | Photographer: Miro Dvorscak
Shampoo Niche #5
While I love a big niche with all the bells and whistles, sometimes my clients prefer to hide their bottles and soaps behind a wall.
We can carve out a niche in many places in a shower, but a little half wall that you don’t see the back of when you first walk into a bathroom is always a good spot, if a homeowner prefers theirs hidden.
When you do this, you don’t need to spend a lot of money on specialty tiles or quartz shelves, just get it in there where you want it. ;-)
SEE THE FULL REMODEL: BEFORE AND AFTER - A Master Bath And Bedroom Remodel That Feels “Designed”
Many homeowners prefer their showering essentials tucked behind a corner and not out on display in the bathroom. A half wall is a great place to install a shampoo niche where you don’t have to worry about the color of your shampoo bottle! Carla Aston, Designer | Colleen Scott, Photographer
Shampoo Niche #6
This bathroom was designed for aging-in-place and safety for this homeowner’s elderly mother was high priority.
The home had a very rustic, natural vibe and the homeowner is an avid gardener. The pebbles made for good design choice and the large niche, at this lower level is perfect for a seated shower.
Wide shampoo niche with pebble tile and grab bars in an accessible shower | Carla Aston, Designer | Photographer: Tori Aston
Shampoo Niche #7
This project was an addition with this new bathroom, added upstairs for the boys of the house. That long niche will really come in handy!
I loved the penny tile used here in the shower on the floor and the niche, as I think the patterned floor tile would have been a little overkill. The color works nicely and it adds some nice texture to the room.
SEE THE FULL REMODEL: 3 Bathrooms With Fun Tile And Fabulous Details
SEE THE FULL REMODEL: A Dark Bathroom Gets A Makeover | Photographer: Miro Dvorscak
Shampoo Niche #8
I had been dying to use this fun, geometric tile for a long time and this upstairs boy’s bathroom was just the perfect spot.
However, the tile didn’t have any trim pieces and I’m not a big fan of Schluter metal strips in a residential tile job.
So, I used the quartz slab material that we used on the countertops to line the sides, top and bottom of the niche. It makes for easy maintenance and the water flows off of it nicely.
It also makes the need for extra trim pieces or metal strips unnecessary.
I just think it is a neat and tidy way of doing a niche these days.
SEE THE FULL REMODEL: 3 Bathrooms With Fun Tile And Fabulous Details
This fun geometric tile looks great surrounding the niche and on the back wall too. Quartz slab material line the sides making for a tidy look. Carla Aston, Designer | Colleen Scott, Photographer
Shampoo Niche #9
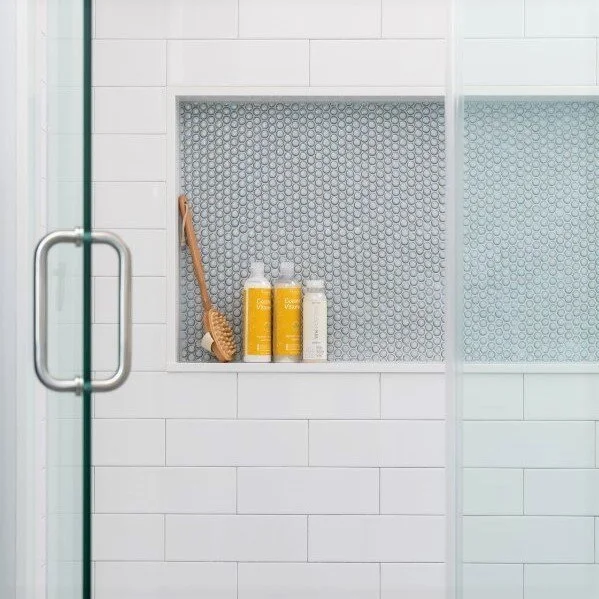
This niche below is one of my most popular photos on Pinterest. It has gone viral and stayed popular for years!
There wasn’t much room for a niche here, it had to fit between the shower head and the wall on the right that was an exterior wall. (It’s not a good idea to do a niche on an exterior wall unless you can build your wall out into the space somehow.)
I loved the tone on tone look in this bathroom, the pebbles added some natural texture and warmth.
SEE THE FULL REMODEL: Before & After: A Master Bathroom Finally Becomes The Masterpiece It’s Meant To Be!
The tone on tone look of this shower stall is continued in the niche with the back wall pebbles adding texture and a slight color variation. Designer: Carla Aston | Photographer: Tori Aston
Shampoo Niche #10
Here are two simple niches in two different homes. One is for a girl’s bathroom with the little marble flower mosaic tile on the back wall, the other a guest bath with a geometric marble mosaic. Both add interest and of course, storage for products!
The flower mosaic tile in this shampoo niche makes for a pretty texture in a girl’s bath. Designer: Carla Aston
A neutral guest bath gets a little textural detail with a geometric marble mosaic niche in the shower. Designer: Carla Aston, Photo: Colleen Scott
Shampoo Niche #11
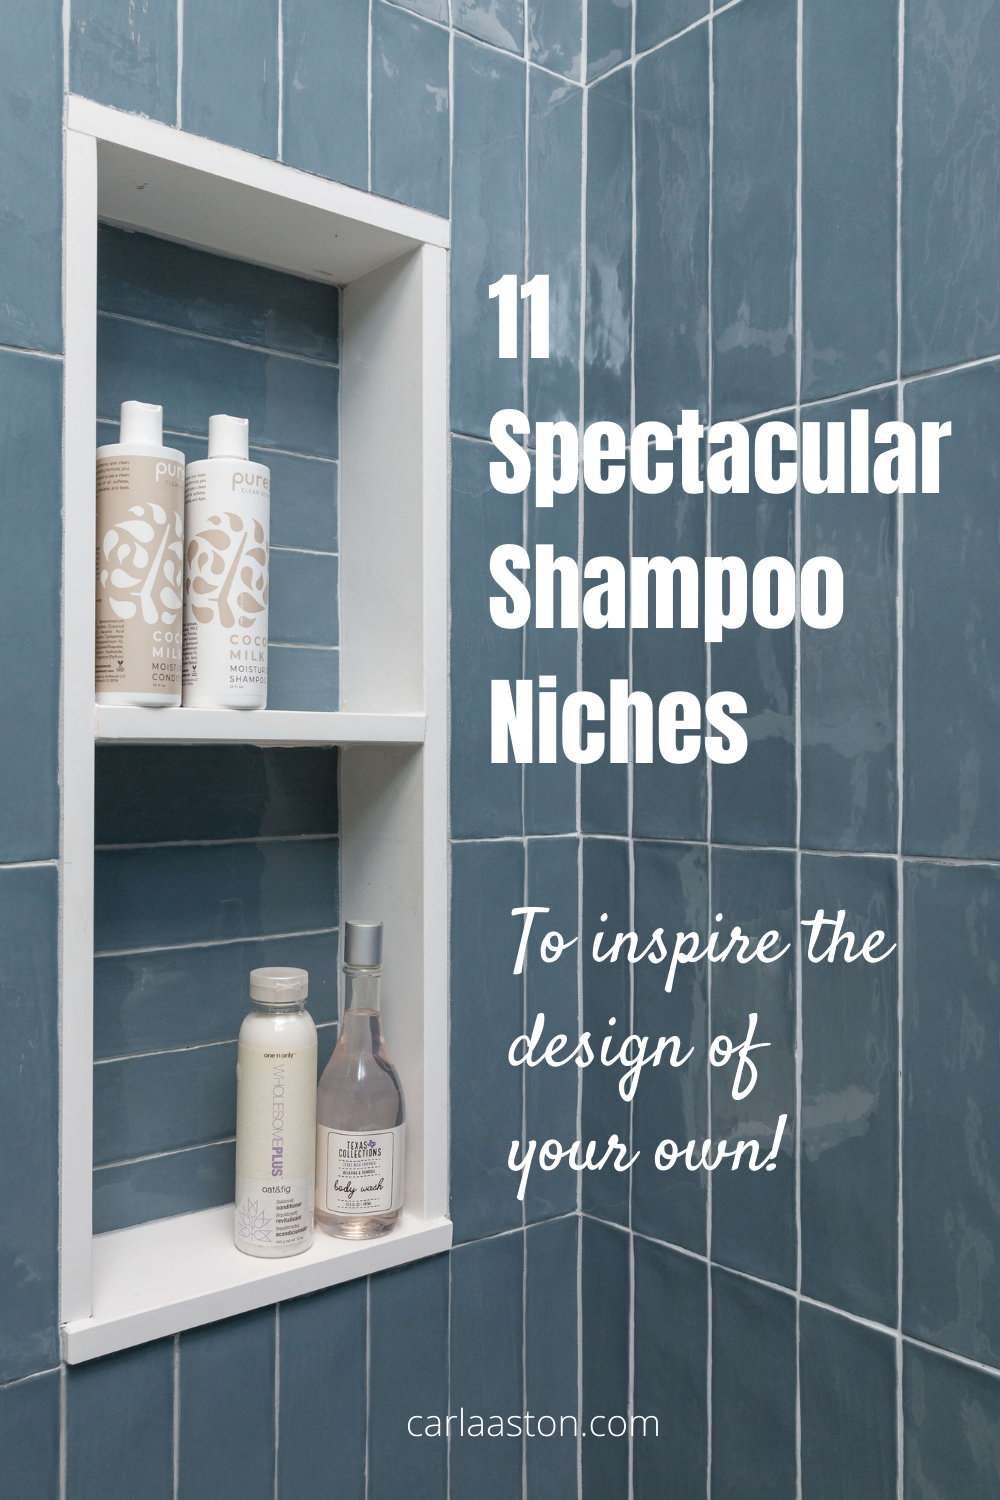
Here’s another cute one that was tucked around the corner of a shower stall. It had to fit into this narrow space, but turned out to be just the right size. Doing the sides in white quartz make it pop, visually, off the wall and laying in the tile horizontally was a thoughtful detail.
You’ll have to see its sister niche, over the tub, when you click through this link below. Similar, but a little bit different. :-)
SEE THE FULL REMODEL: A Fresh, Bright Blue And White Bathroom Remodel
This tall, narrow shampoo niche had to fit into this space, tucked around the corner in a shower stall. The quartz slab framing makes it visually stand out and easy to clean. Carla Aston, Designer | Colleen Scott, Photographer
Pin this image to Pinterest to refer back to later!
Need some info to guide you with your next design project? My outlet shop is full of digital downloads for purchase that can help you get the look and style you want for your home.
Here’s my handy Bathroom Design Guide. If you need some help planning your bathroom remodel, my project checklist can serve as your go-to source so you don’t leave anything out and can thoughtfully design the bathroom of your dreams!
Click Here >>>> Bathroom Design Guide

