
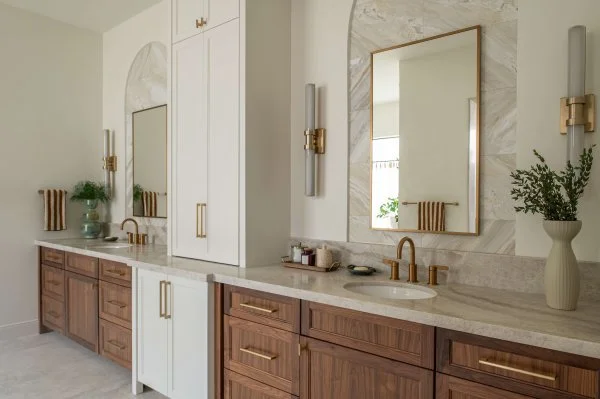
The primary suite of this whole house remodel has a lovely serene look that will have you ready to tackle your bedroom, bathroom and closet remodel!
(Or to call a designer, like me, who can design it all for you. :-)
Architectural planning, finish selection - hand selecting slabs and tiles, detailing, lighting selections w/placement, cabinetry design and layout, furnishings including window treatments, rugs and art, along with unique design solutions specifically for your project…..that’s what a designer does and that’s what was done for this project.
Let’s take a look at where we started….
Primary Bathroom
I’m going to start with the bathroom here, because this was where the design started for this space. One of the items I wanted to address was the huge wrap around counter and mirror which really dates this room. A big deck mounted tub was not desired here and the contrasting black color was a little too harsh for my client.
Although we didn’t make big drain location changes, we knew this would be a full gut reno. The house was available to start demo right away and I was designing major areas first to get them going with something. Kitchens and primary bathrooms are usually addressed early on as they tend to have bigger budgets and so many decisions need to be made.
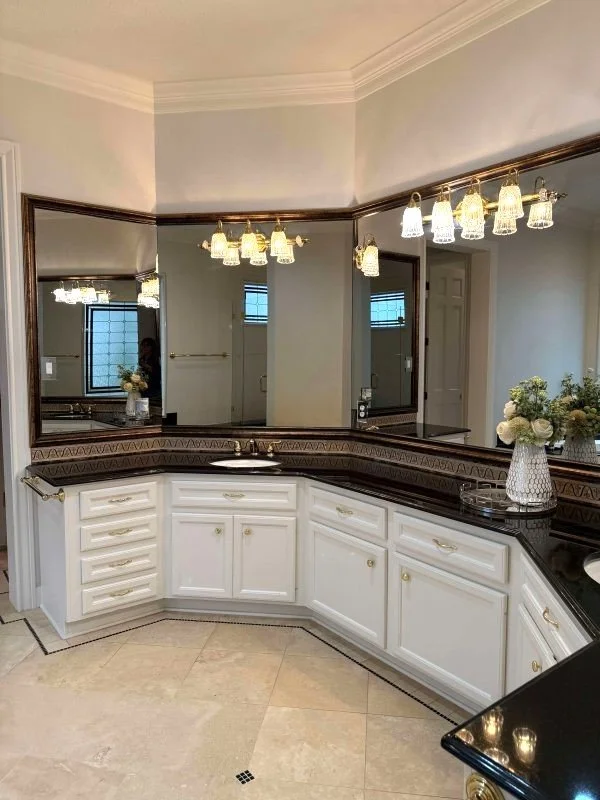
BEFORE Primary Bath
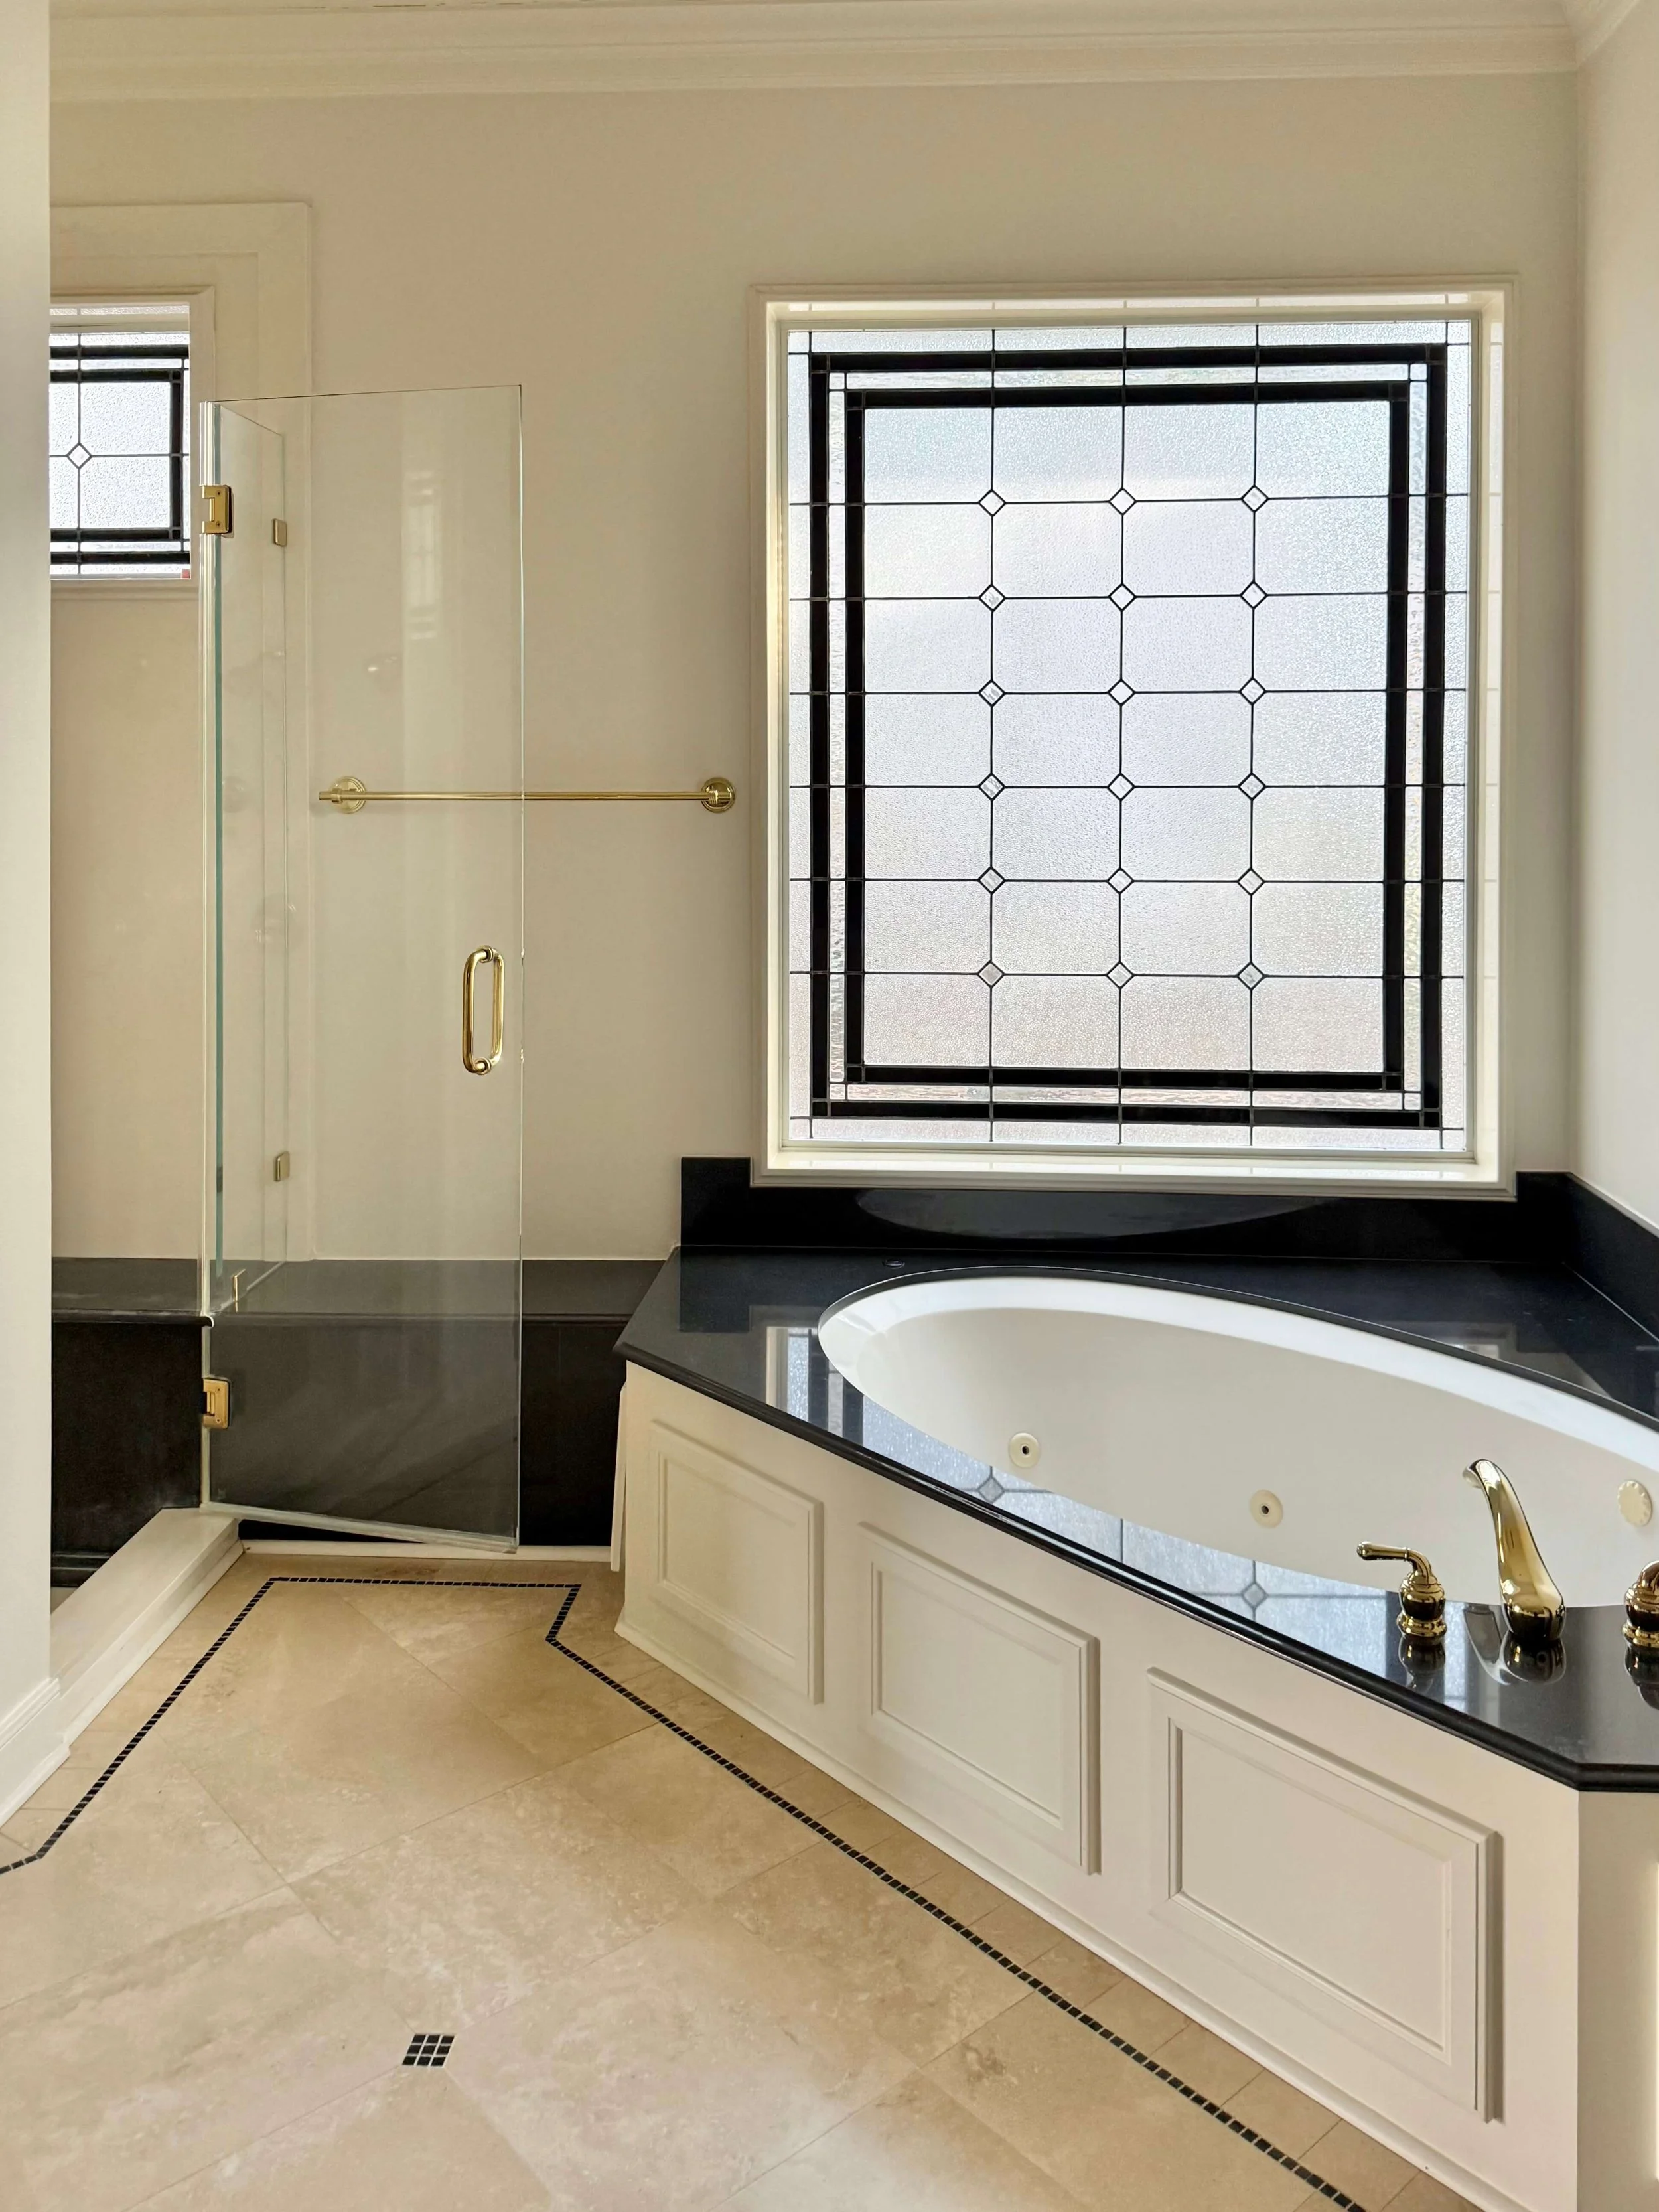
BEFORE Primary Bath
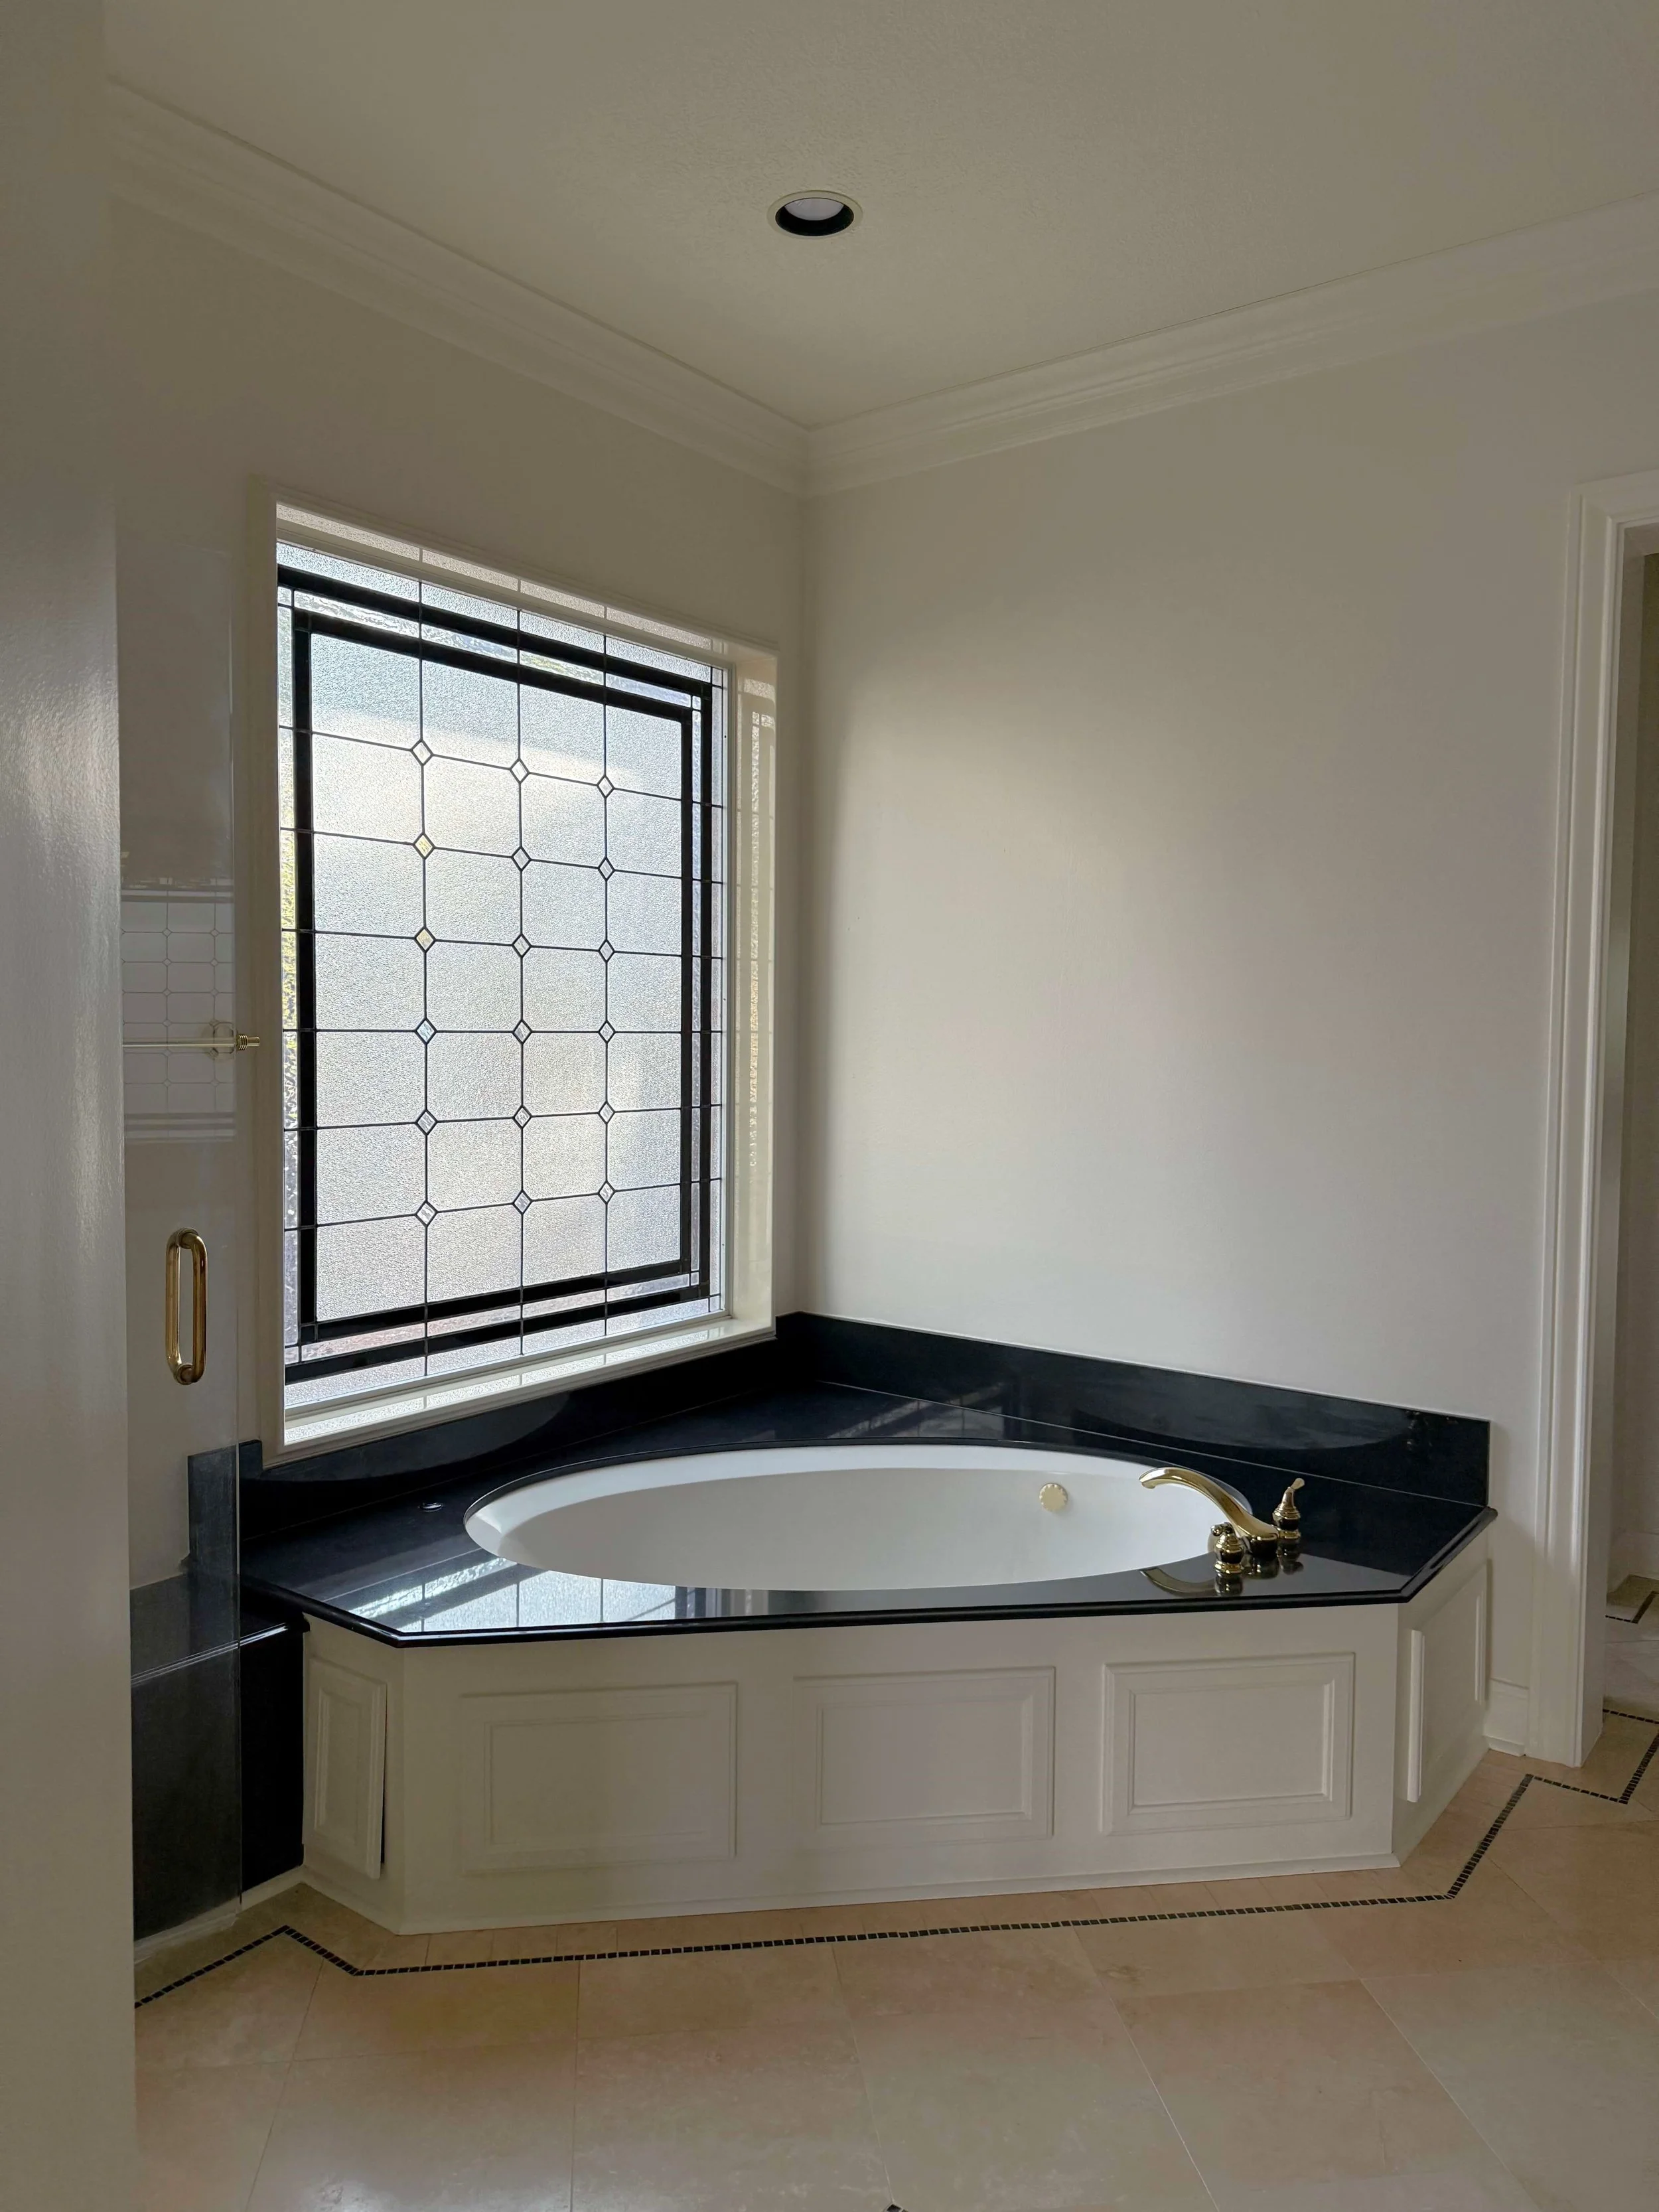
BEFORE Primary Bath
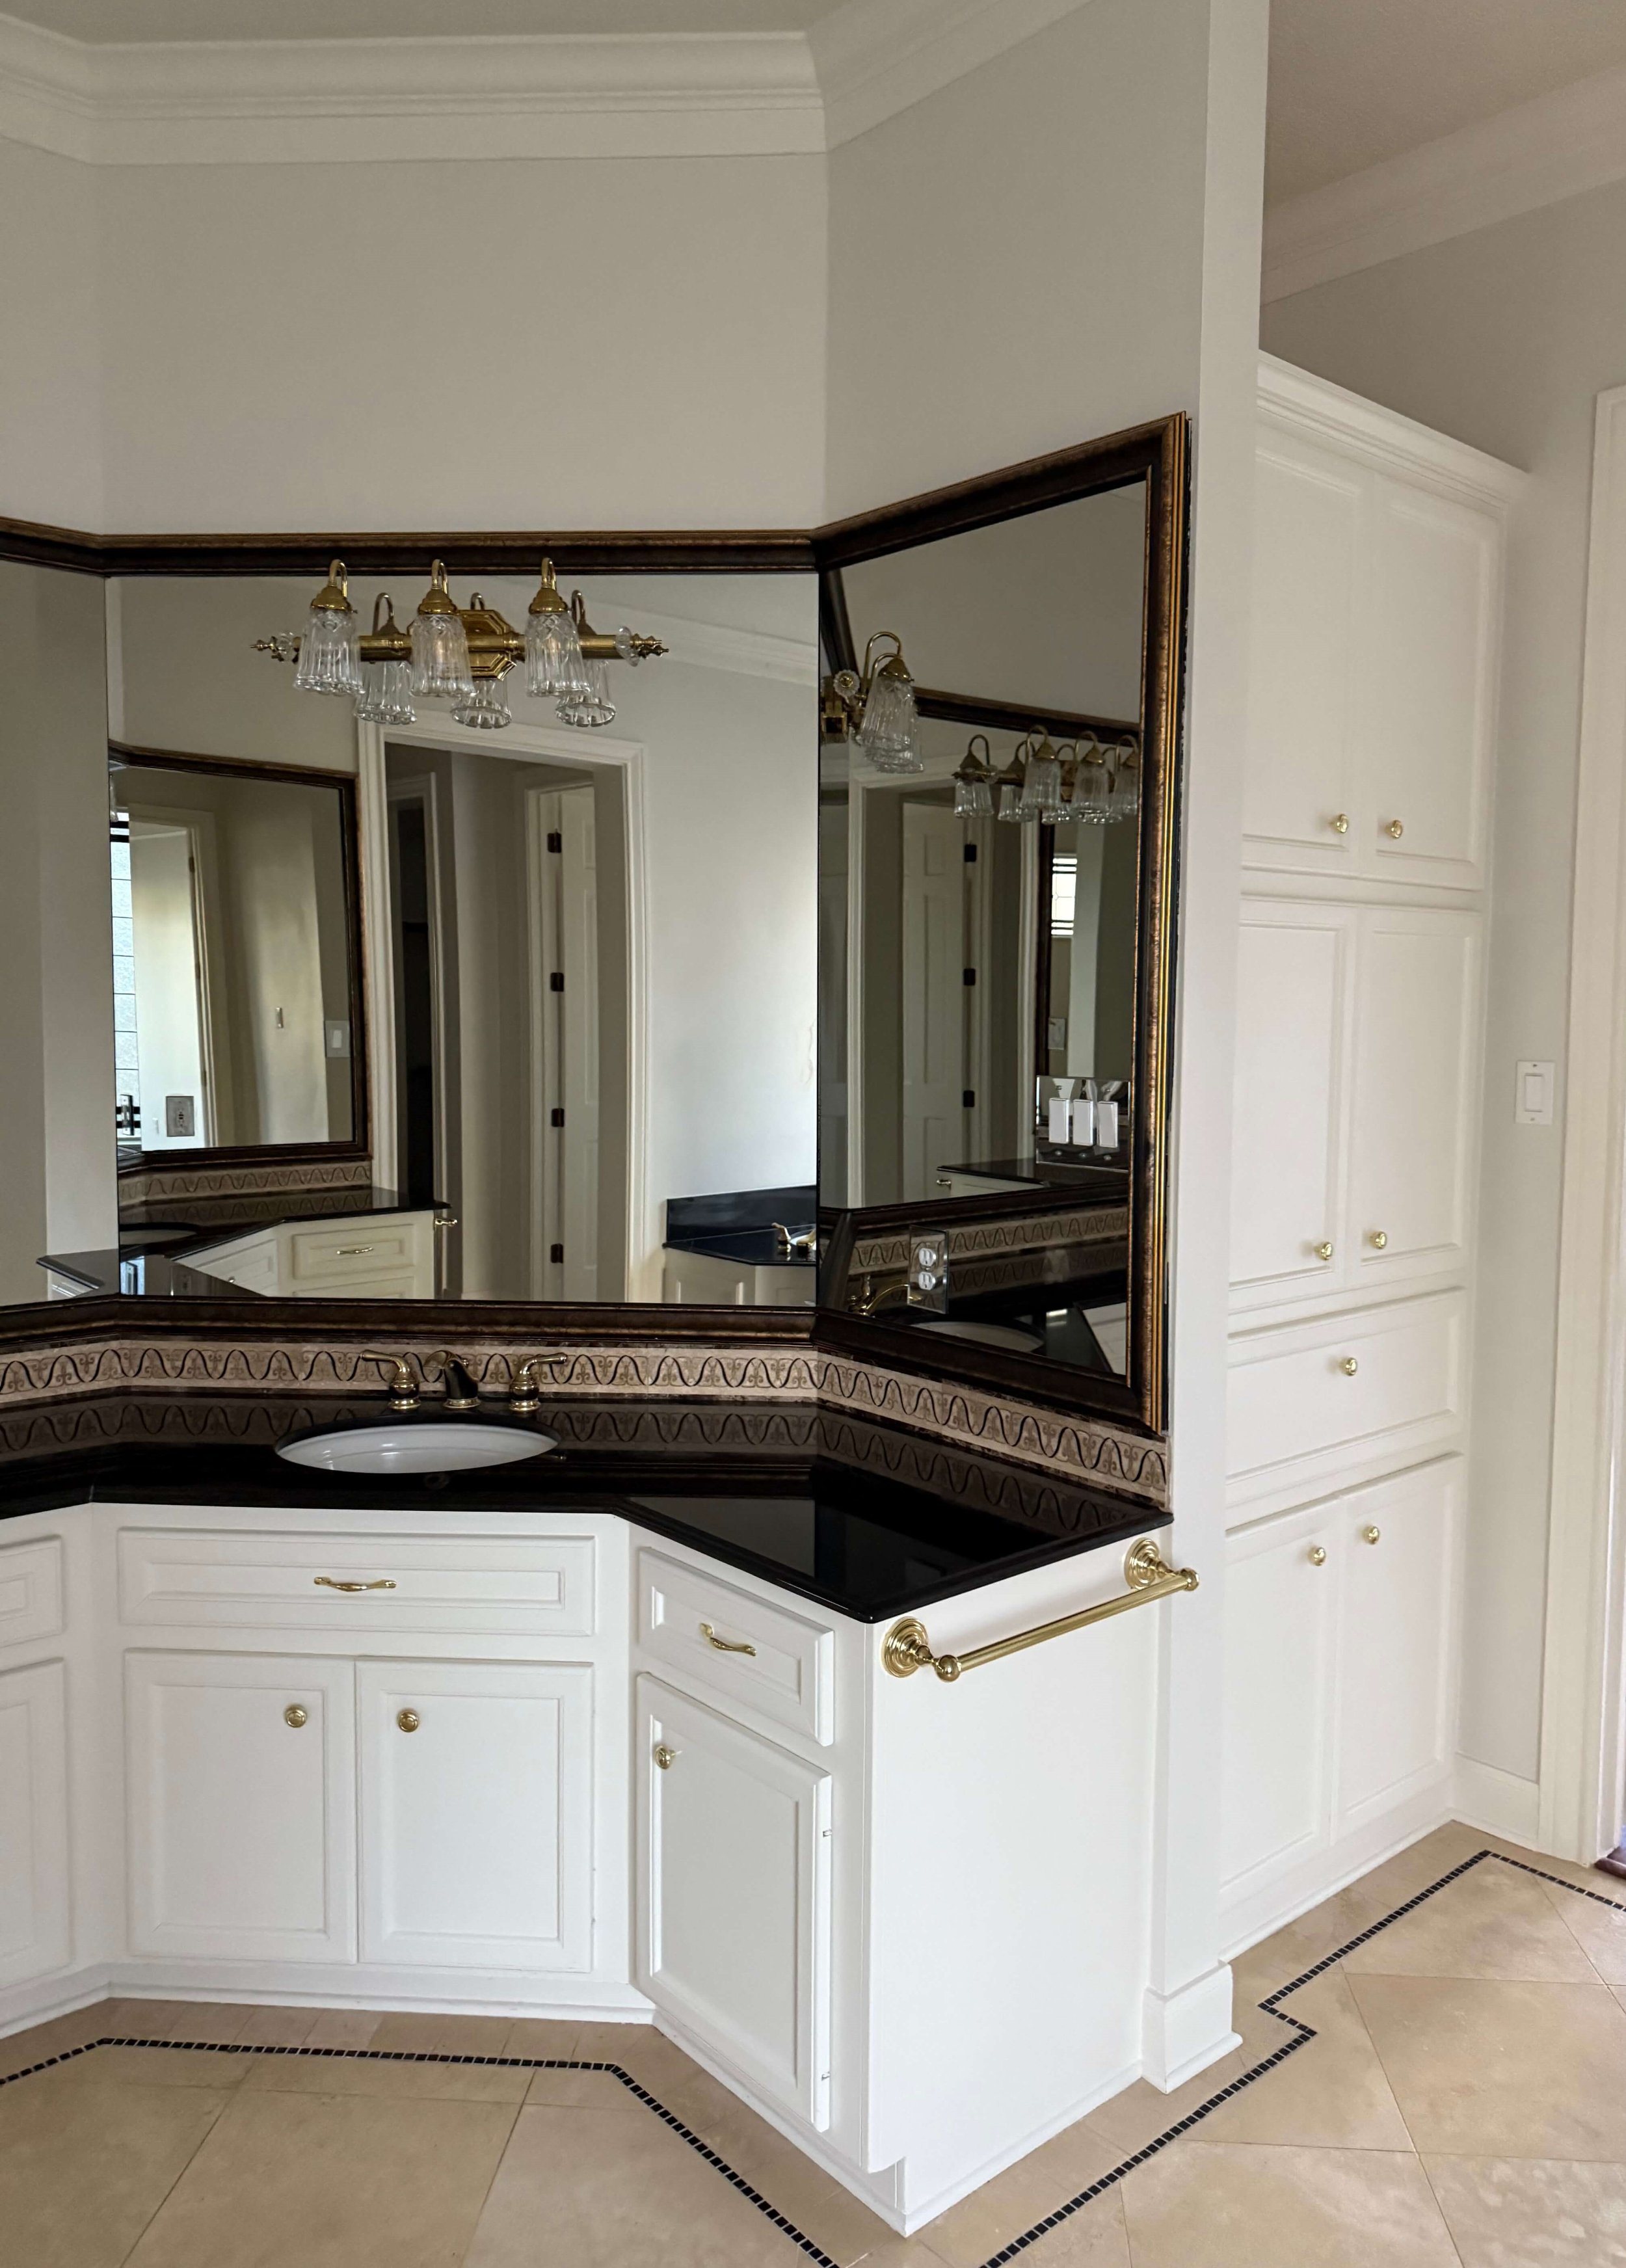
BEFORE Primary Bath
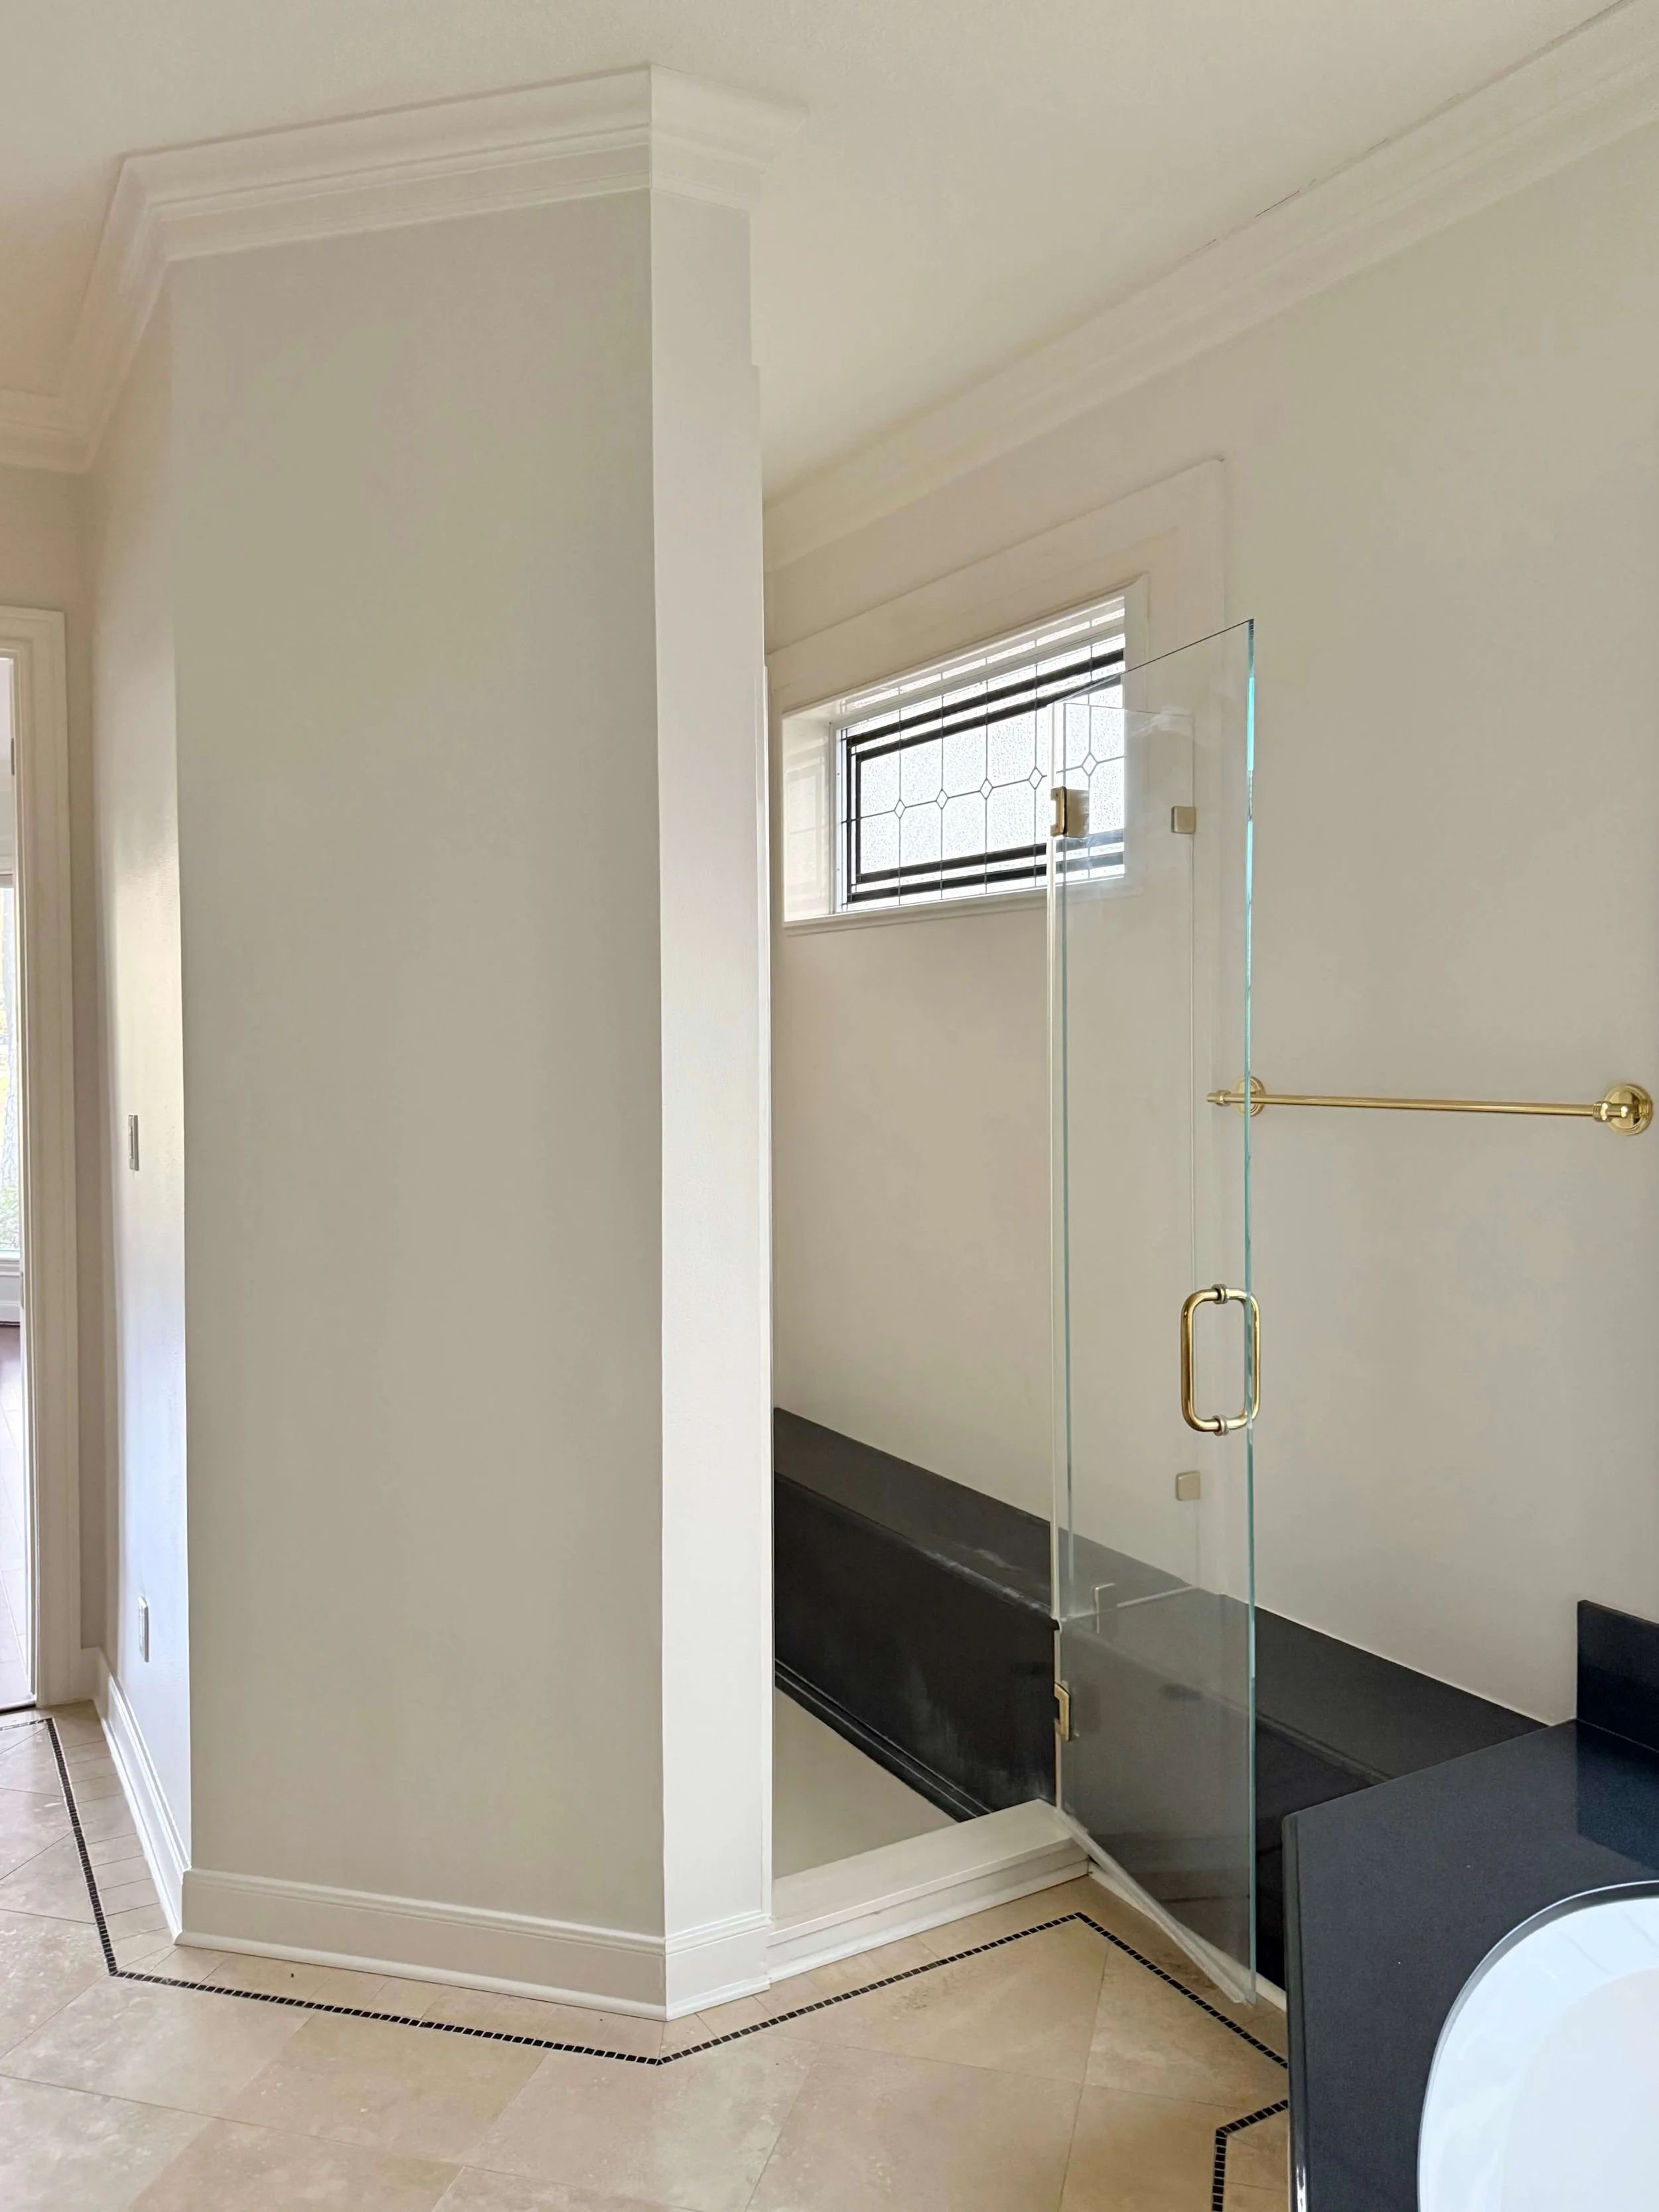
BEFORE Primary Bath
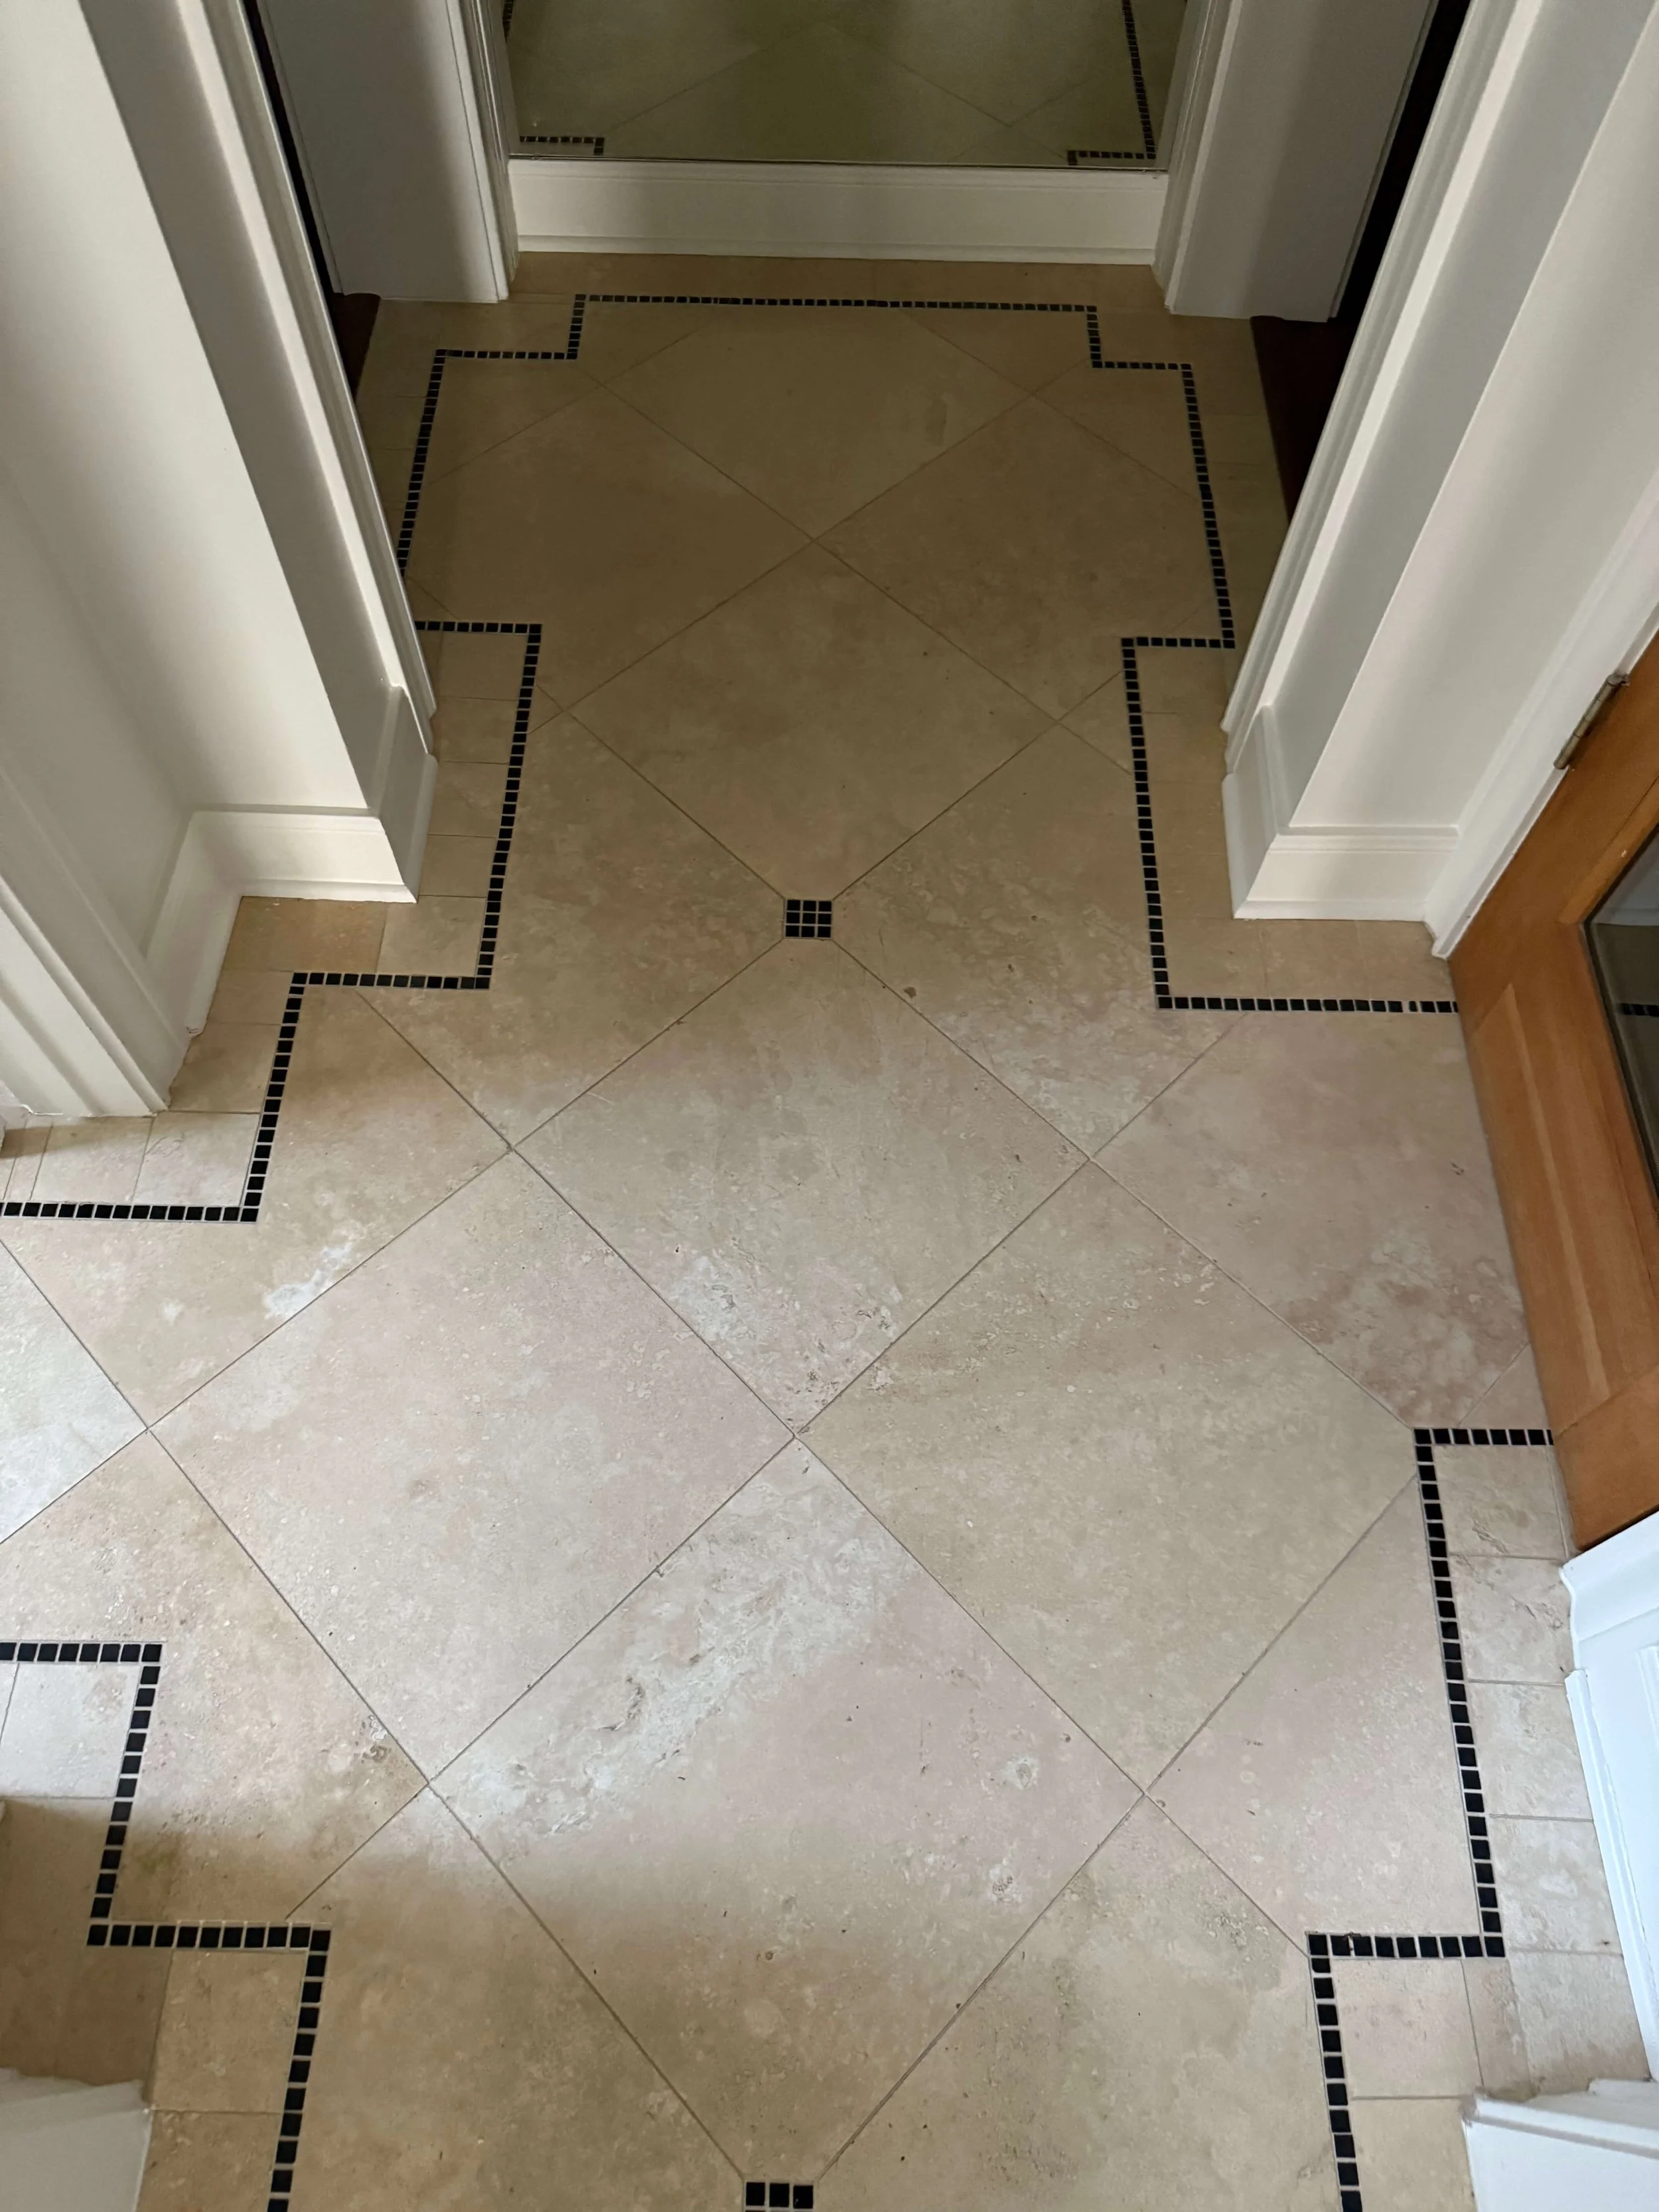
BEFORE - This odd tile border was really annoying to me. I couldn’t wait to see it torn out.
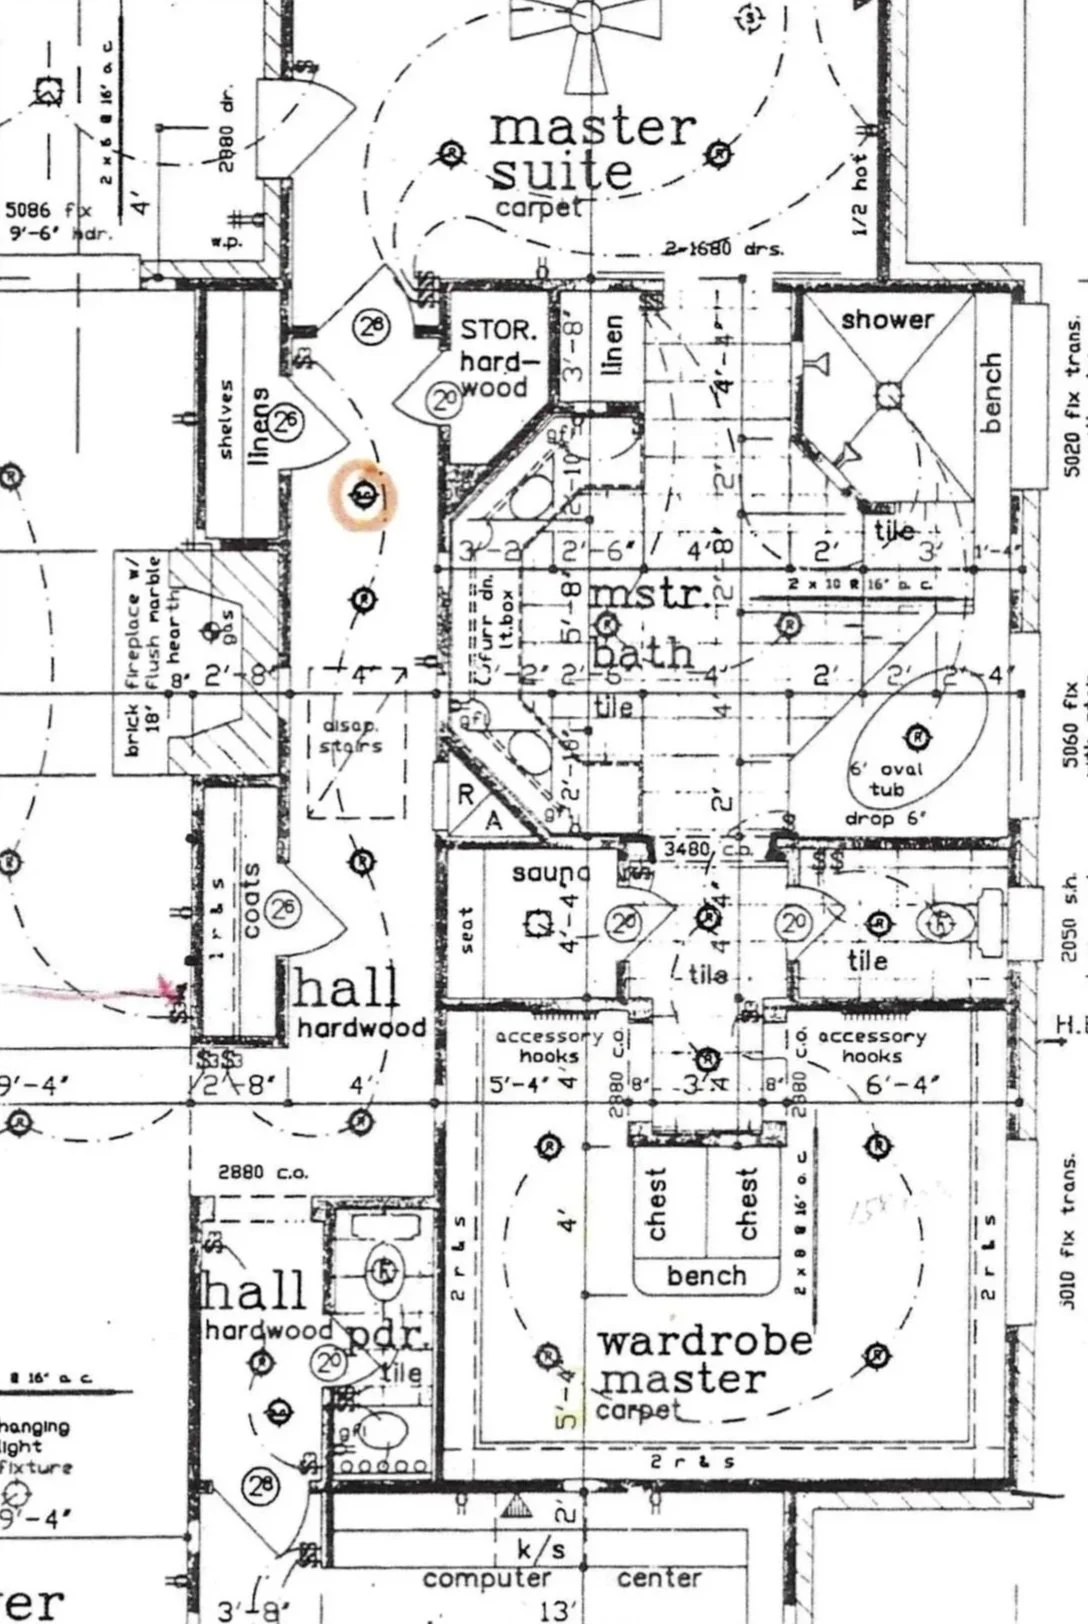
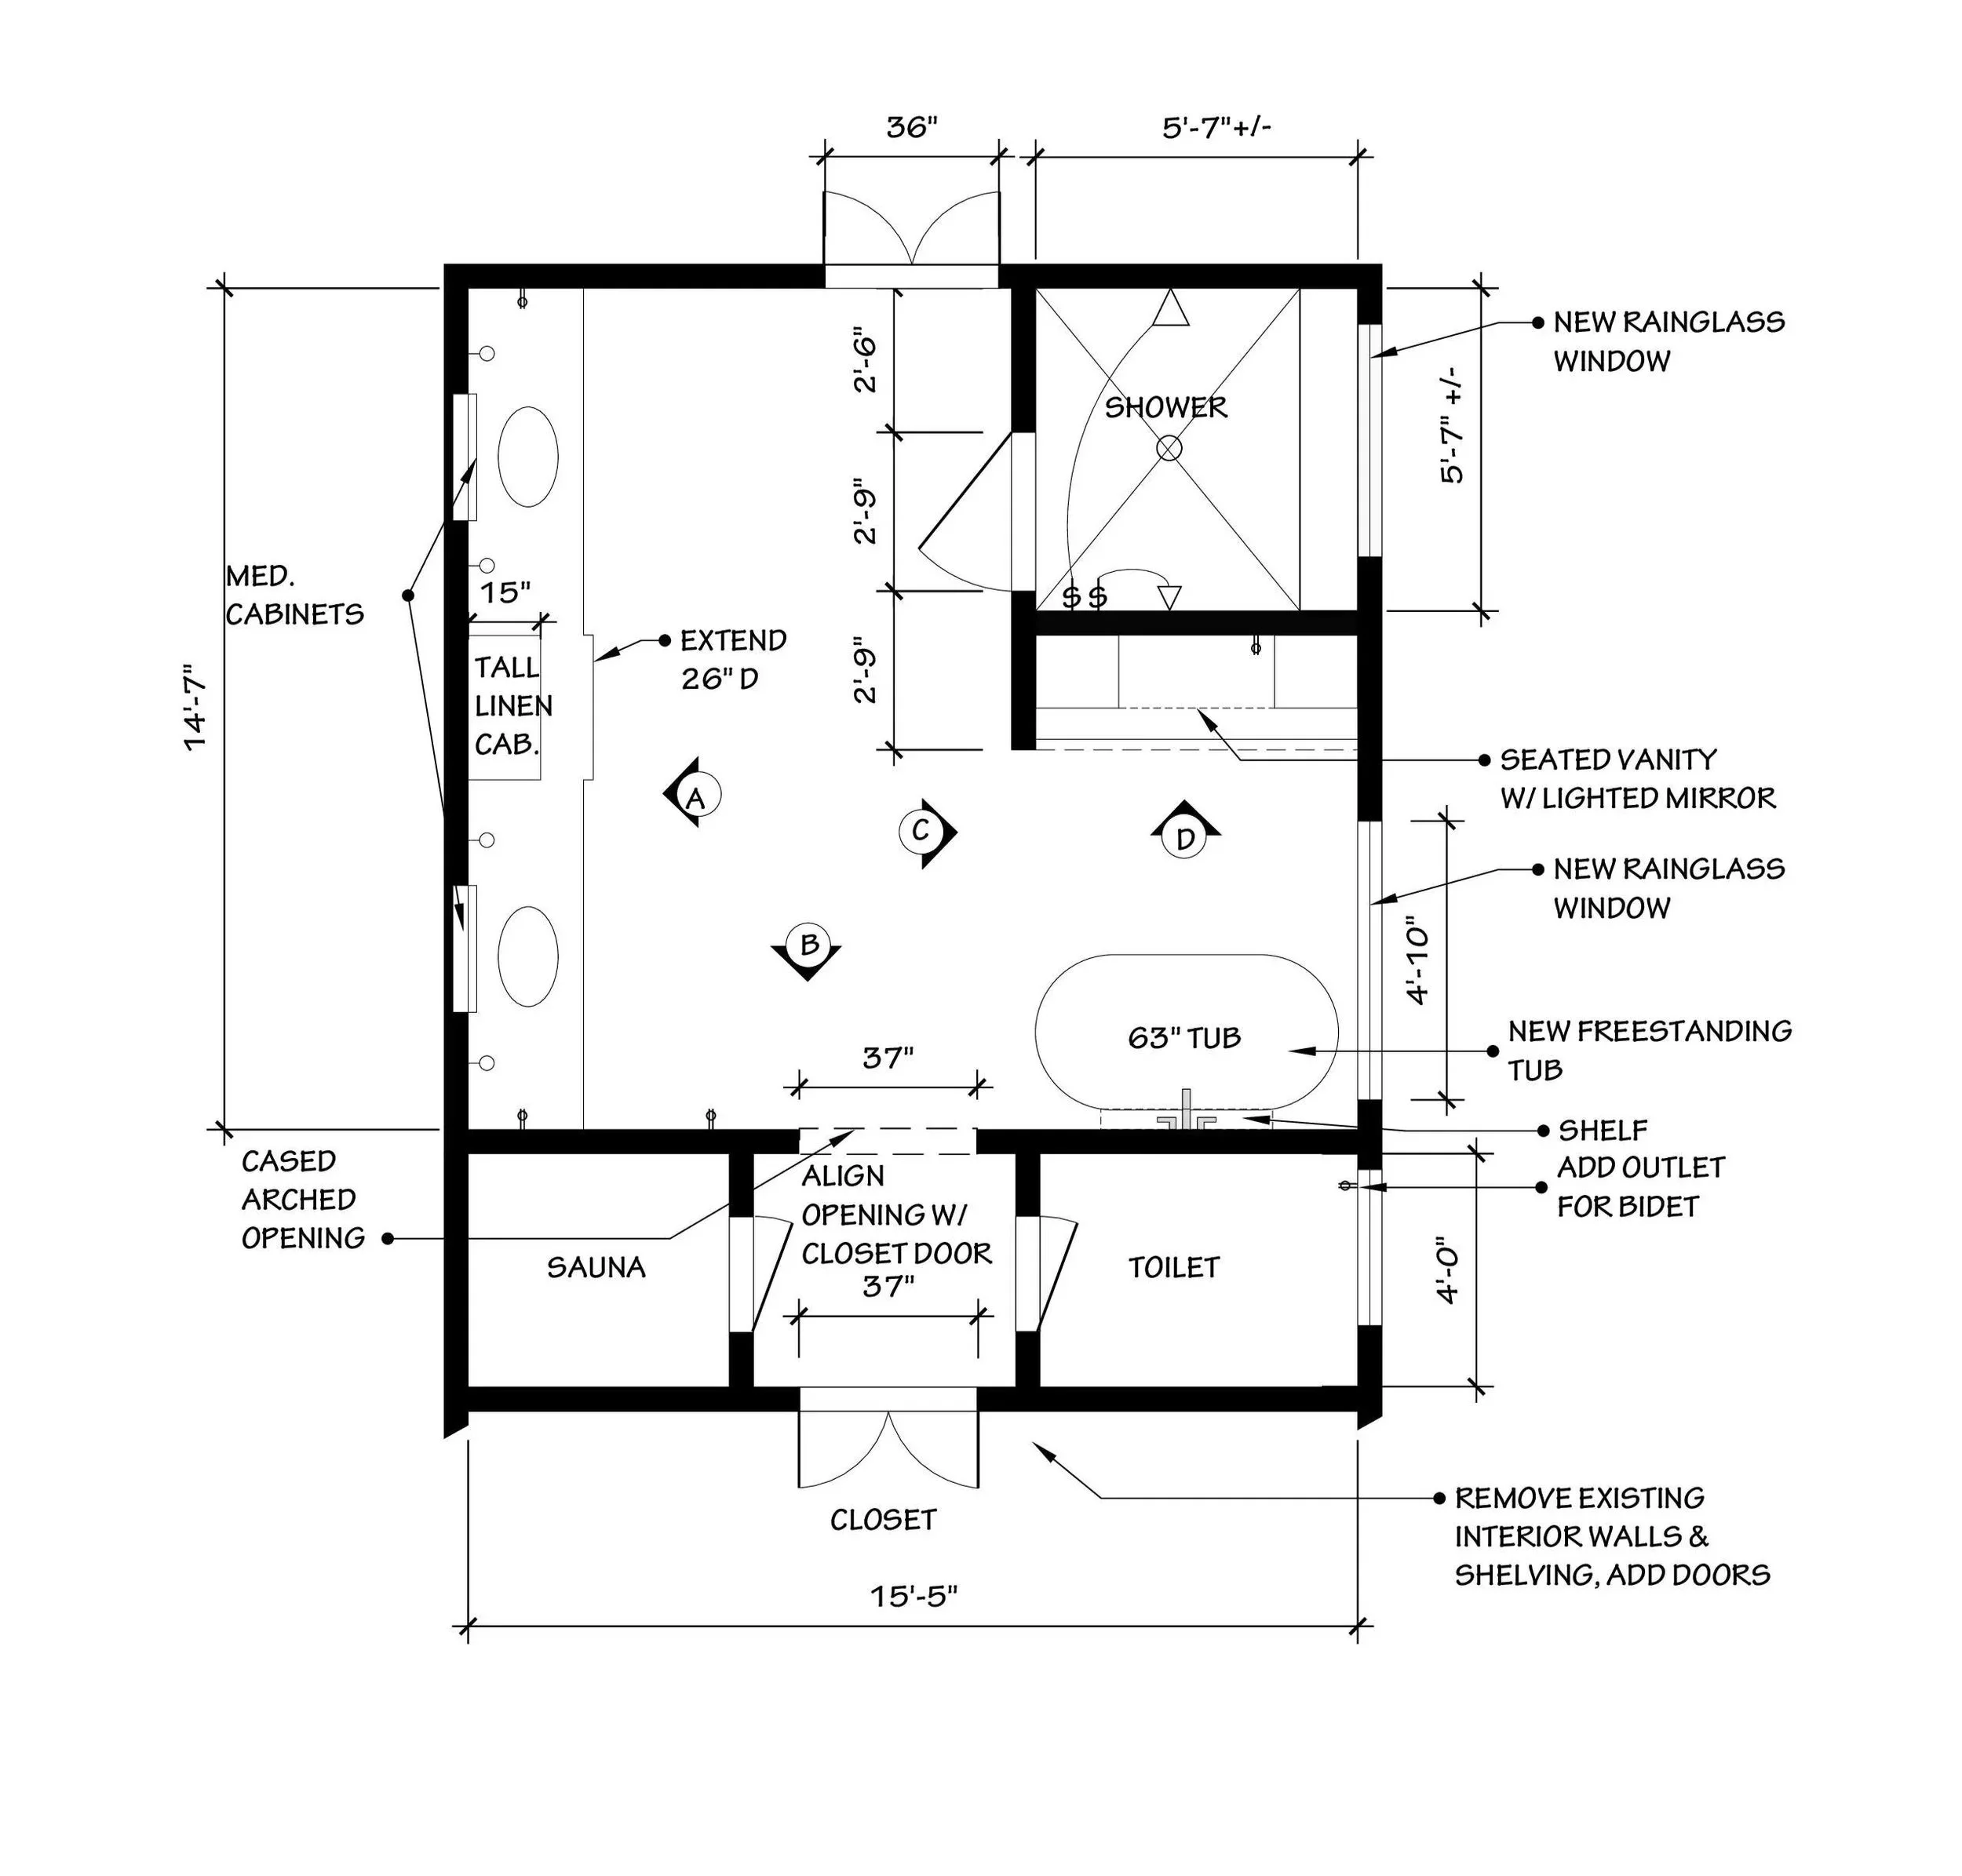
I streamlined the layout, taking out the unnecessarily angled corners and relocating the entrance to the shower. The return air was relocated to the ceiling in the hallway. That one storage closet was intended for a tv that you could see behind the mirror of the bathroom. (TV’s aren’t that big any more!)
A seated vanity was tucked behind the shower and a free-standing tub was moved slightly, to sit closer to the back wall.
The bathroom came with a sauna that looked like it had never been used. How nice! We kept that intact for my client.
Here was the new plan we settled on.
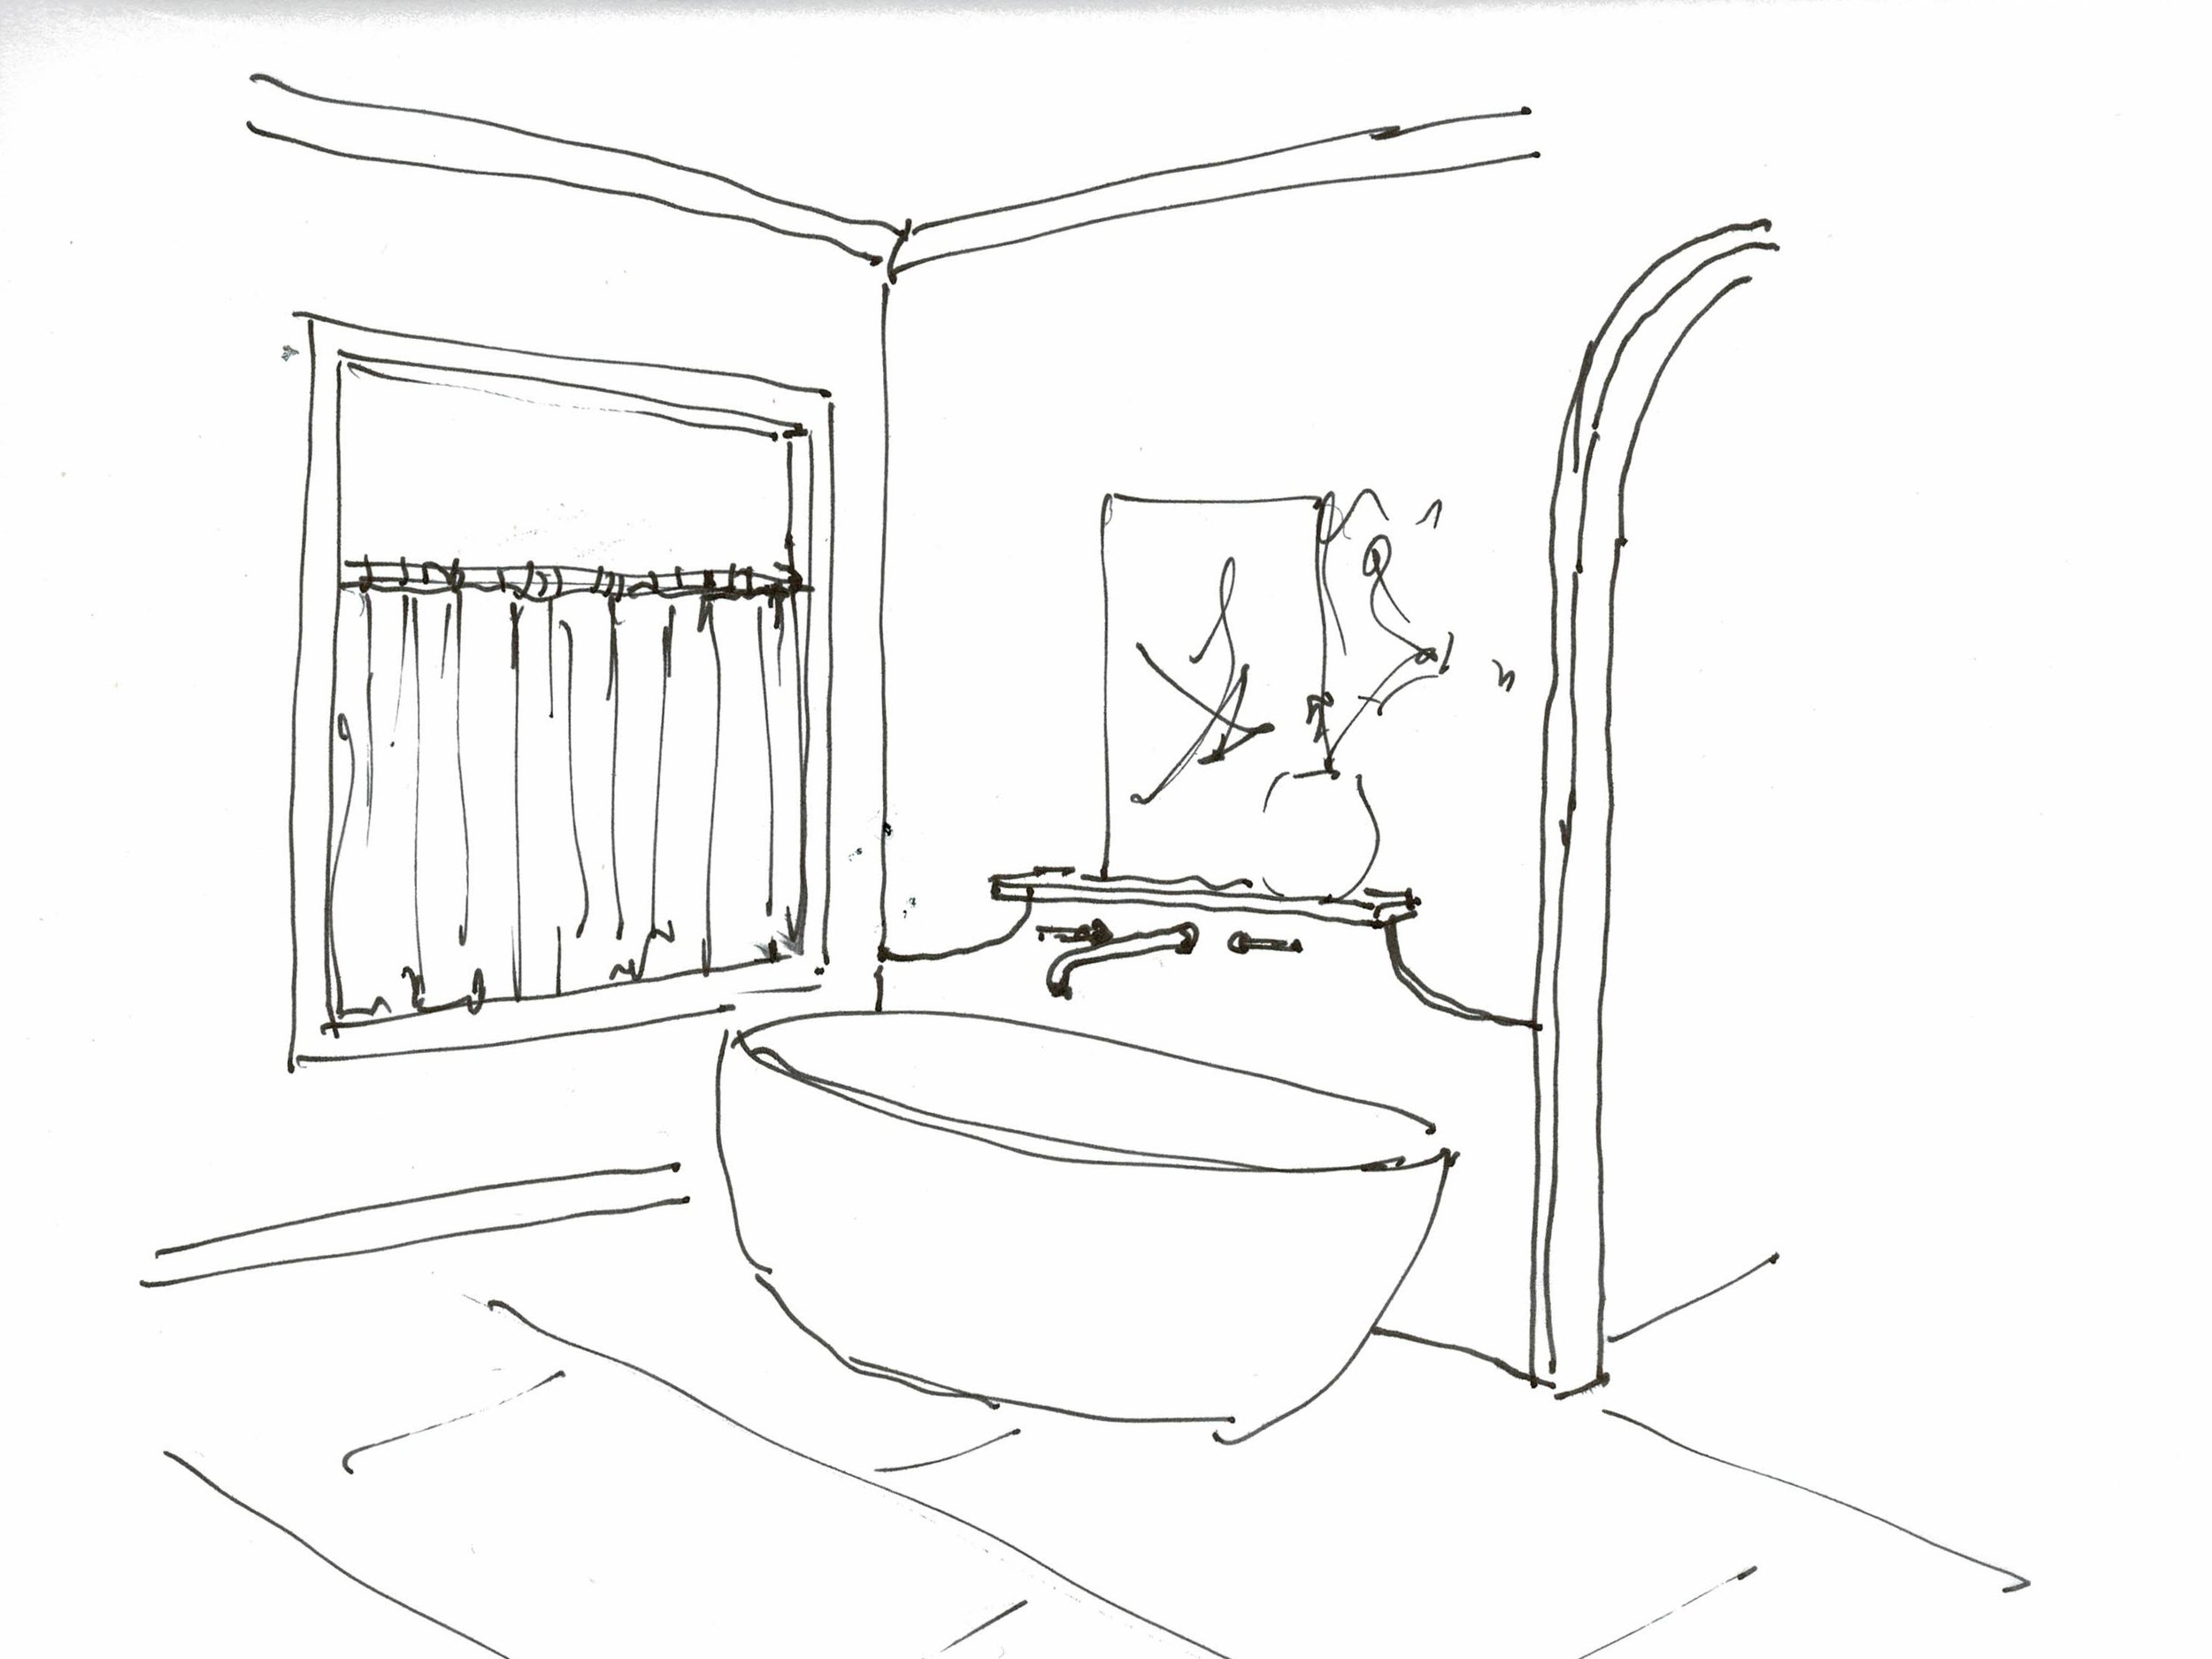
I was looking to add in a few curves to relate to other details in the house. Arching the opening to the closet repeated the arched openings by the fireplace in the living room.
I love a curved backsplash and the slab behind the tub was curved and topped with a small walnut ledge.
I repeated the arch at the bathroom vanities with inset marble tiles. Walnut cabinets on each side of a painted cabinet tower added some warmth and contrast but kept the space light and bright.
We kept the flooring in here simple and easy to maintain with a neutral, large format tile.
And here are the results!
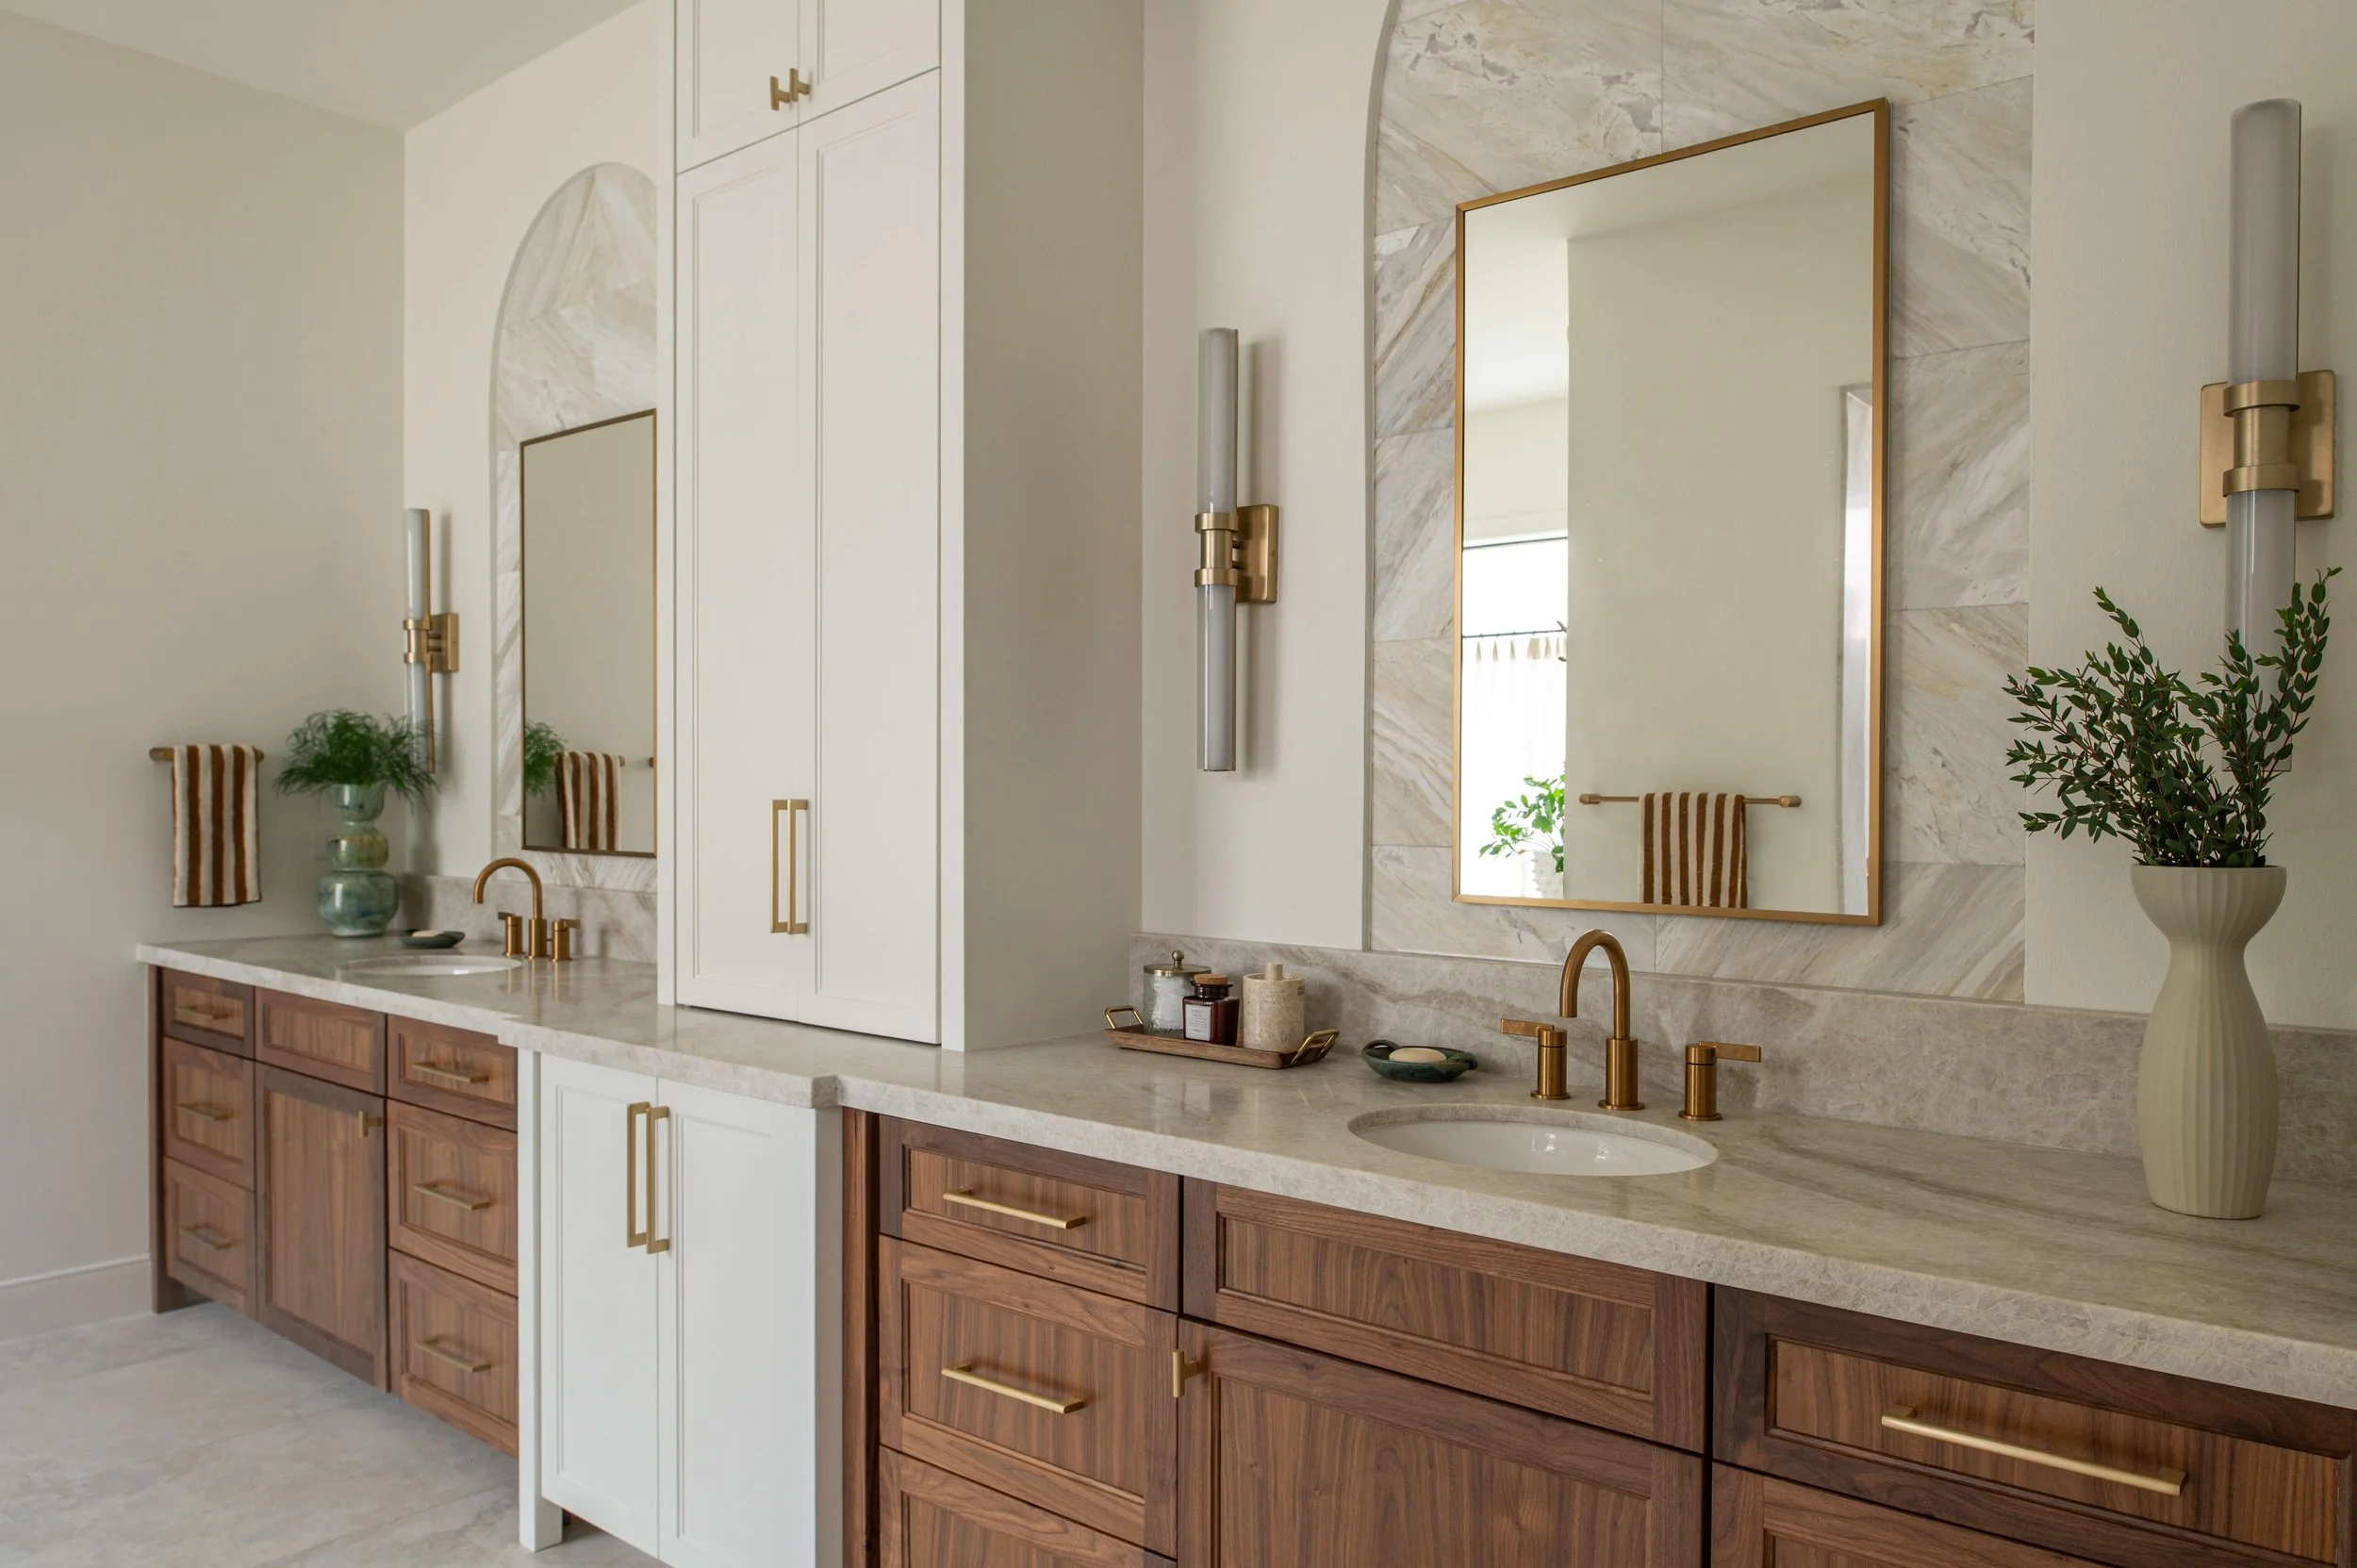
AFTER - Walnut cabinetry, marble tile inset with the medicine cabinets in an arched shape, a neutral quartzite and brass accents give this bathroom a serene, sophisticated, warm look. | Designer: Carla Aston, Contractor: CA Design Build, Photo: Ellen Renee Photography
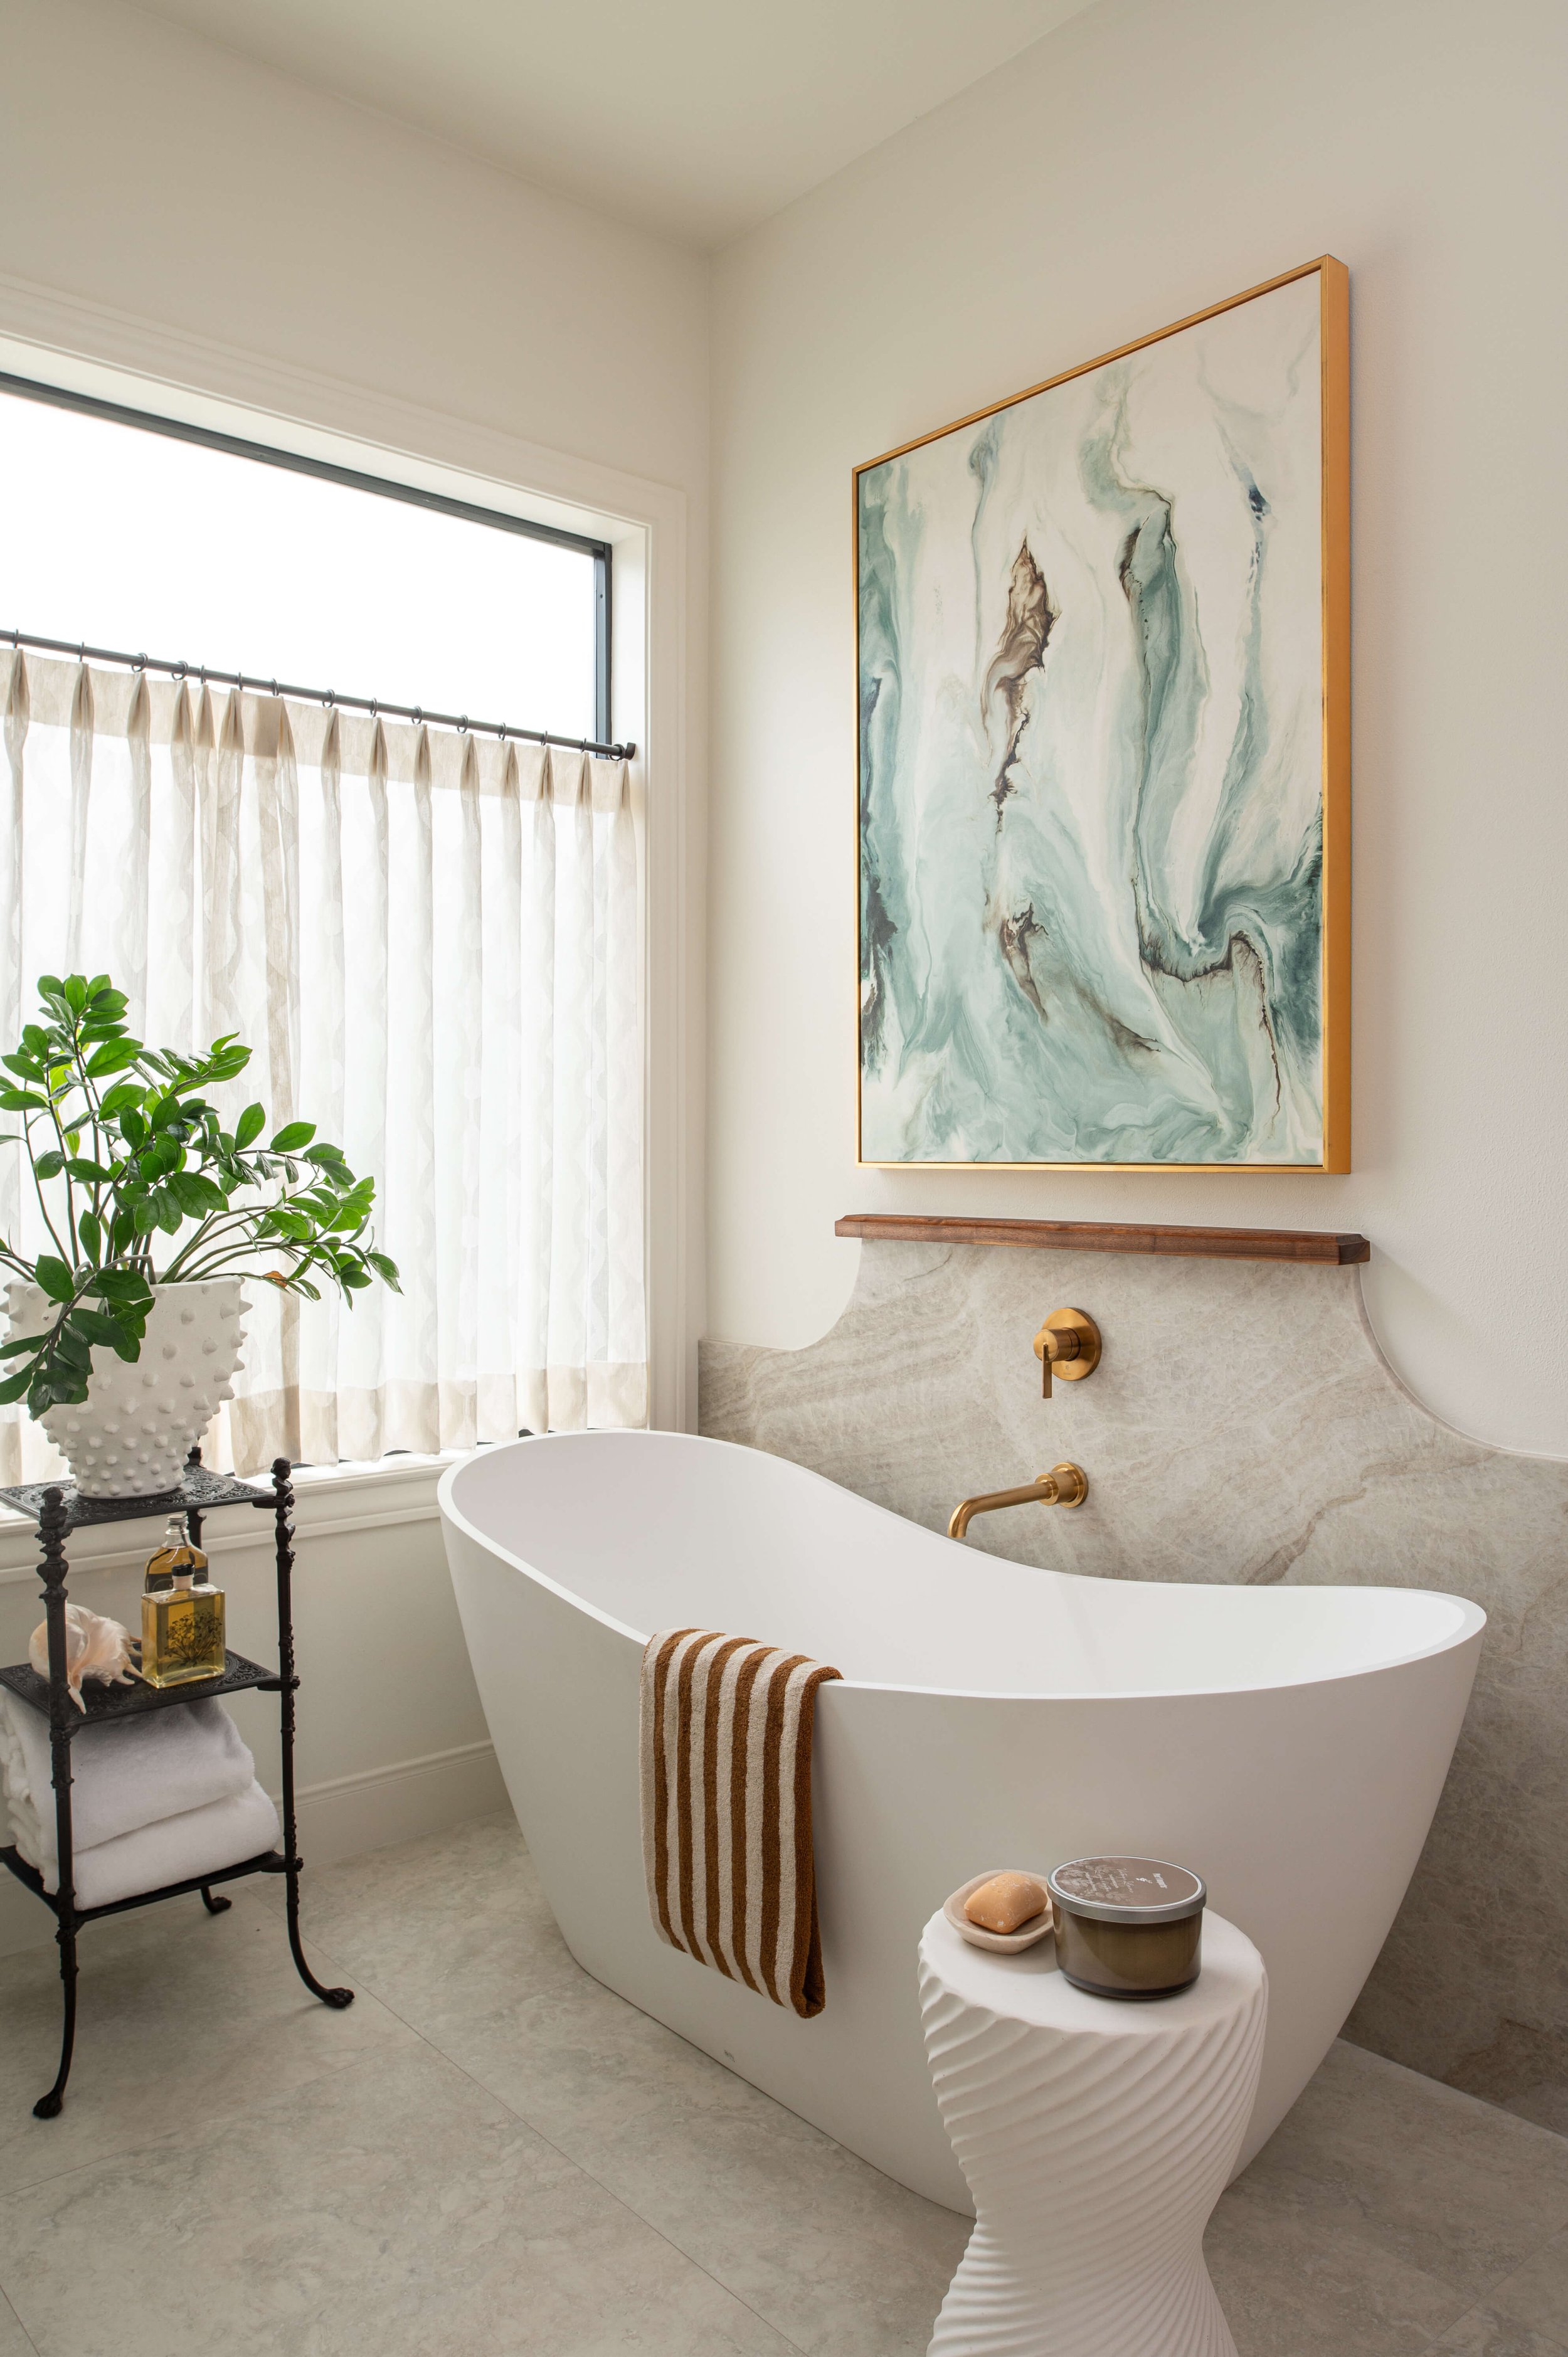
AFTER - A rain glass window with a patterned sheer cafe curtain adds softness and lets the light shine in this restful suite. That touch of walnut at the ledge adds contrast and warmth to the tub area. | Designer: Carla Aston, Contractor: CA Design Build, Photo: Ellen Renee Photography
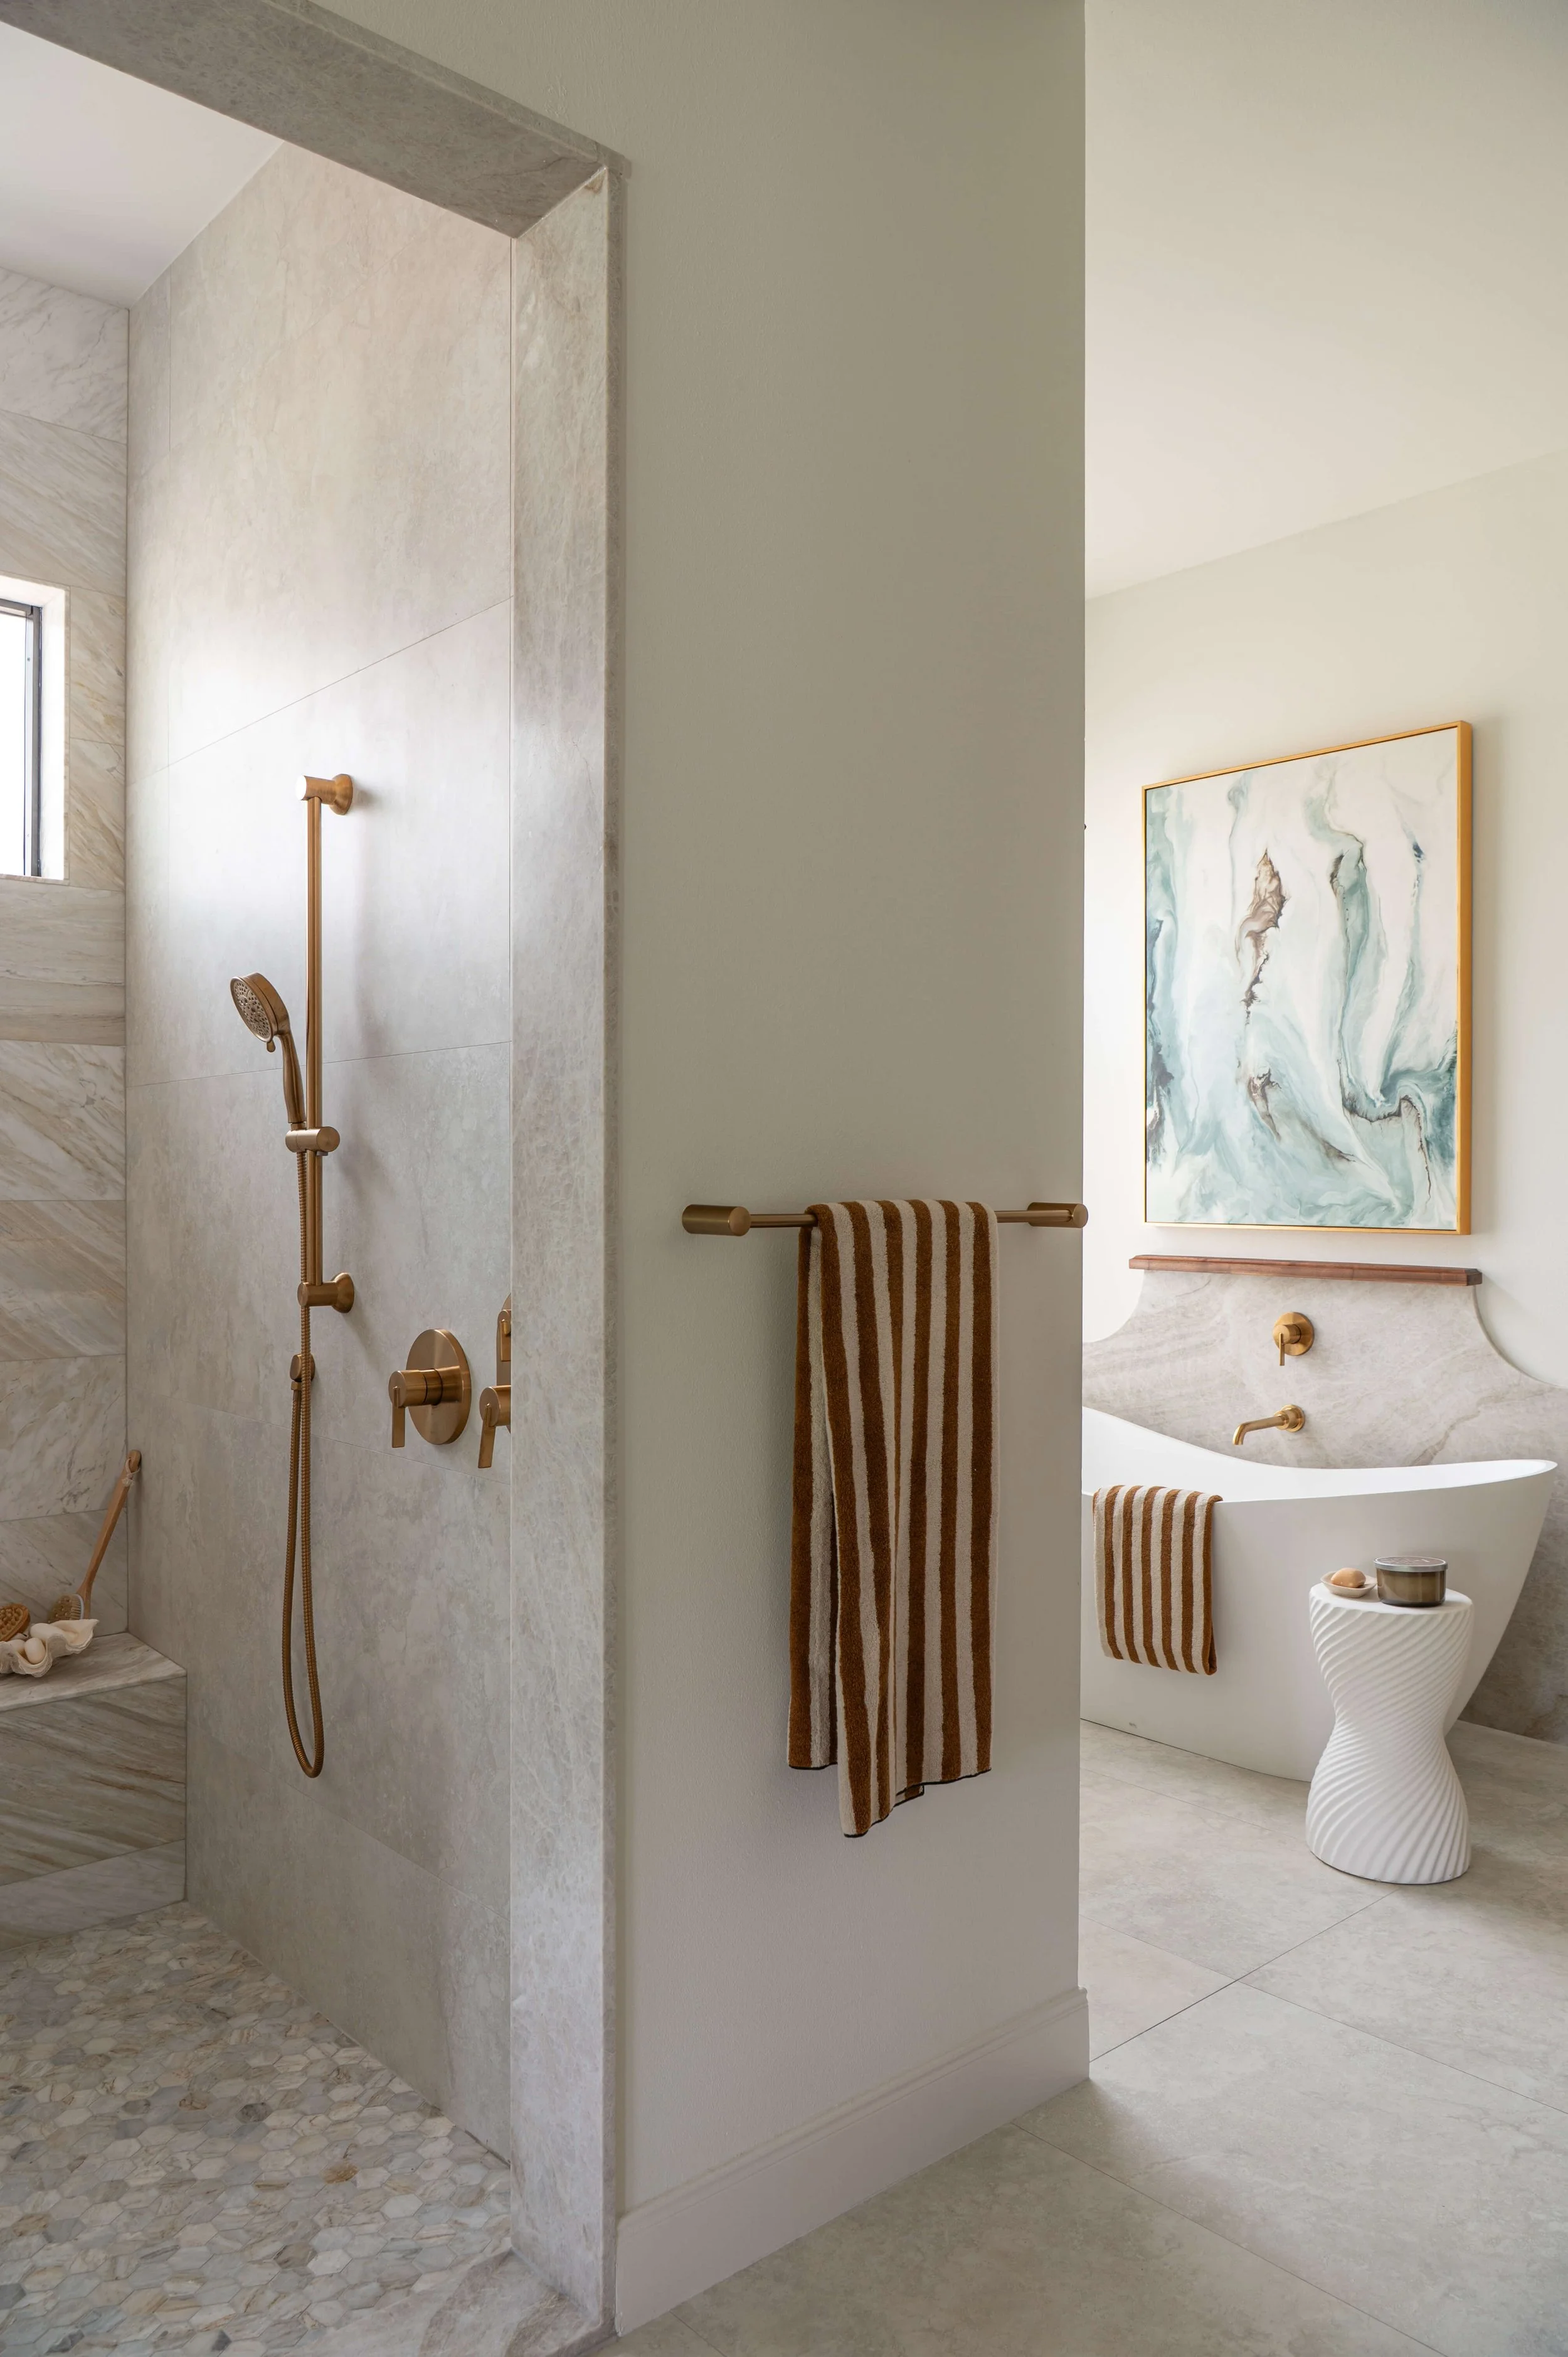
AFTER - Quartzite slab jambs and curb at the shower and behind the tub as the backsplash uplevels this space. | Designer: Carla Aston, Contractor: CA Design Build, Photo: Ellen Renee Photography
This shampoo niche was tucked around the corner beside the shower door. Convenient and out of sight, except if you are using the shower.
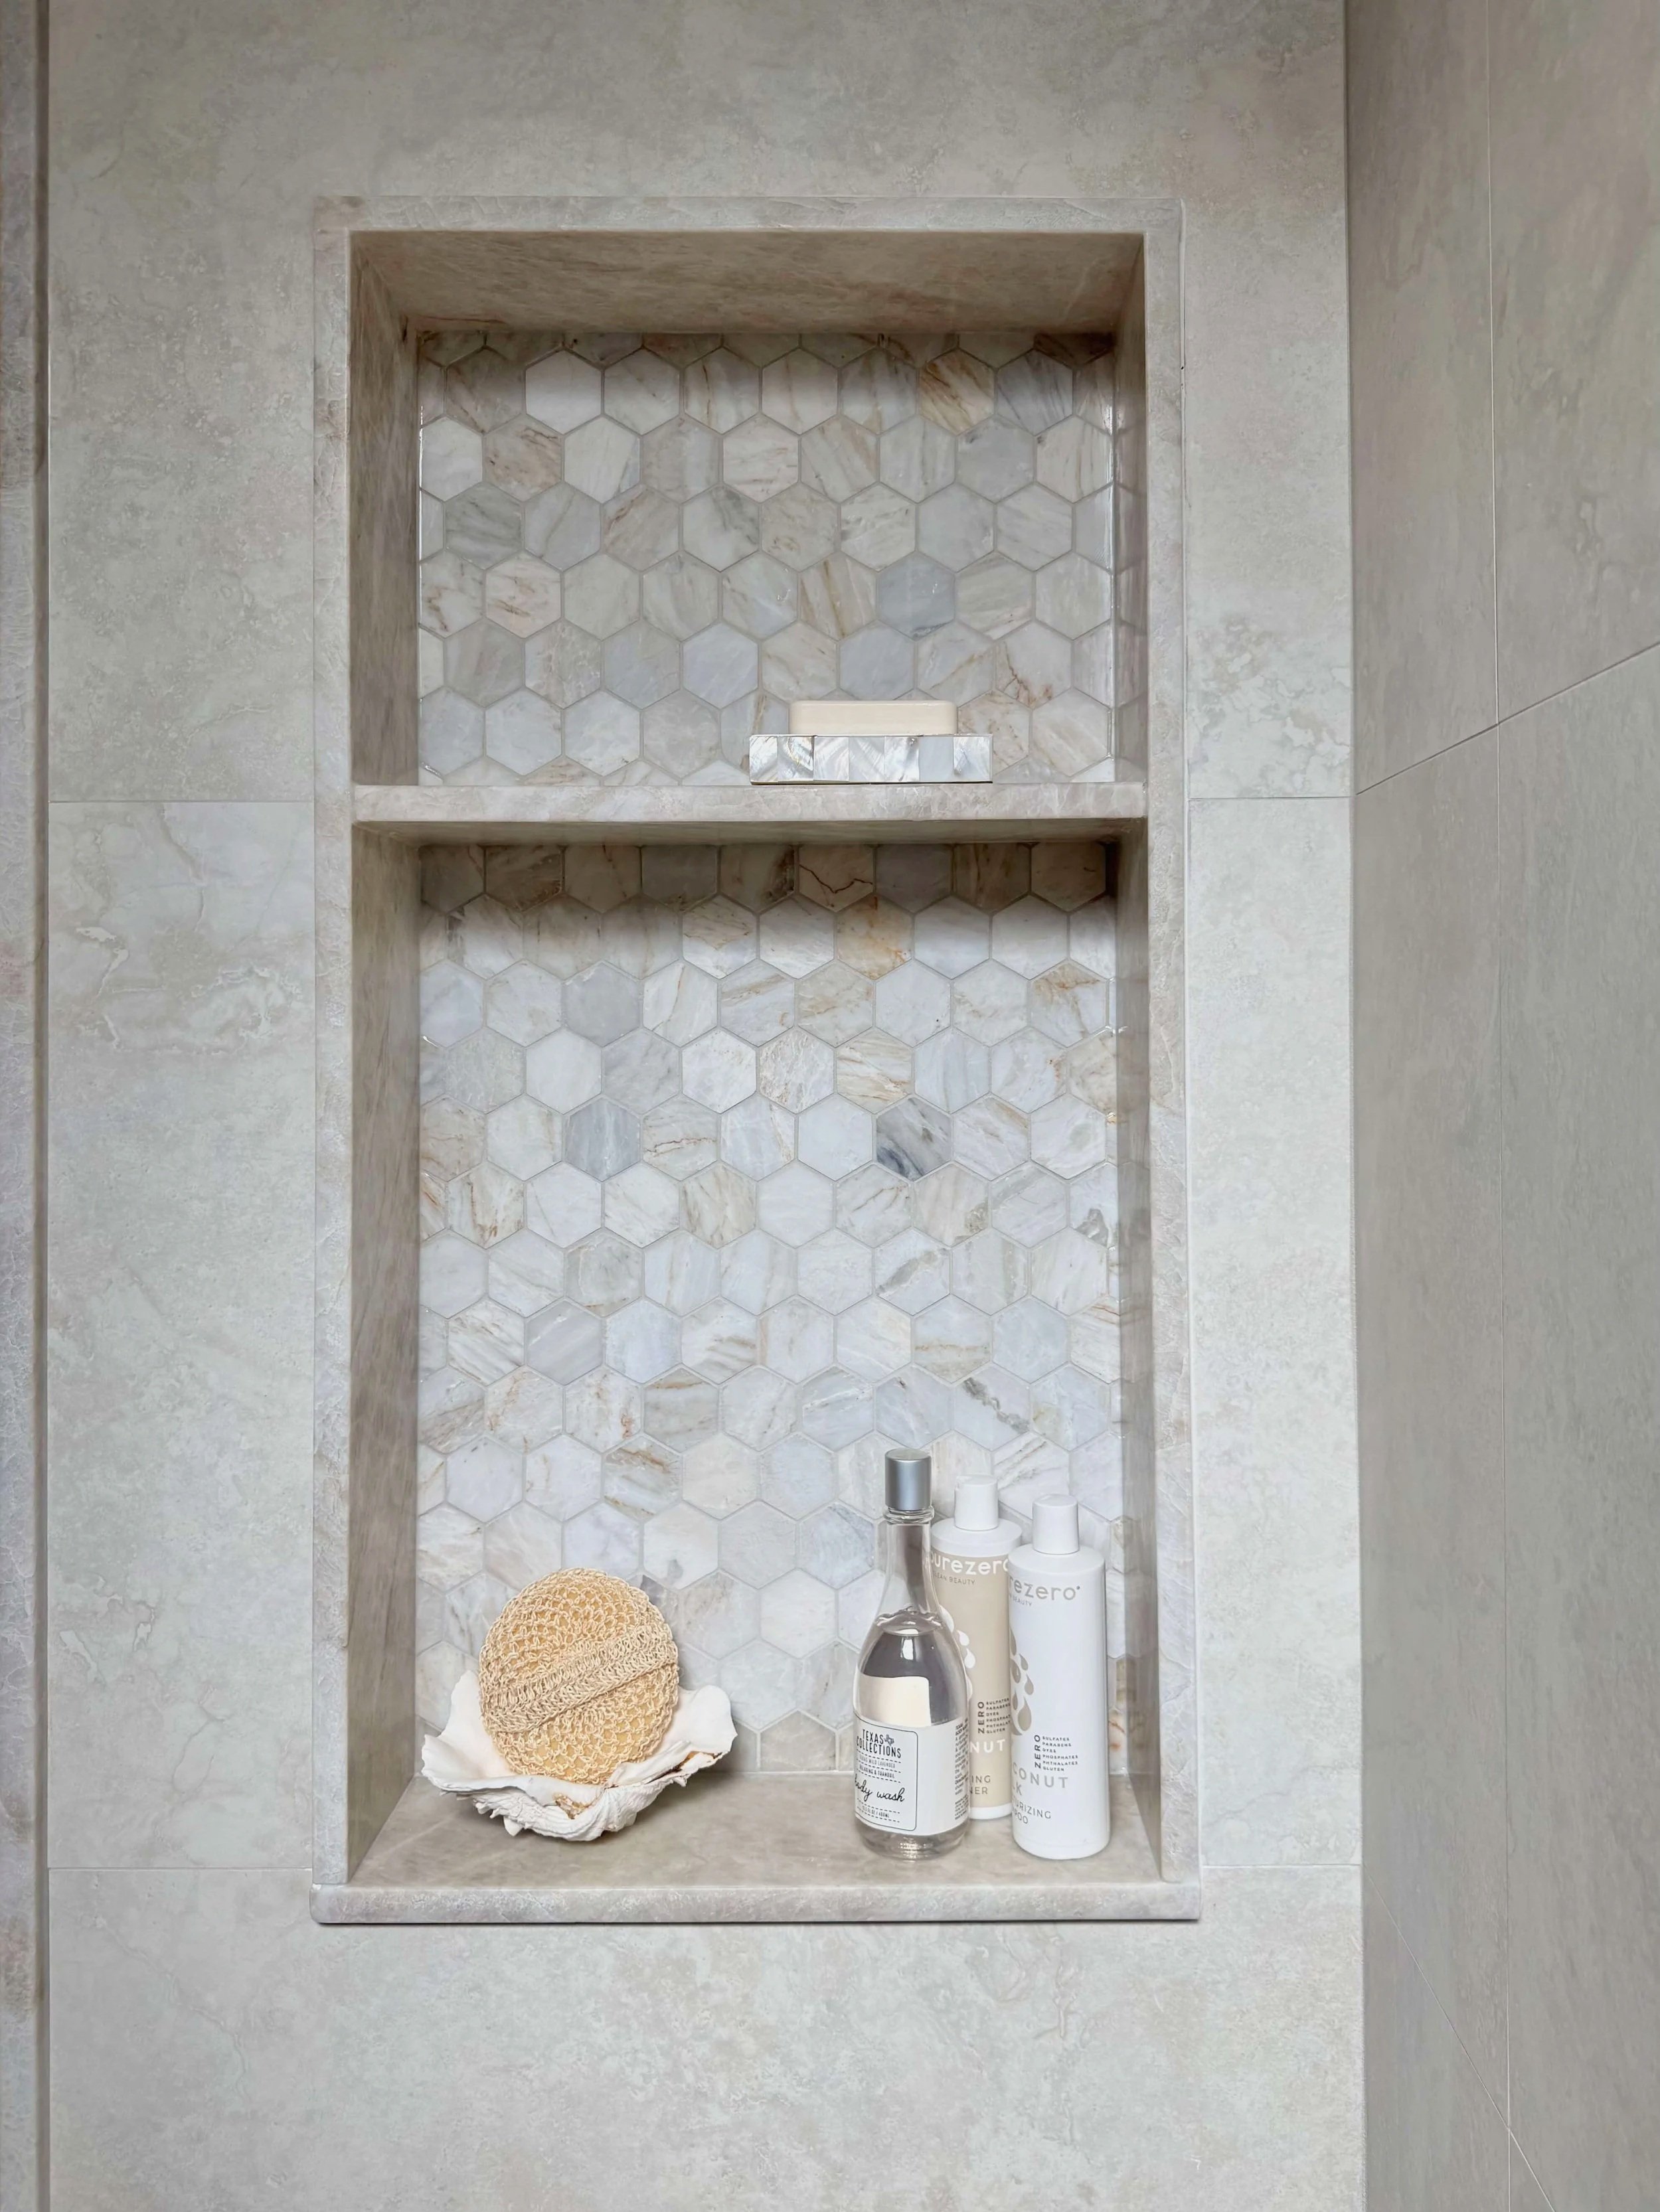
AFTER - Shampoo niche in the Primary Bath | Quartzite slab material lining the perimeter of the niche with a quartzite shelf makes for easier maintentance. I do love to use a mosaic on the back wall of a niche, this marble mosaic was also on the shower floor. Designer: Carla Aston, Contractor: CA Design Build, Photo: Carla Aston
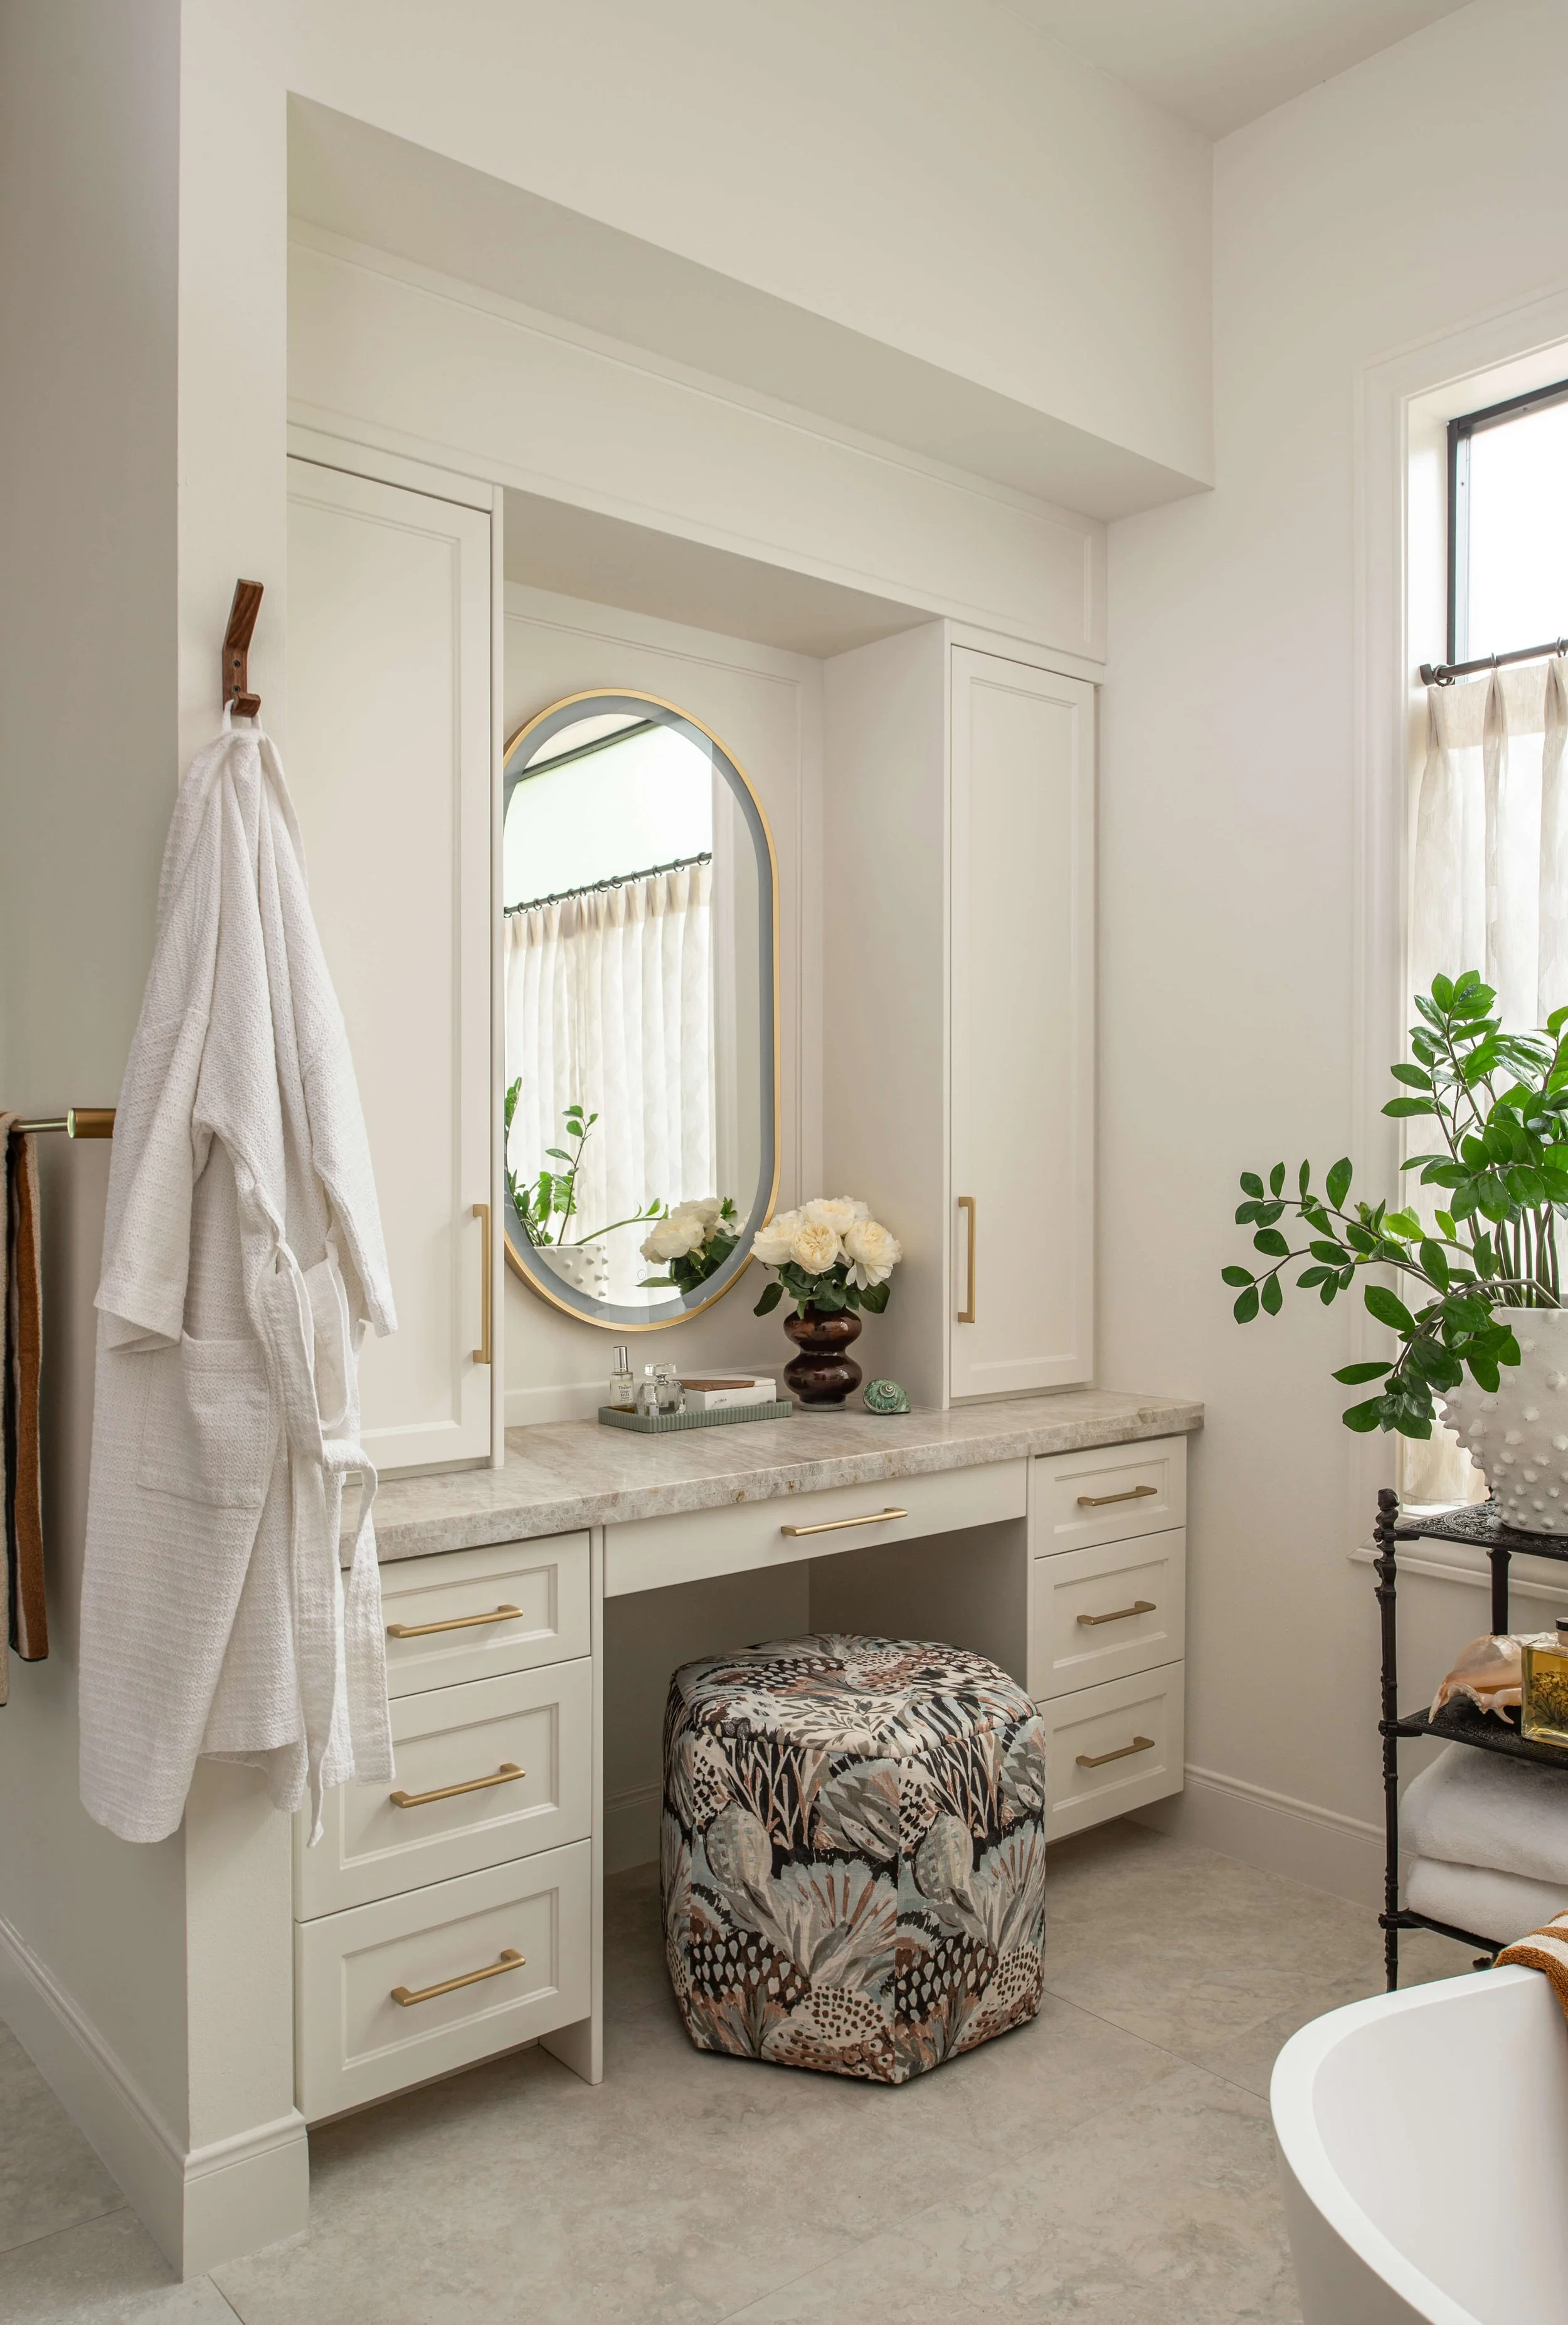
AFTER - A seated vanity behind the shower wall makes for a more private dressing area. | Designer: Carla Aston, Contractor: CA Design Build, Photo: Ellen Renee Photography
I really love the arches at the mirrors, these are medicine cabinets sunk into the wall with interior lighting and outlets inside. The tone on tone marble tile just adds so much to elevate this look of this bathroom.
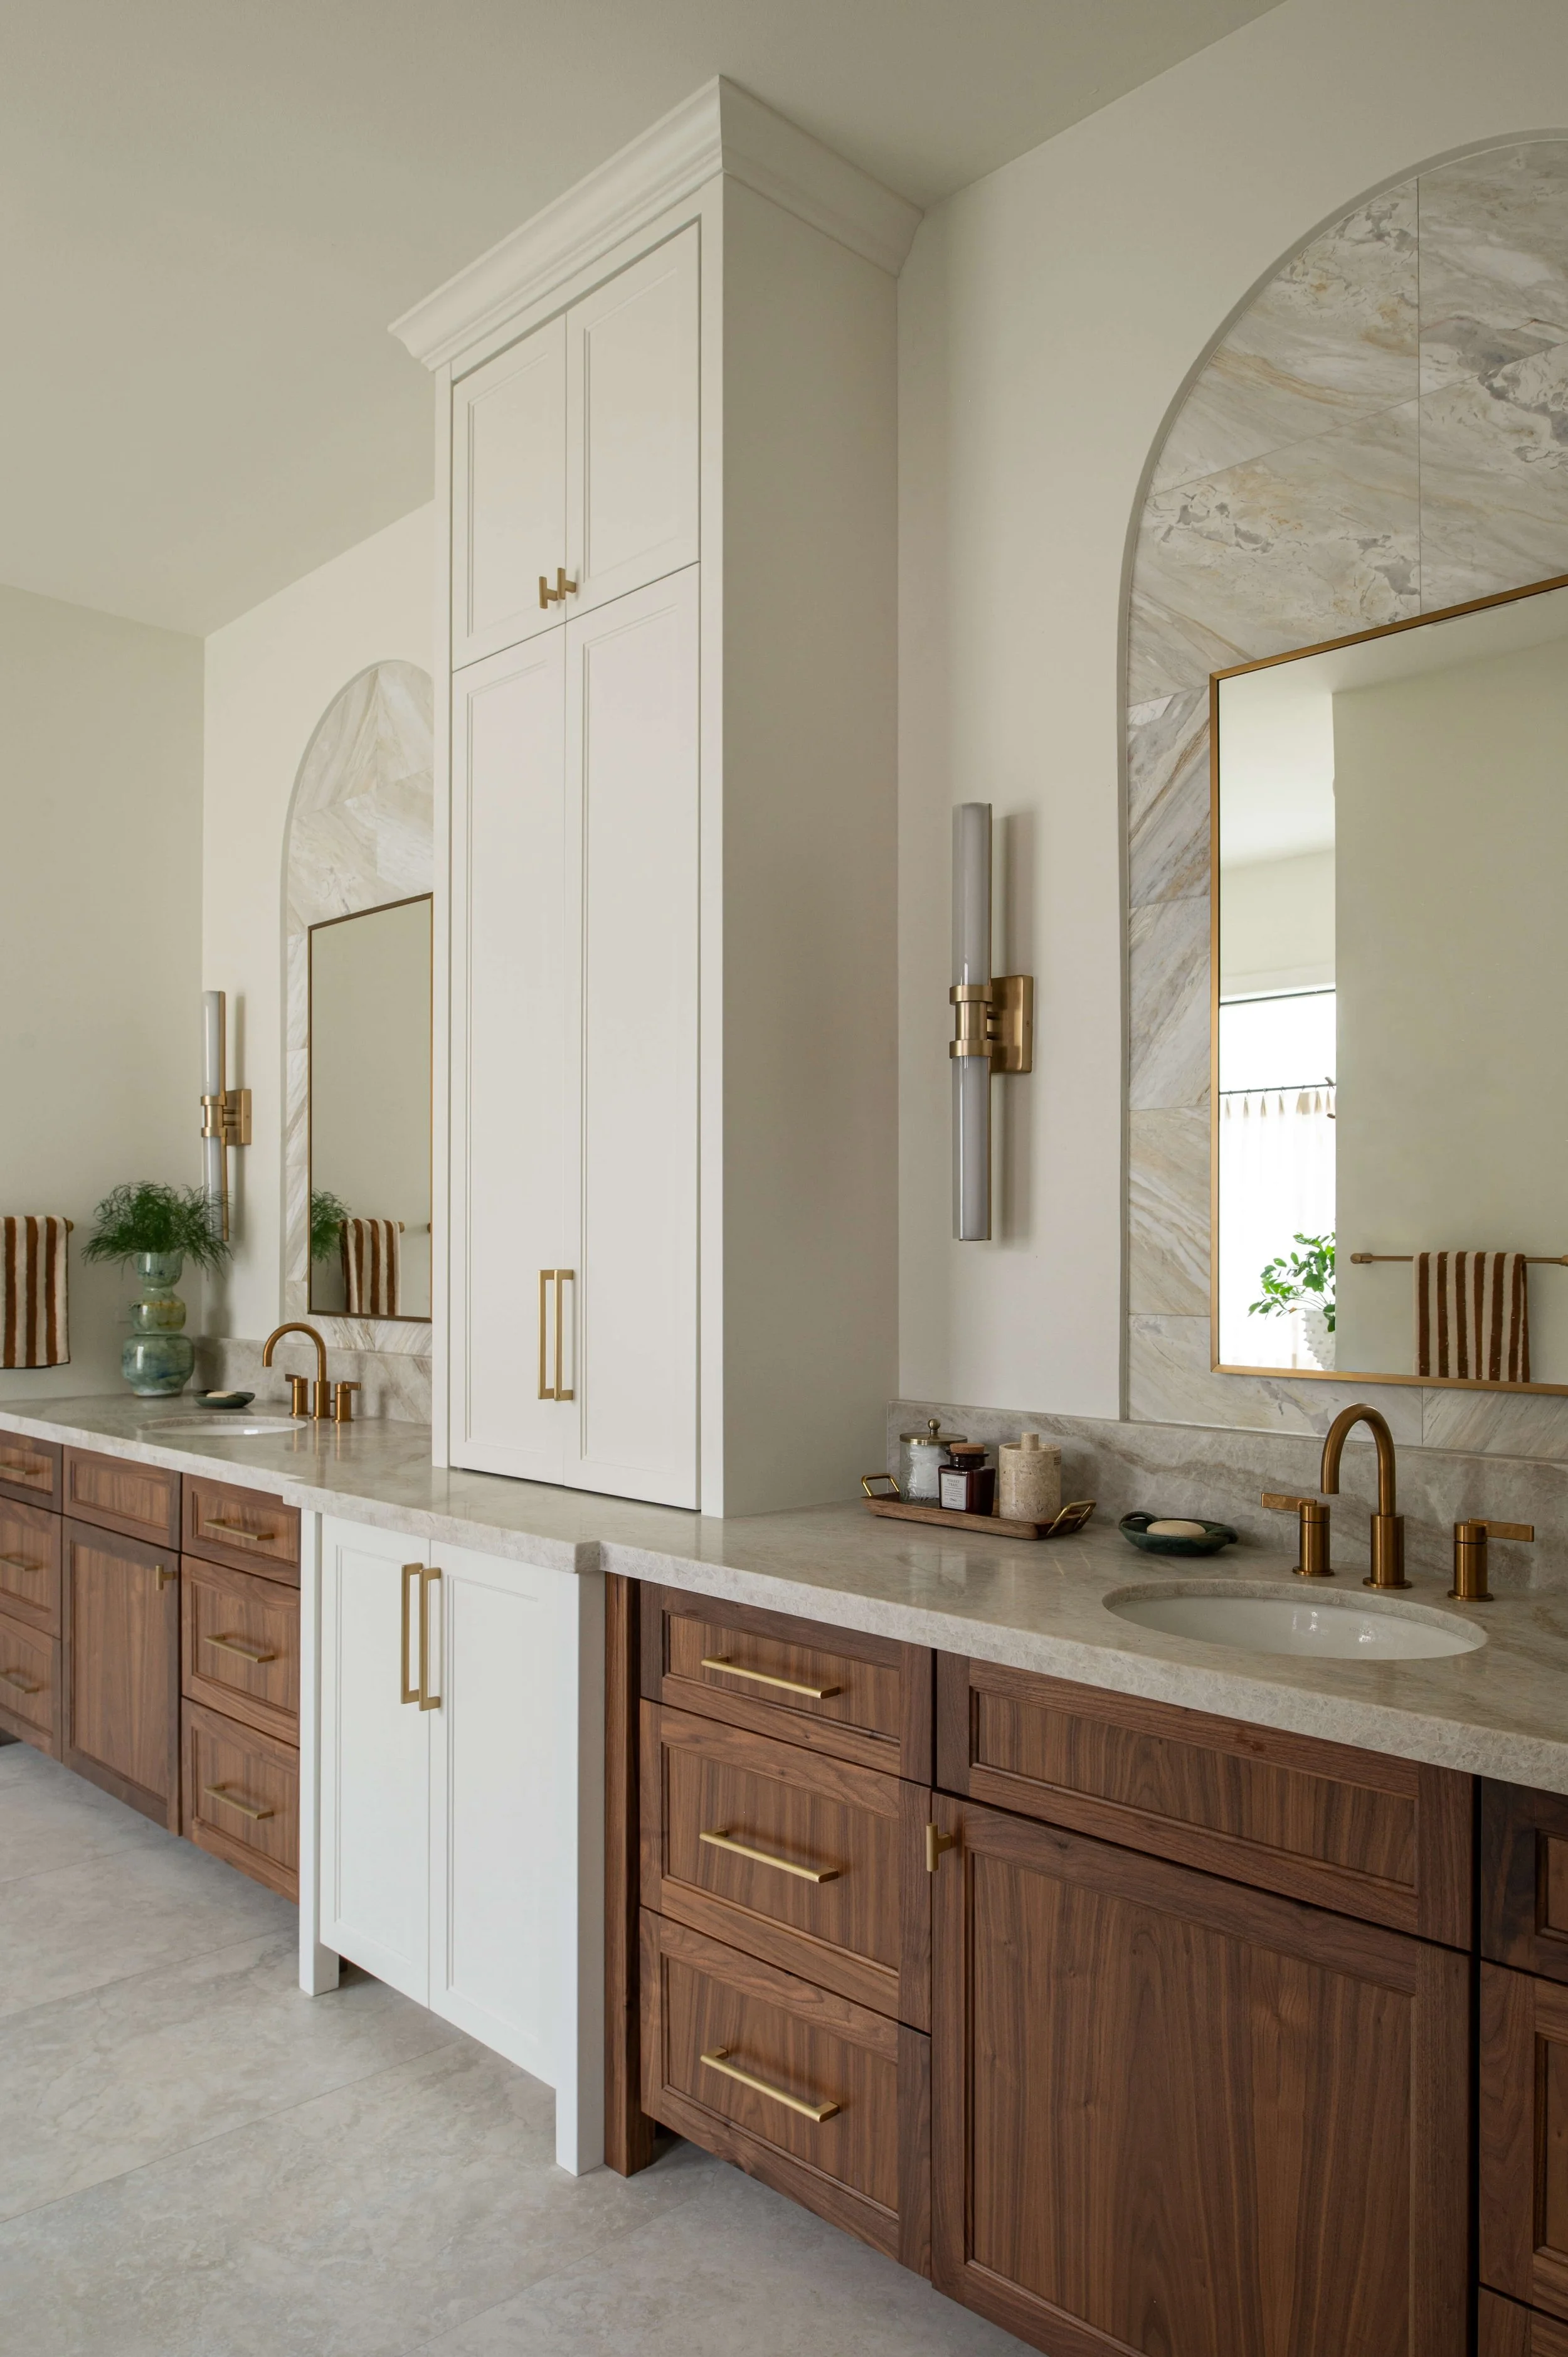
AFTER - Primary Bath Remodel | Designer: Carla Aston, Contractor: CA Design Build, Photo: Ellen Renee Photography
Primary Closet
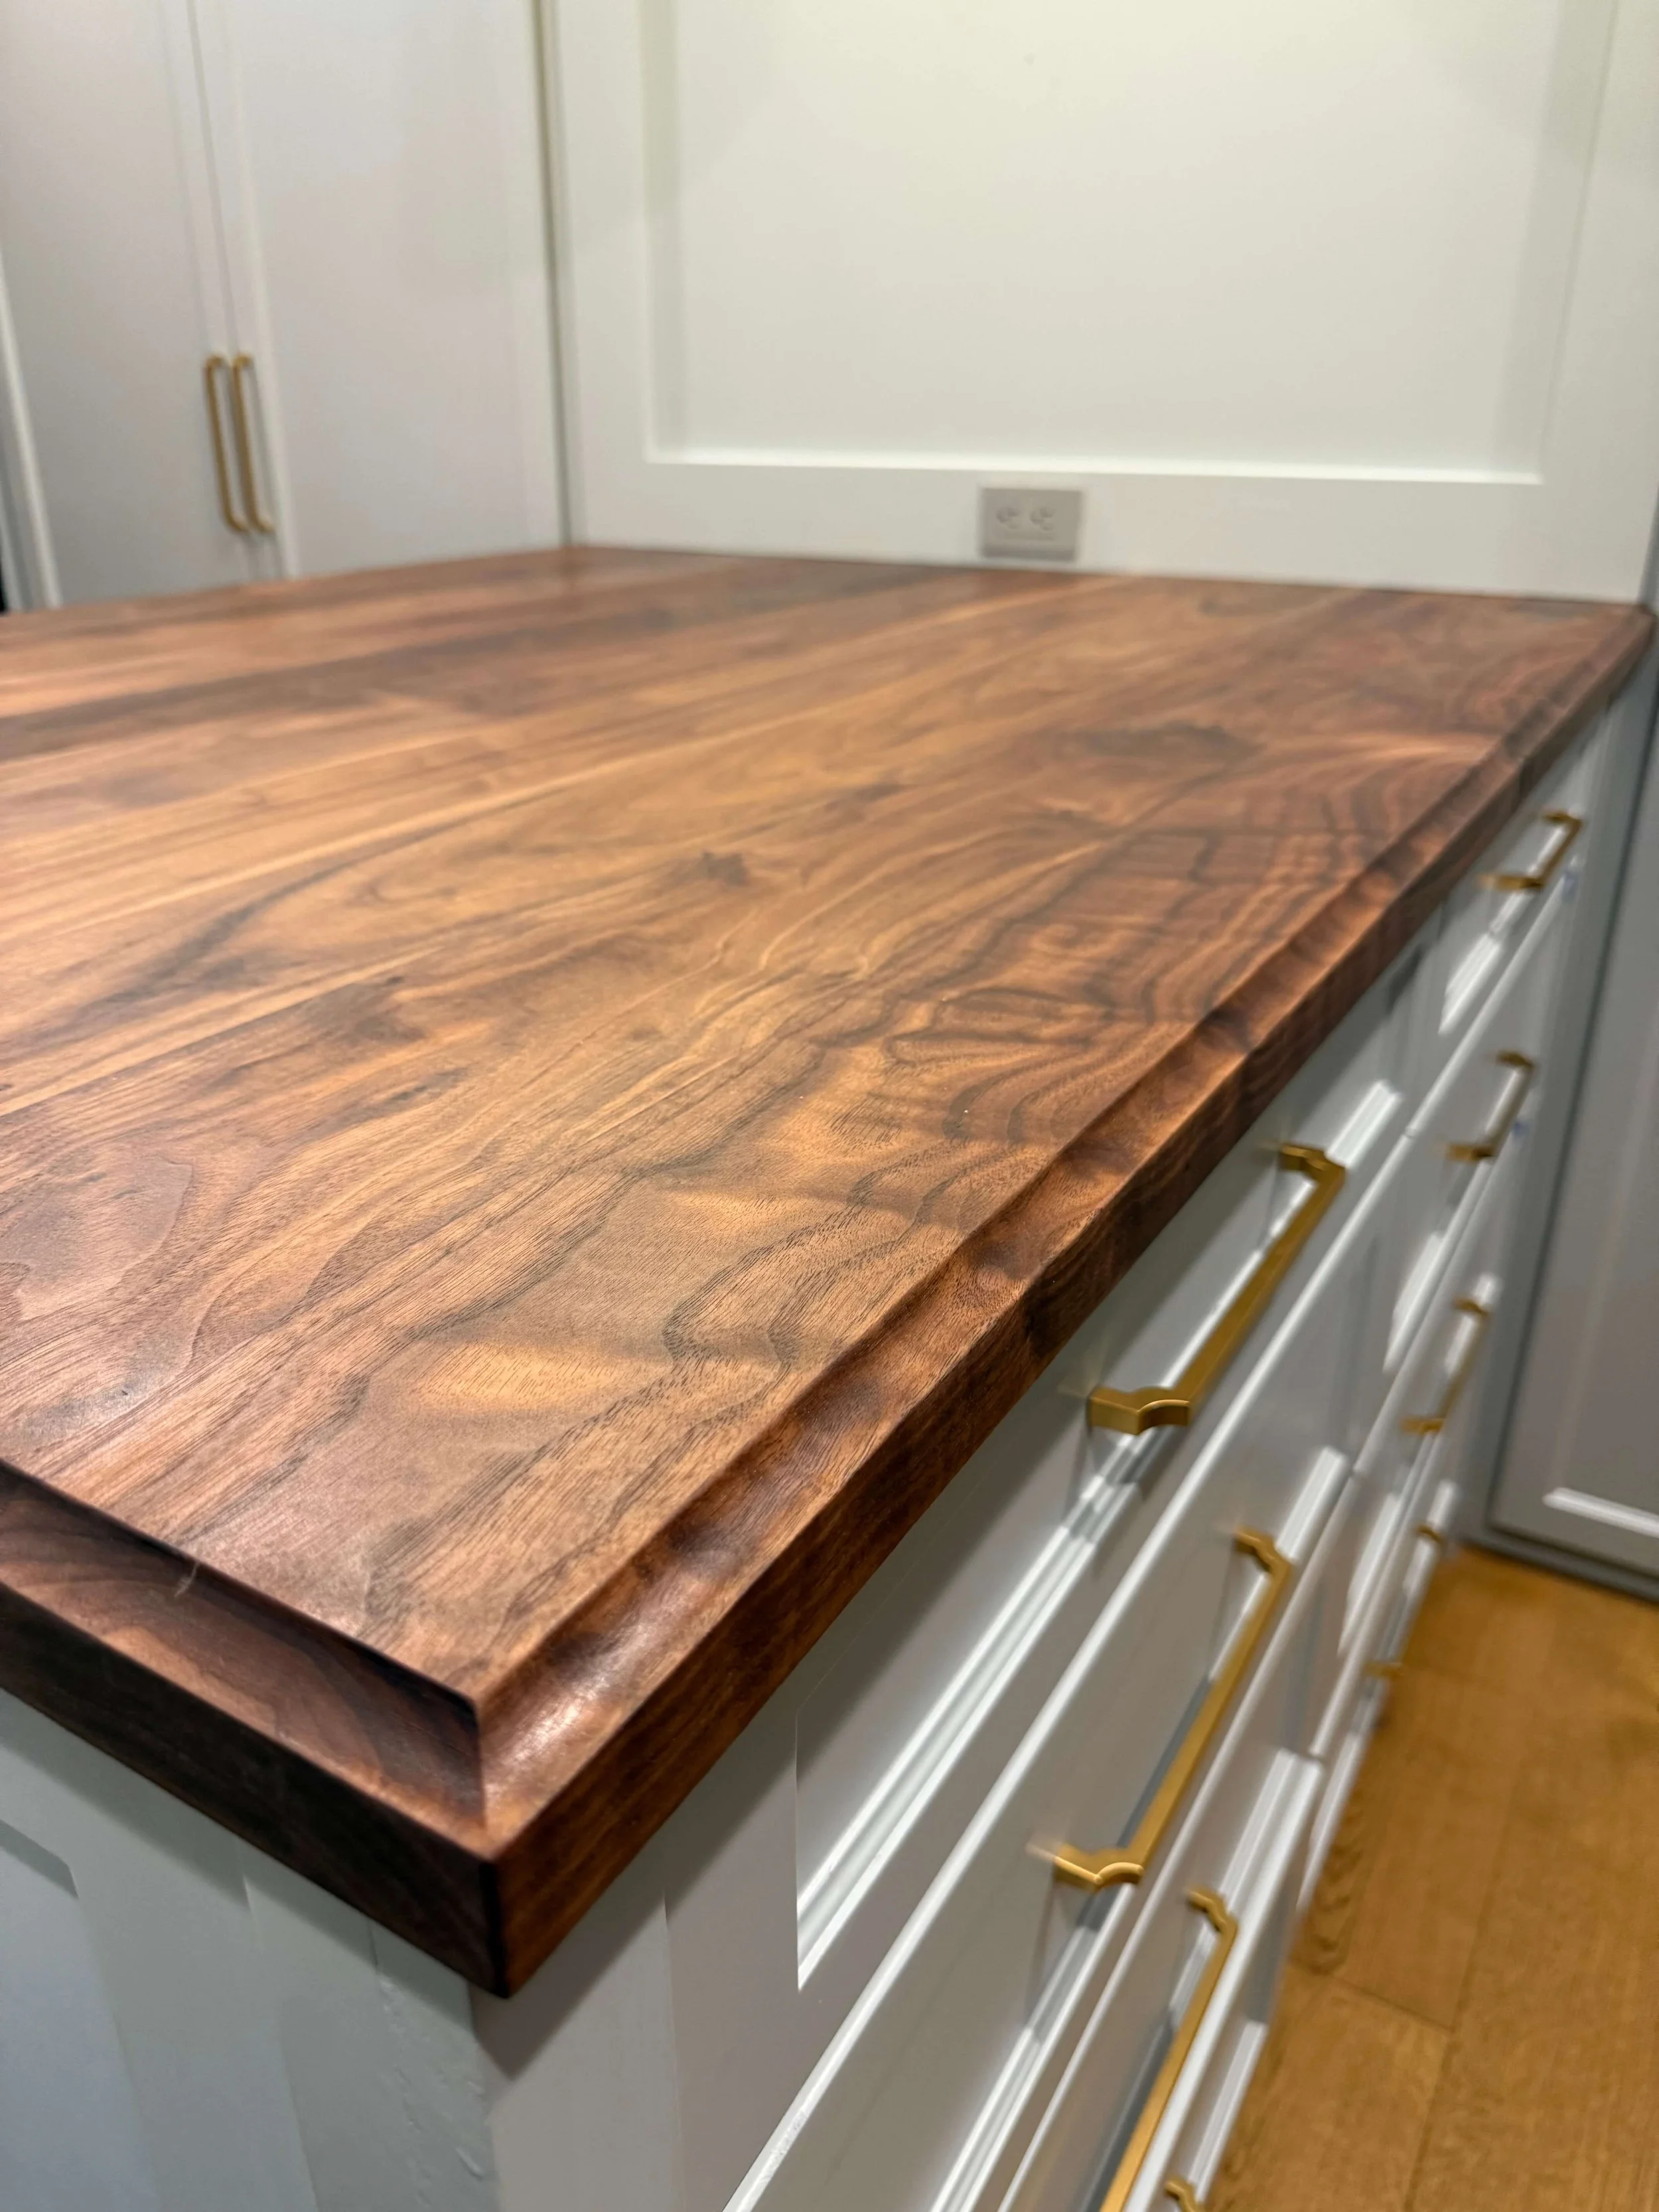
The primary closet layout kept a perimeter cabinetry layout, but the entry to the closet changed. My client wanted some kind of island cabinet so we created a peninsula with storage, a mirror above and beautiful walnut wood countertop.
Grasscloth on the cabinet fronts adds a level of sophistication and softness. It feels so luxurious in there now!
While I kept the bathroom more neutral, we used a similar blue color in here to relate to the bedroom.
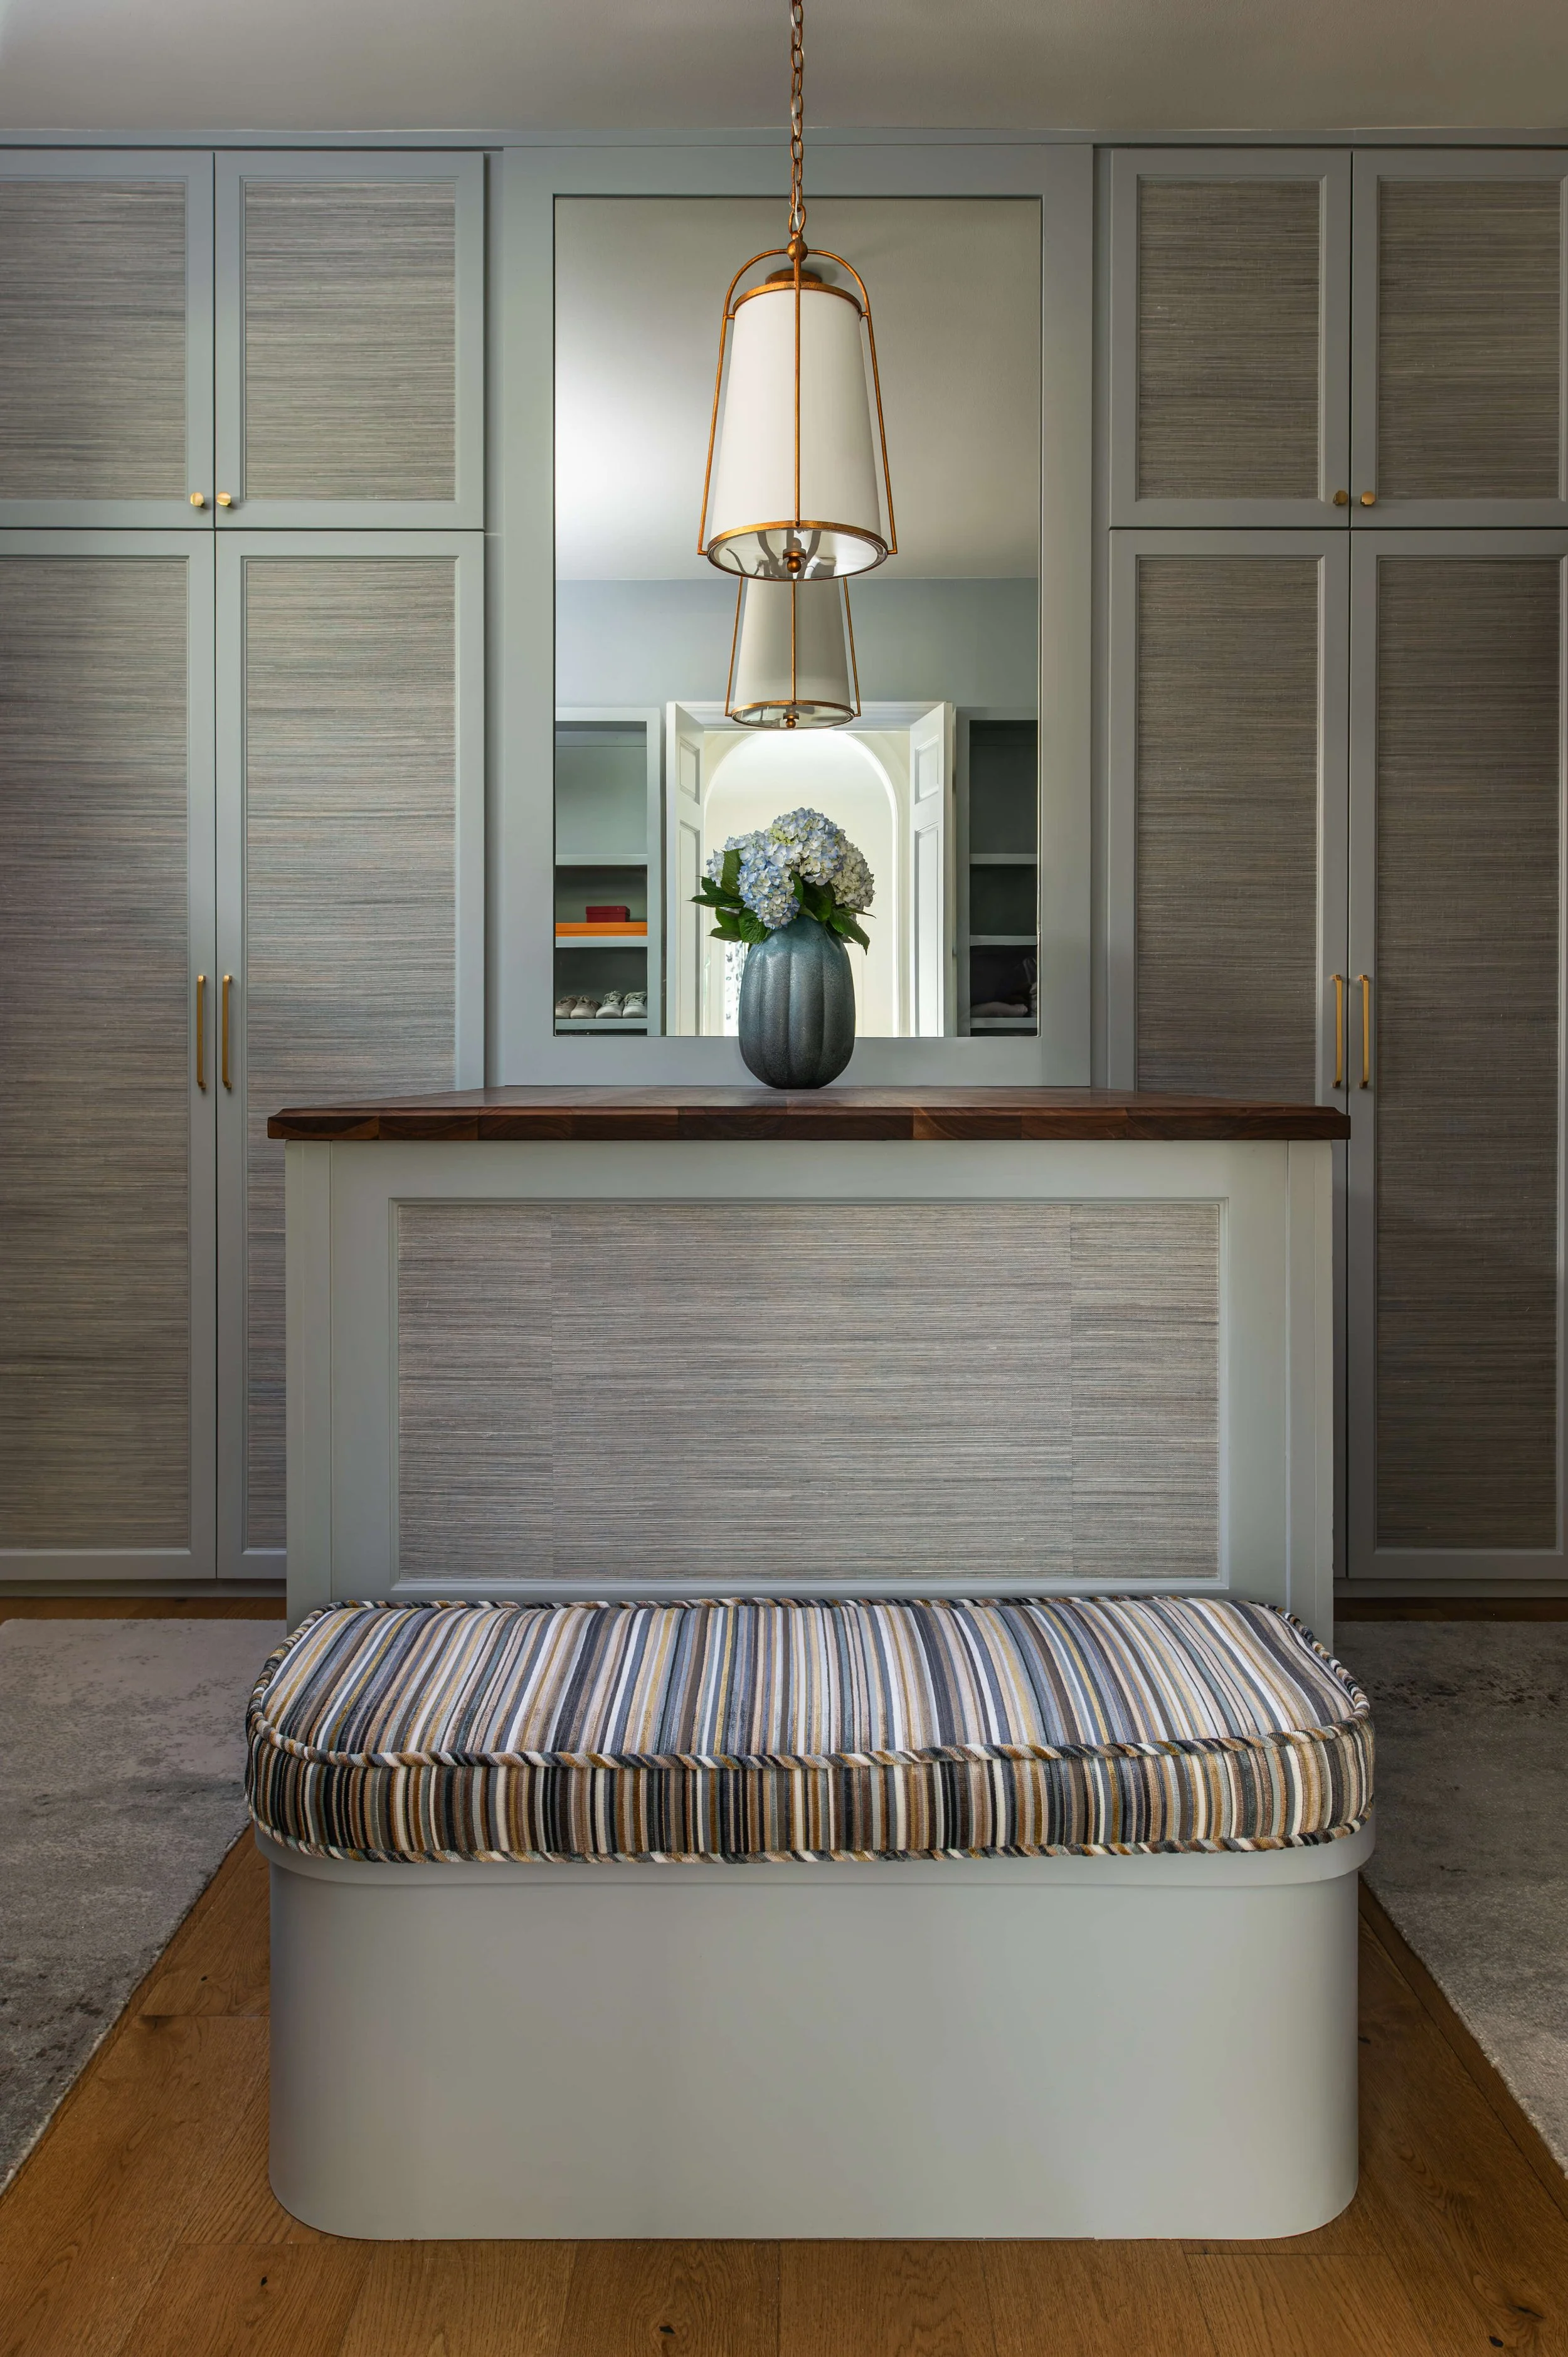
AFTER - Closet Remodel | Designer: Carla Aston, Contractor: CA Design Build, Photo: Ellen Renee Photography
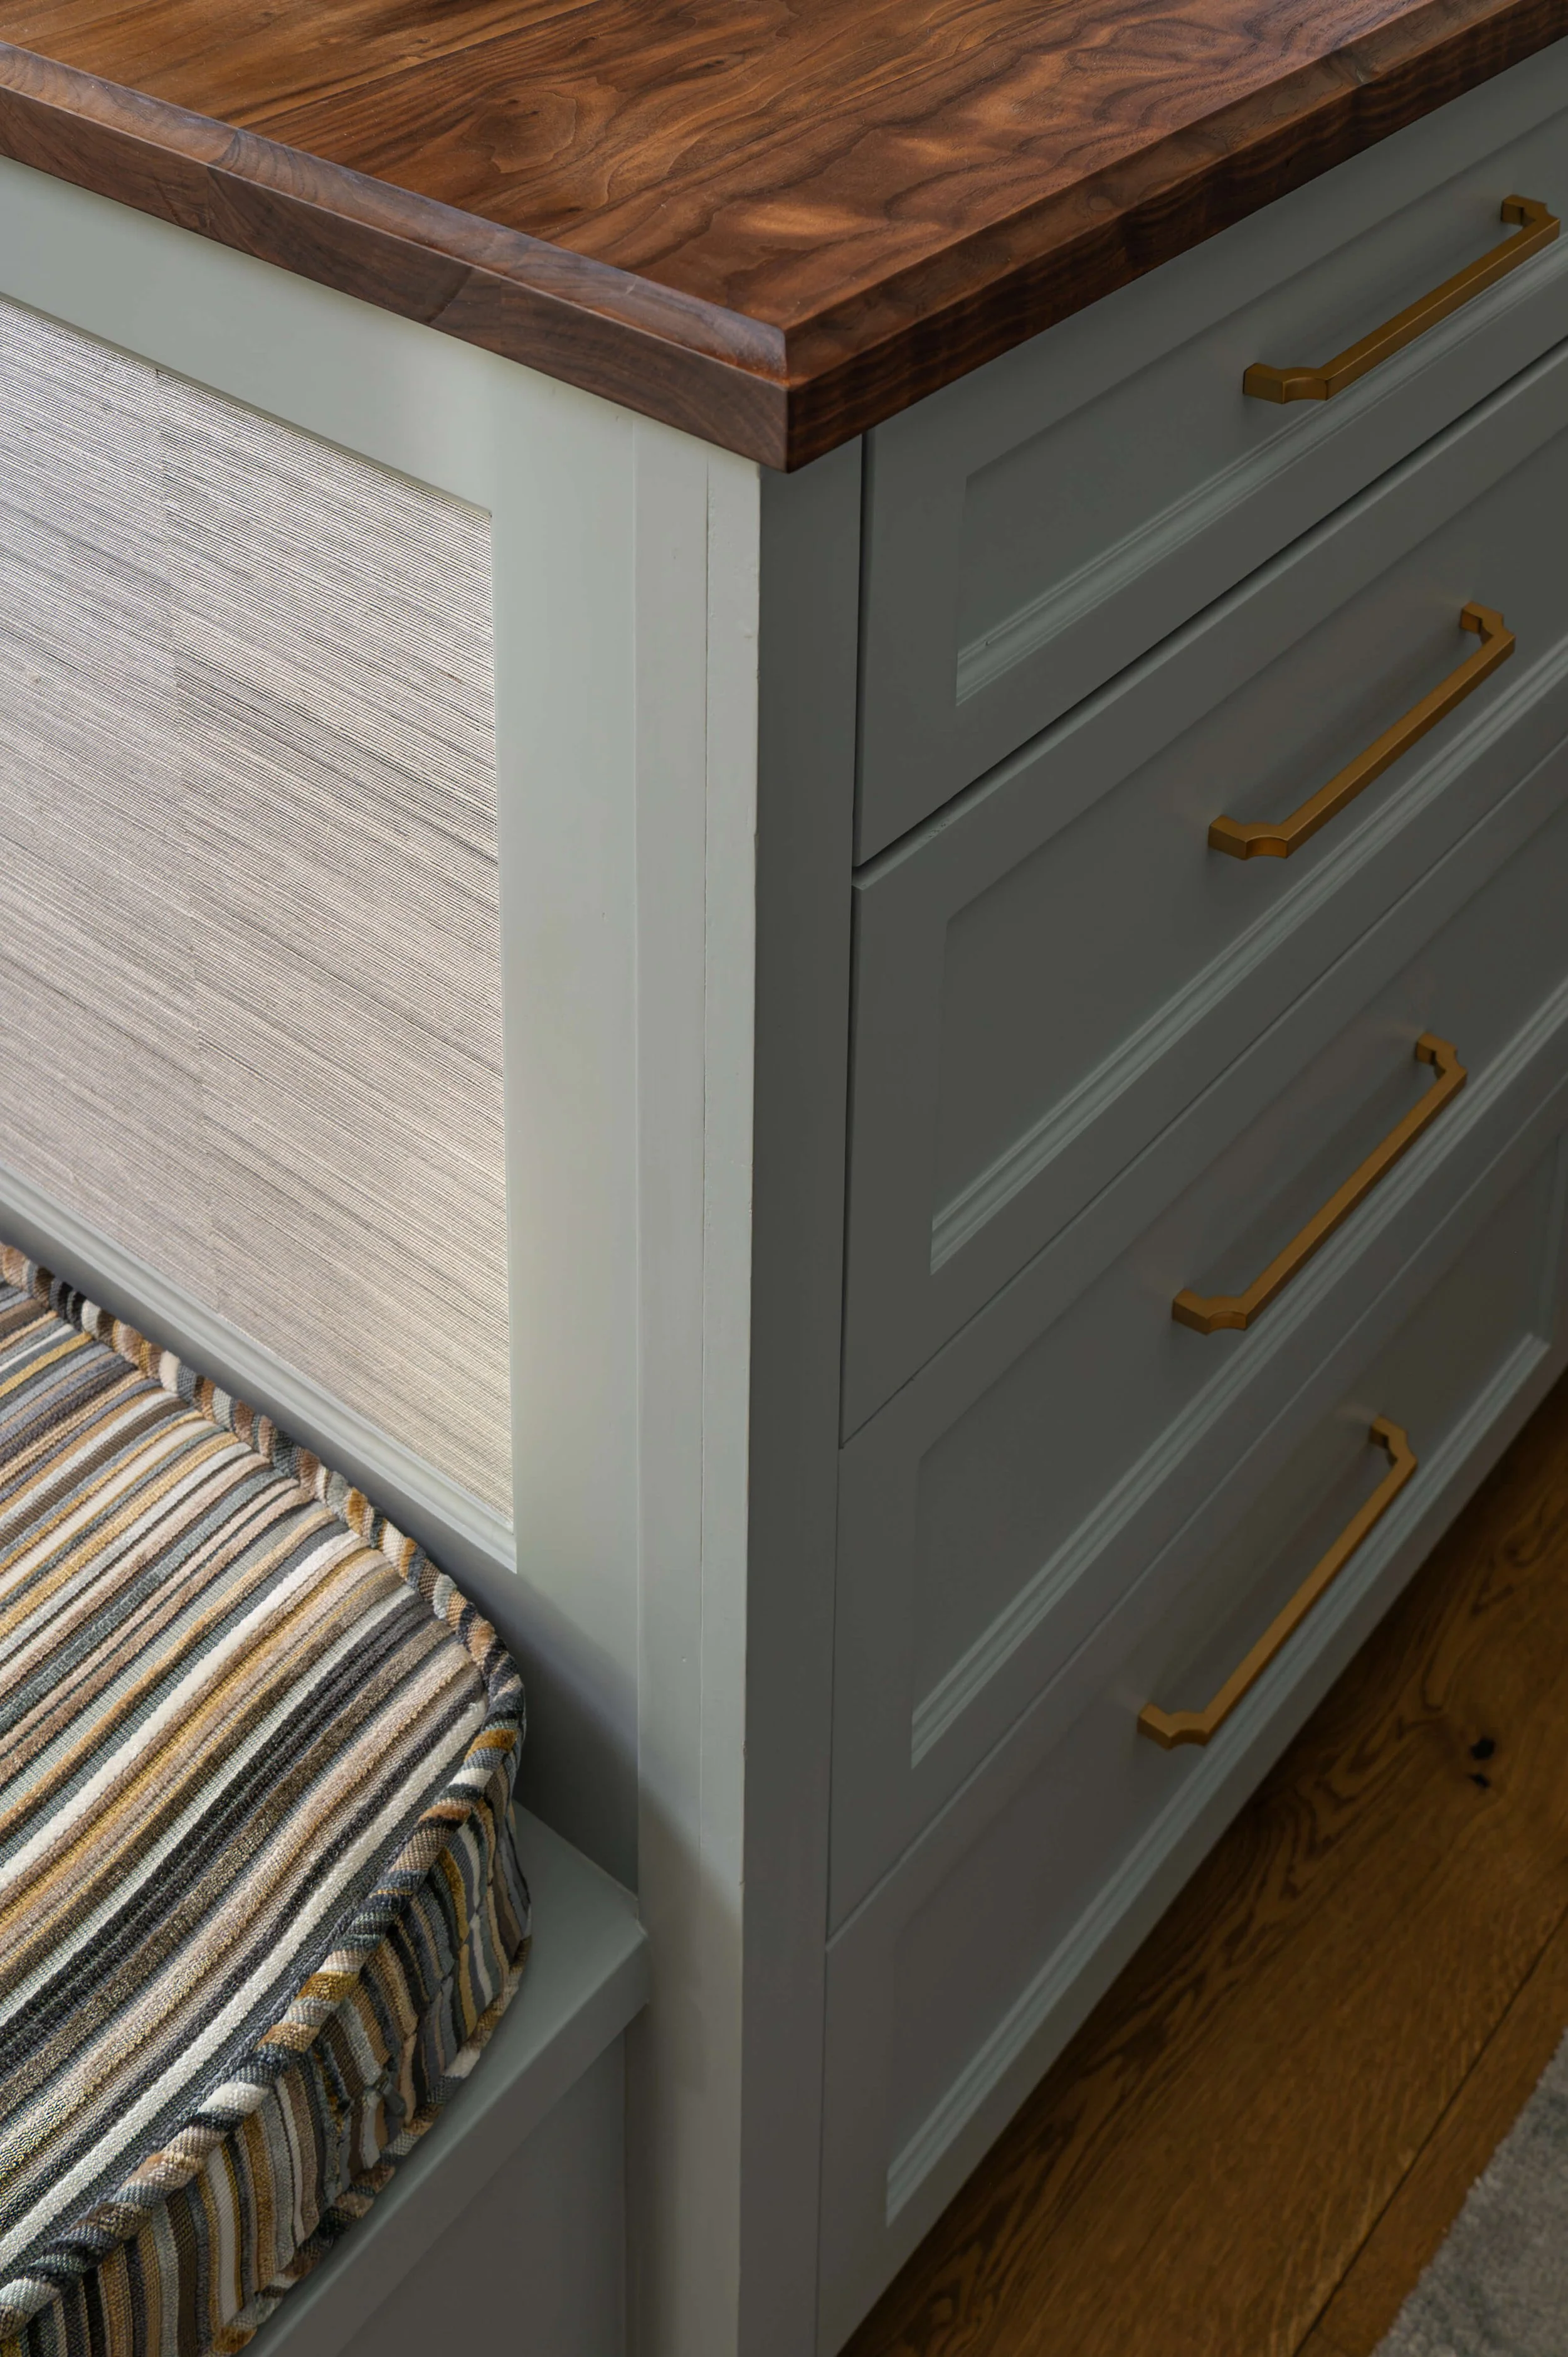
AFTER - Closet Remodel | Designer: Carla Aston, Contractor: CA Design Build, Photo: Ellen Renee Photography
I can’t resist sharing a pic I took of the countertop after it was installed (you can see the mirror was not installed yet). It adds such richness to this space.
Primary Bedroom
Lastly, I’m sharing photos of the primary bedroom. This room was to get the furniture that I had purchased for them in their previous home. It all fit so nicely here! We even remade the draperies to fit this new room.
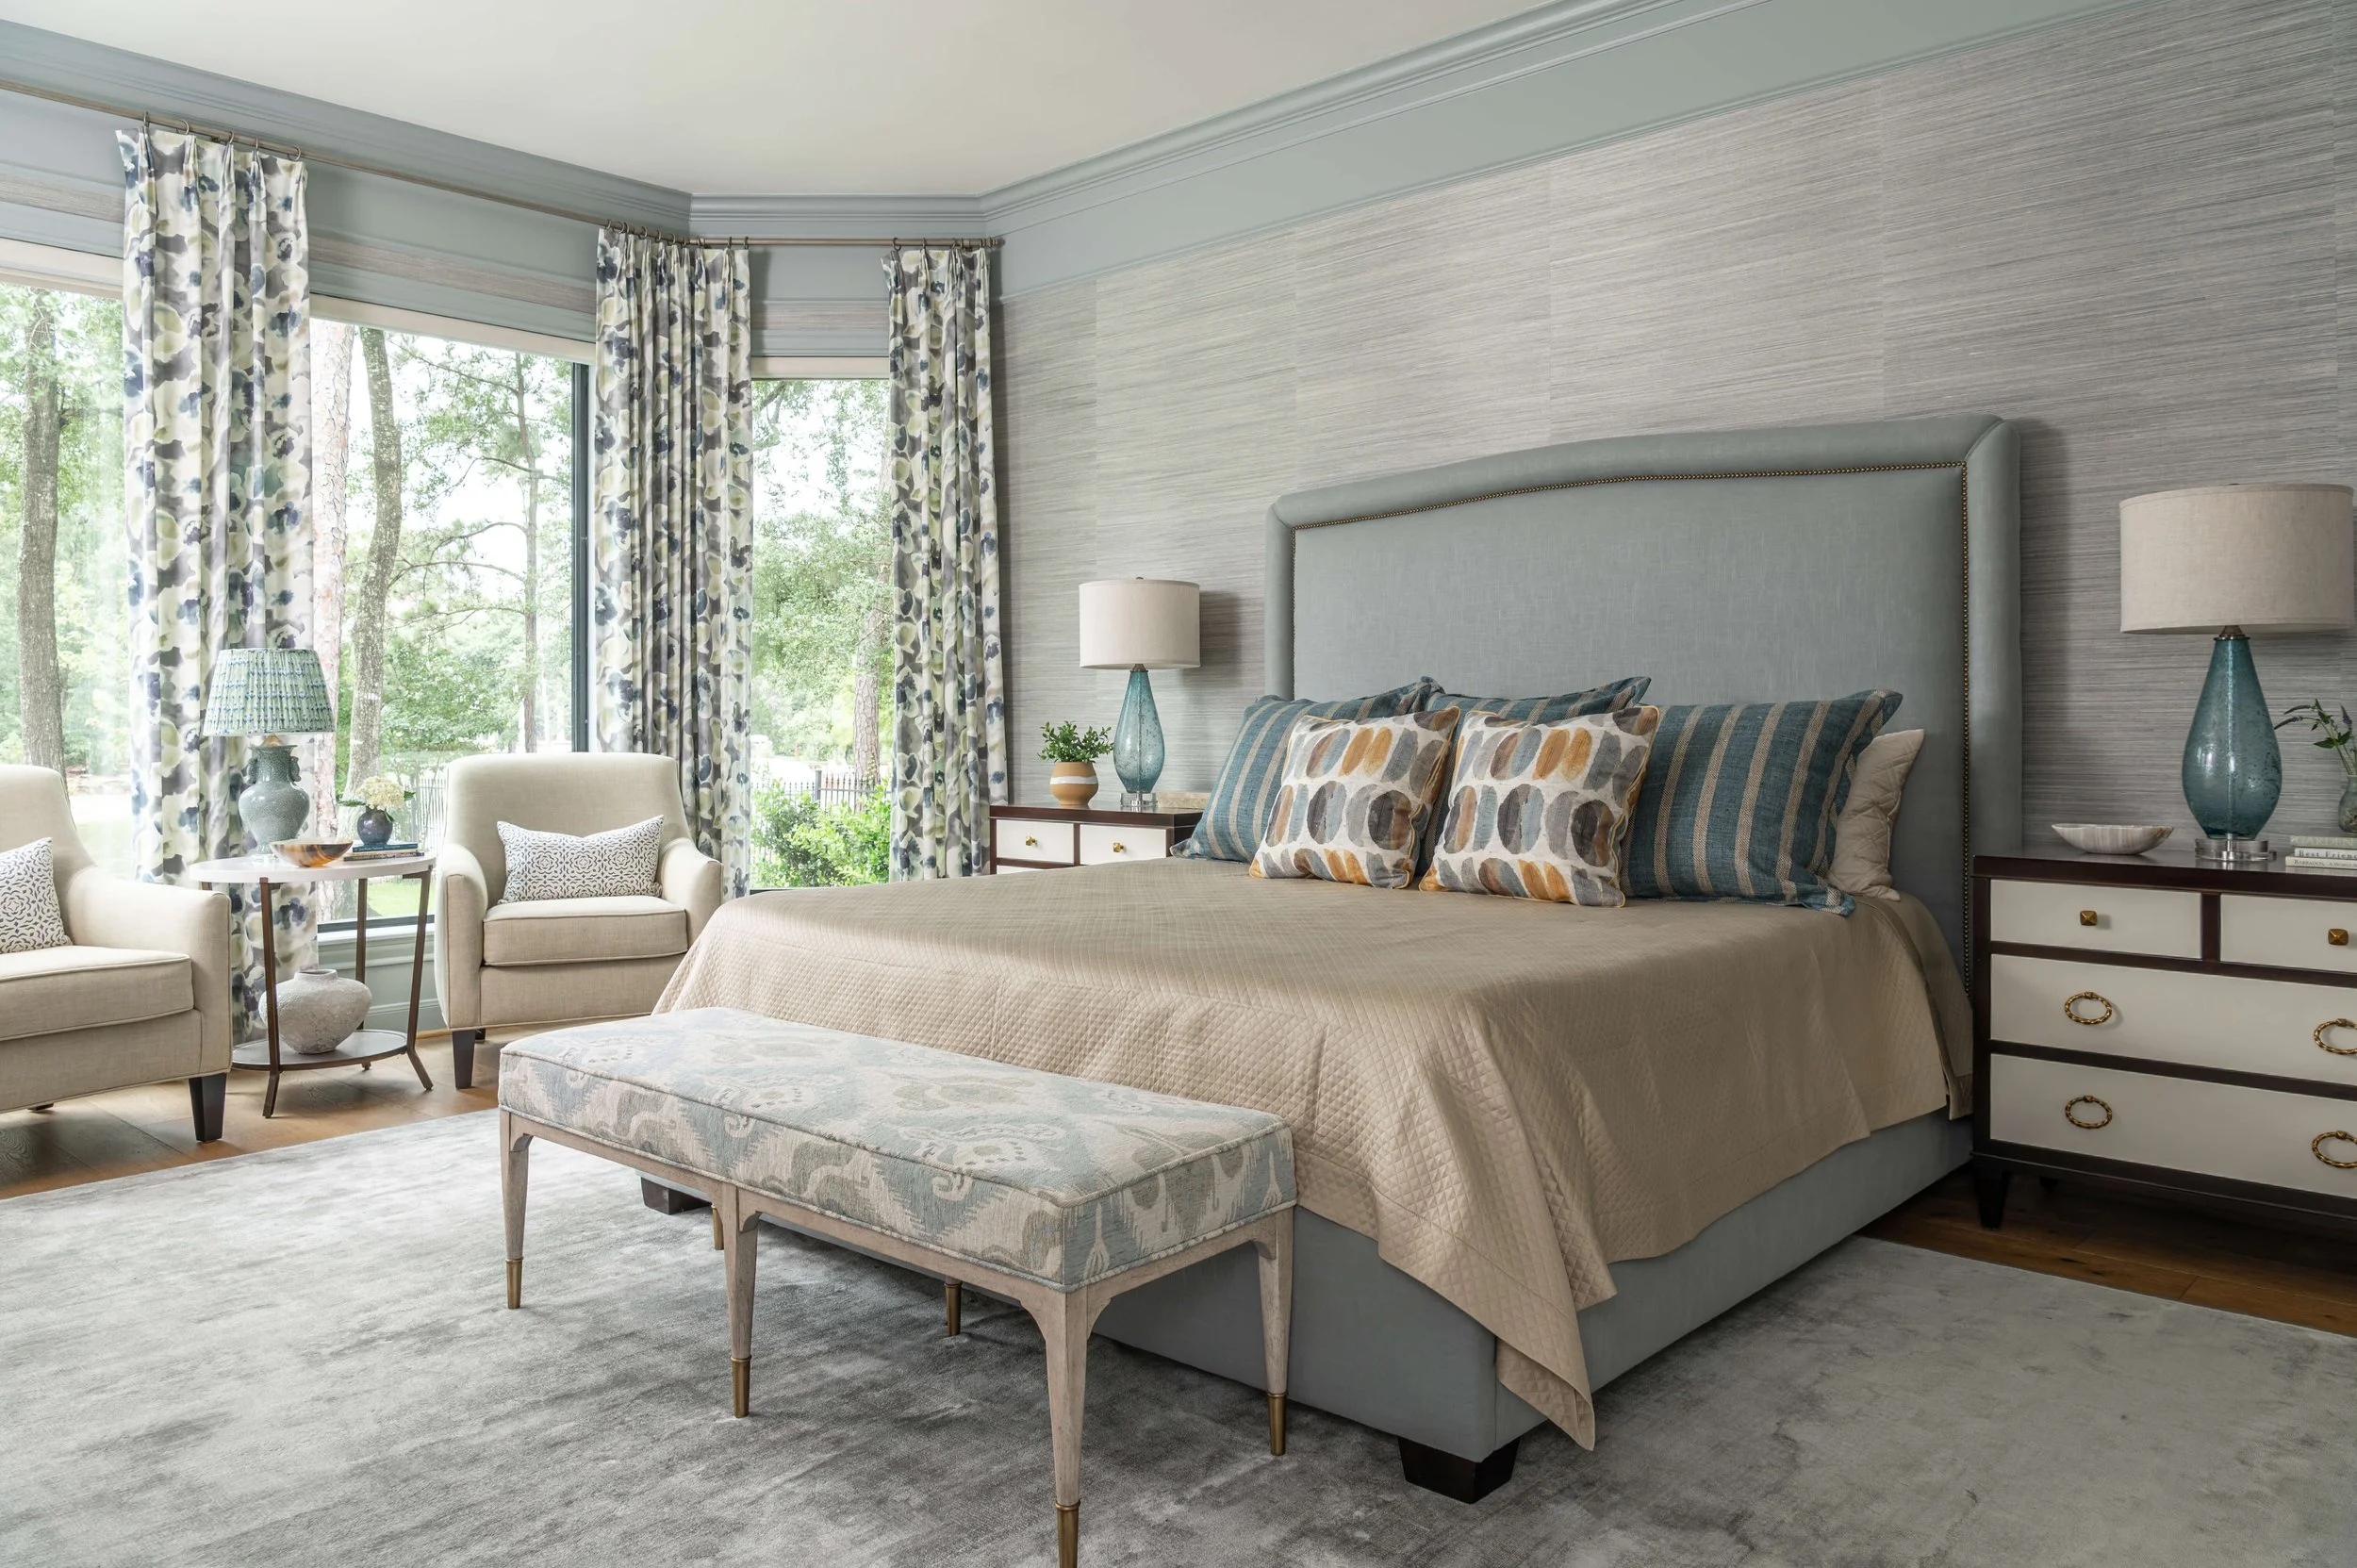
AFTER - Primary Bedroom Remodel | Designer: Carla Aston, Contractor: CA Design Build, Photo: Ellen Renee Photography
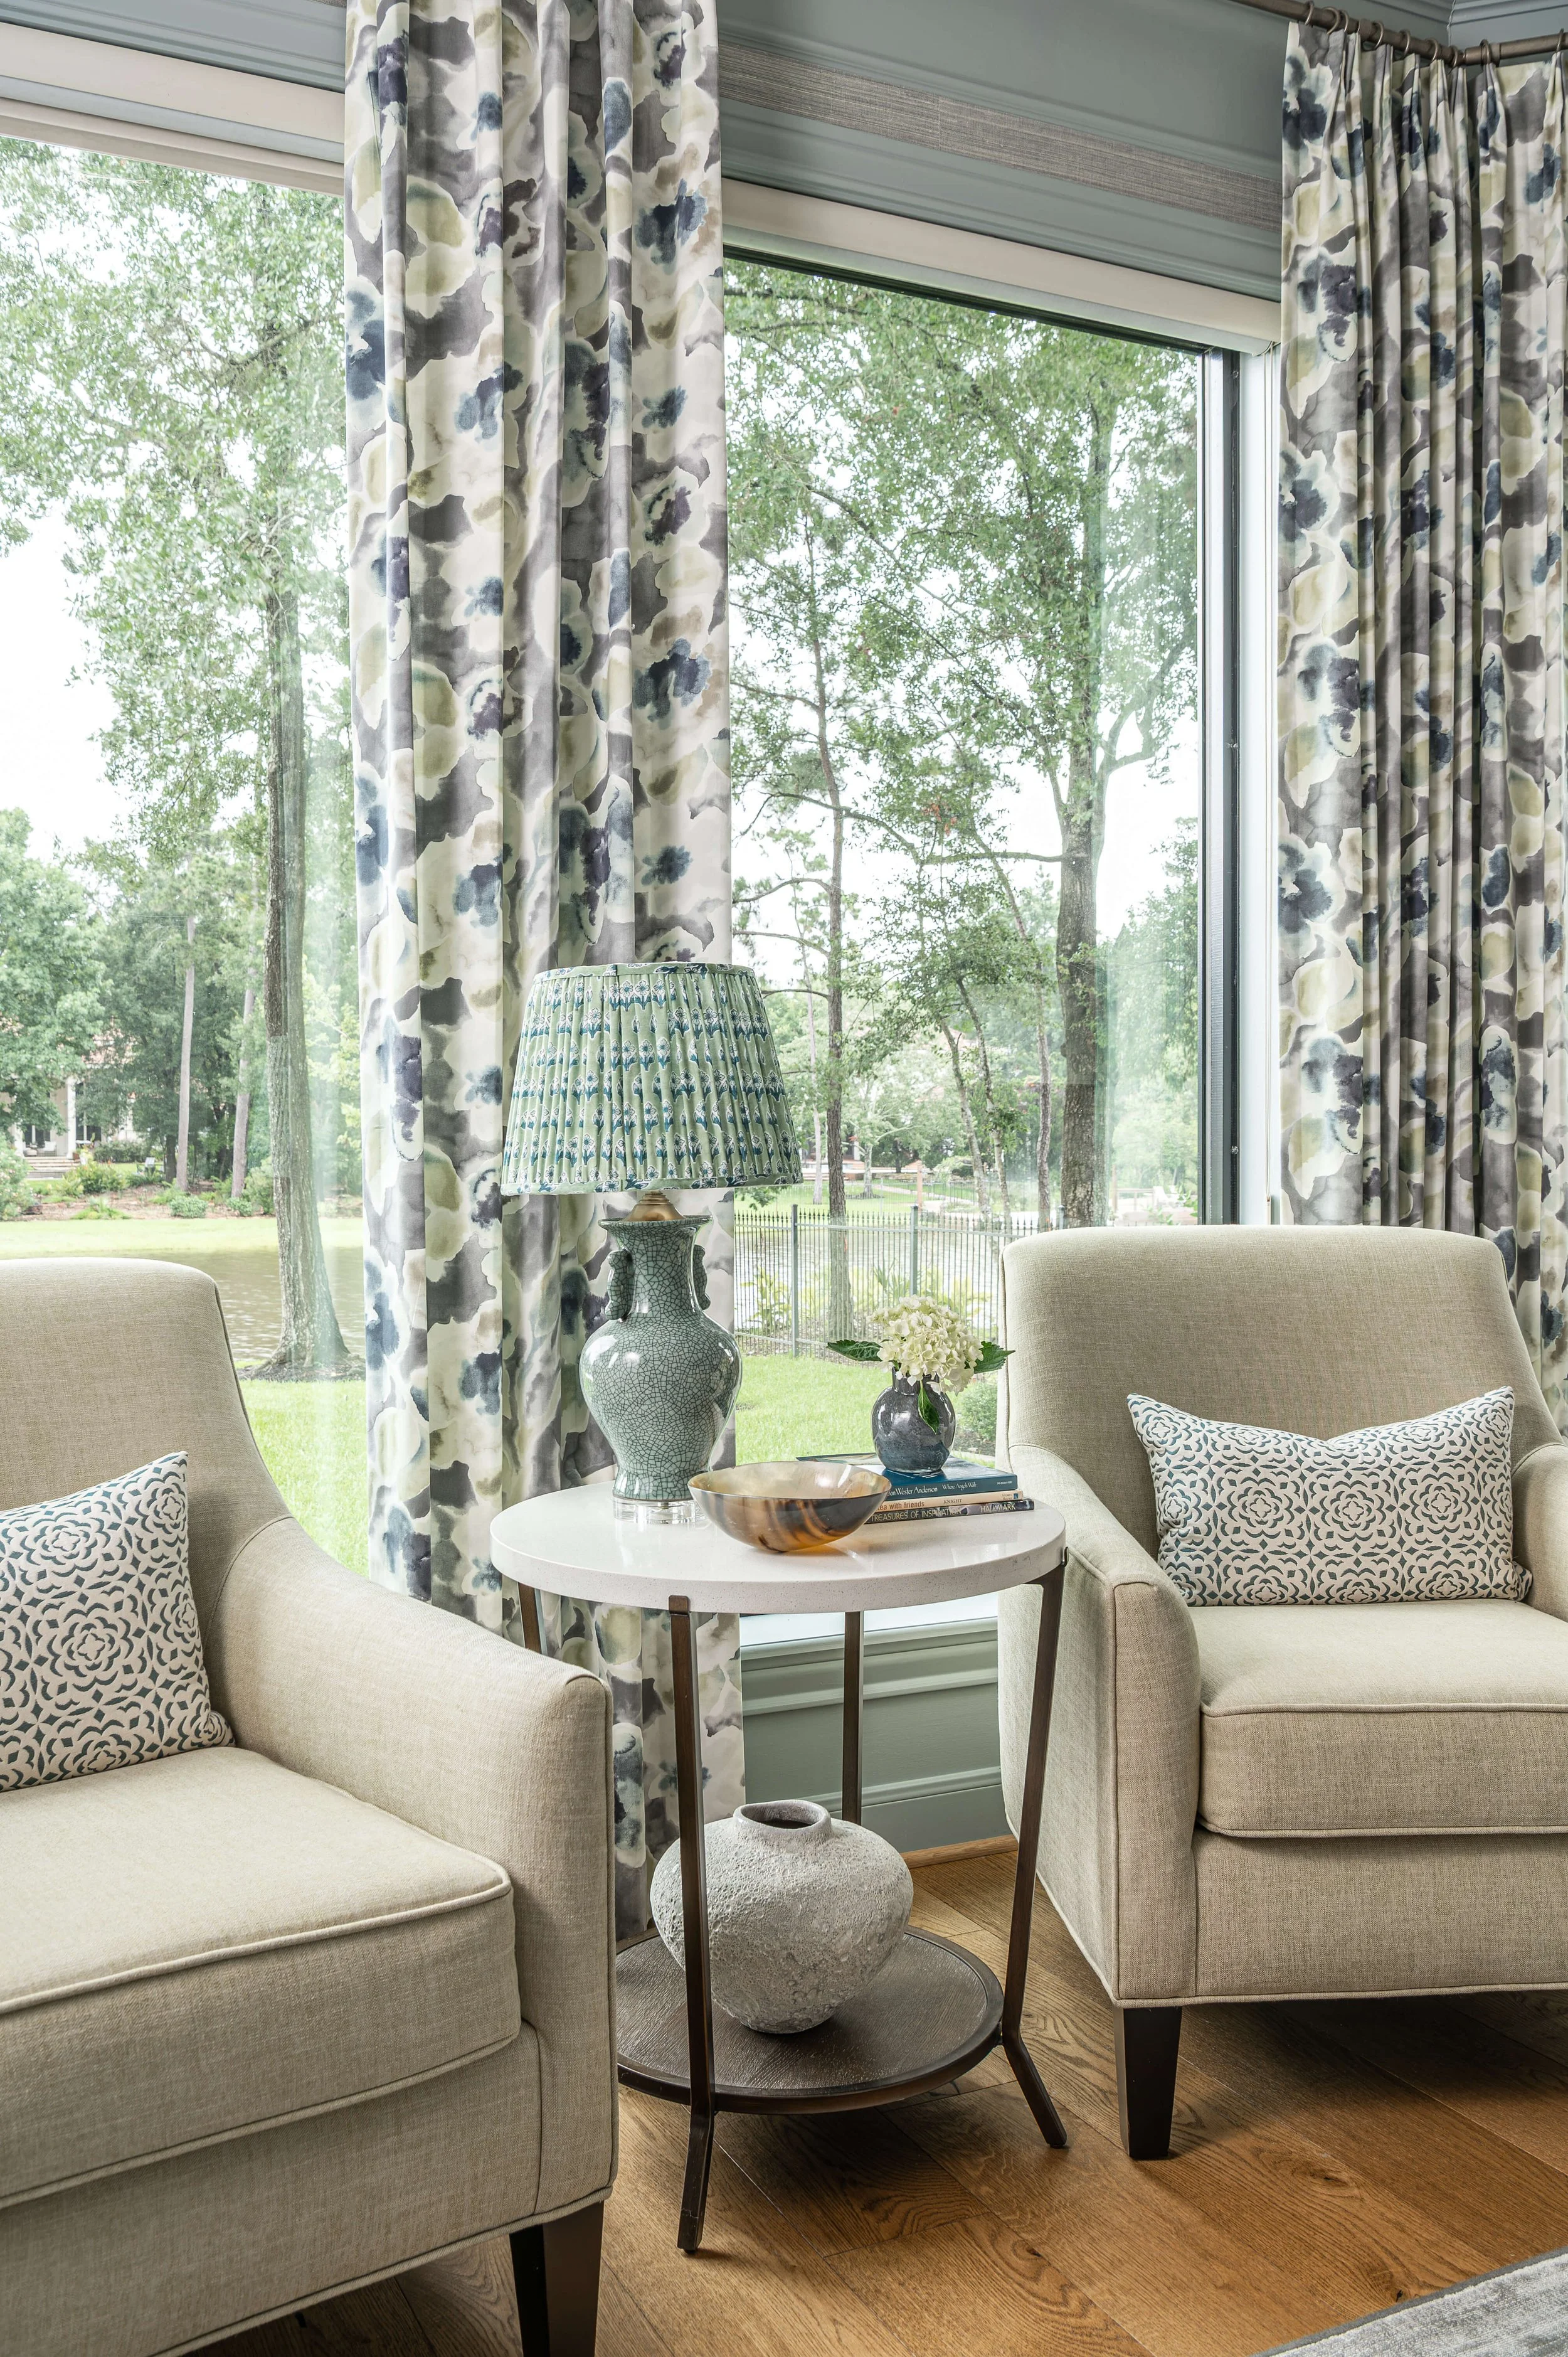
AFTER - Primary Bedroom Remodel | Designer: Carla Aston, Contractor: CA Design Build, Photo: Ellen Renee Photography
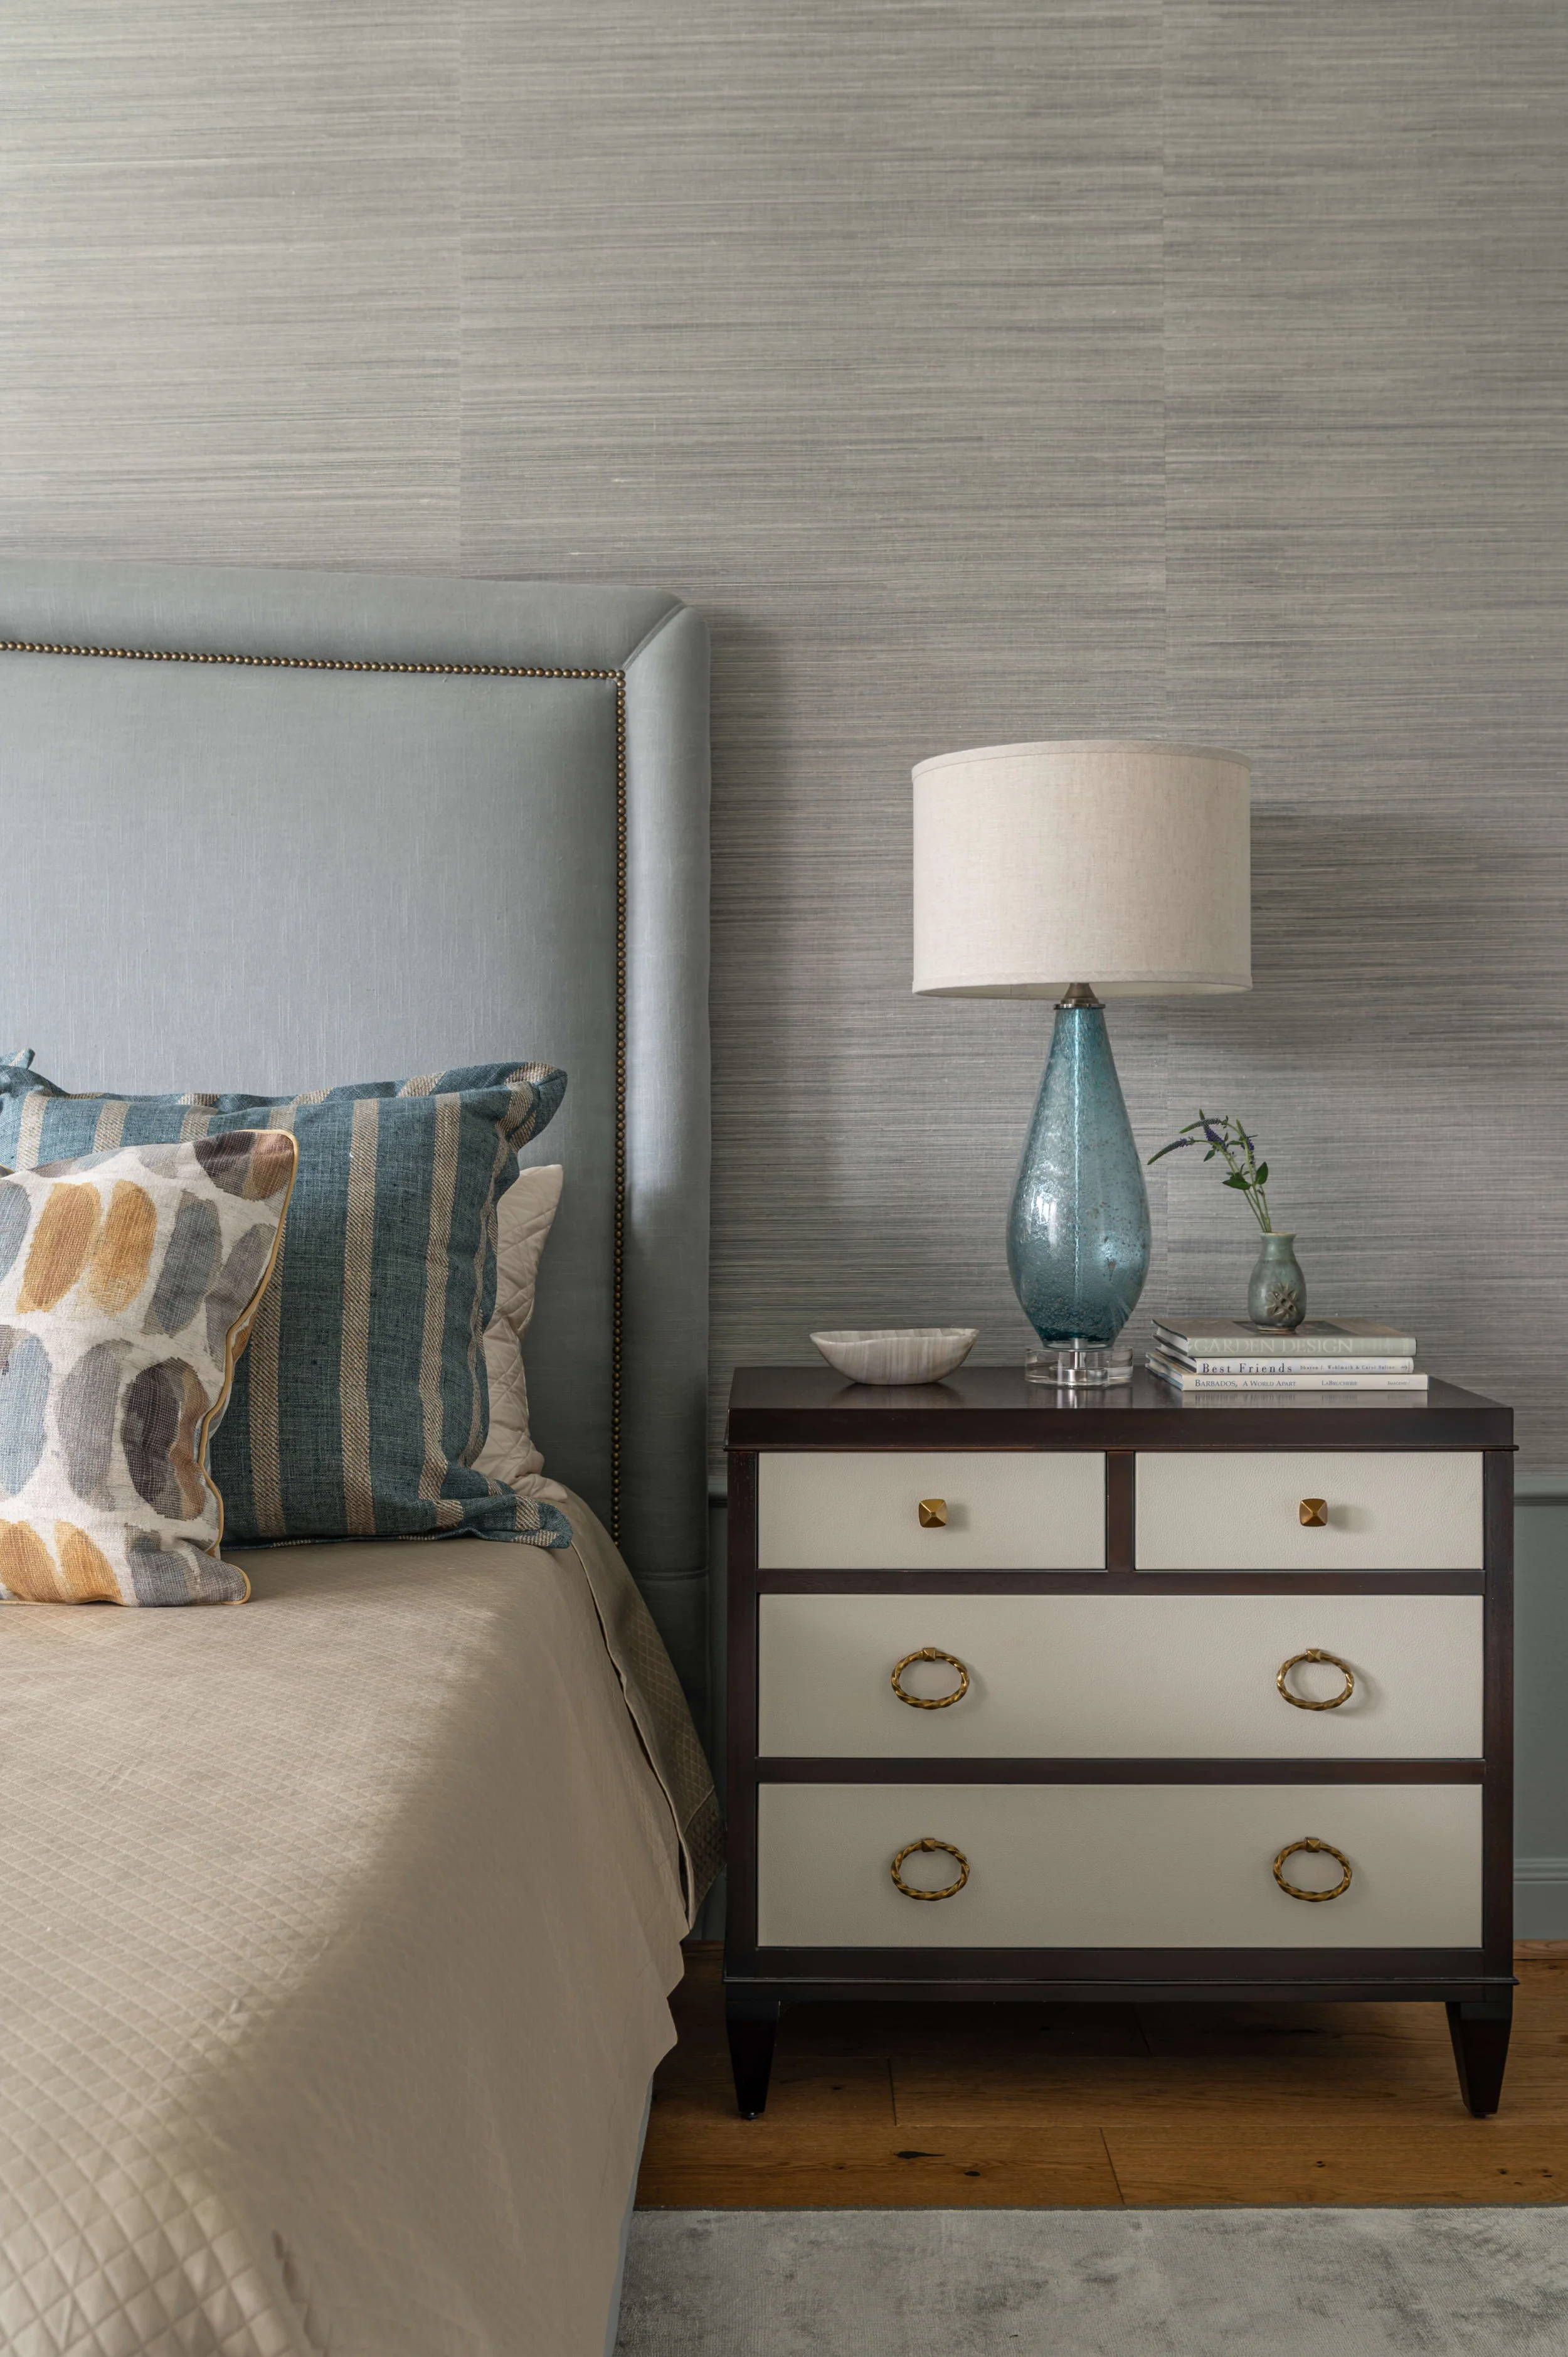
AFTER - Primary Bedroom Remodel | Designer: Carla Aston, Contractor: CA Design Build, Photo: Ellen Renee Photography
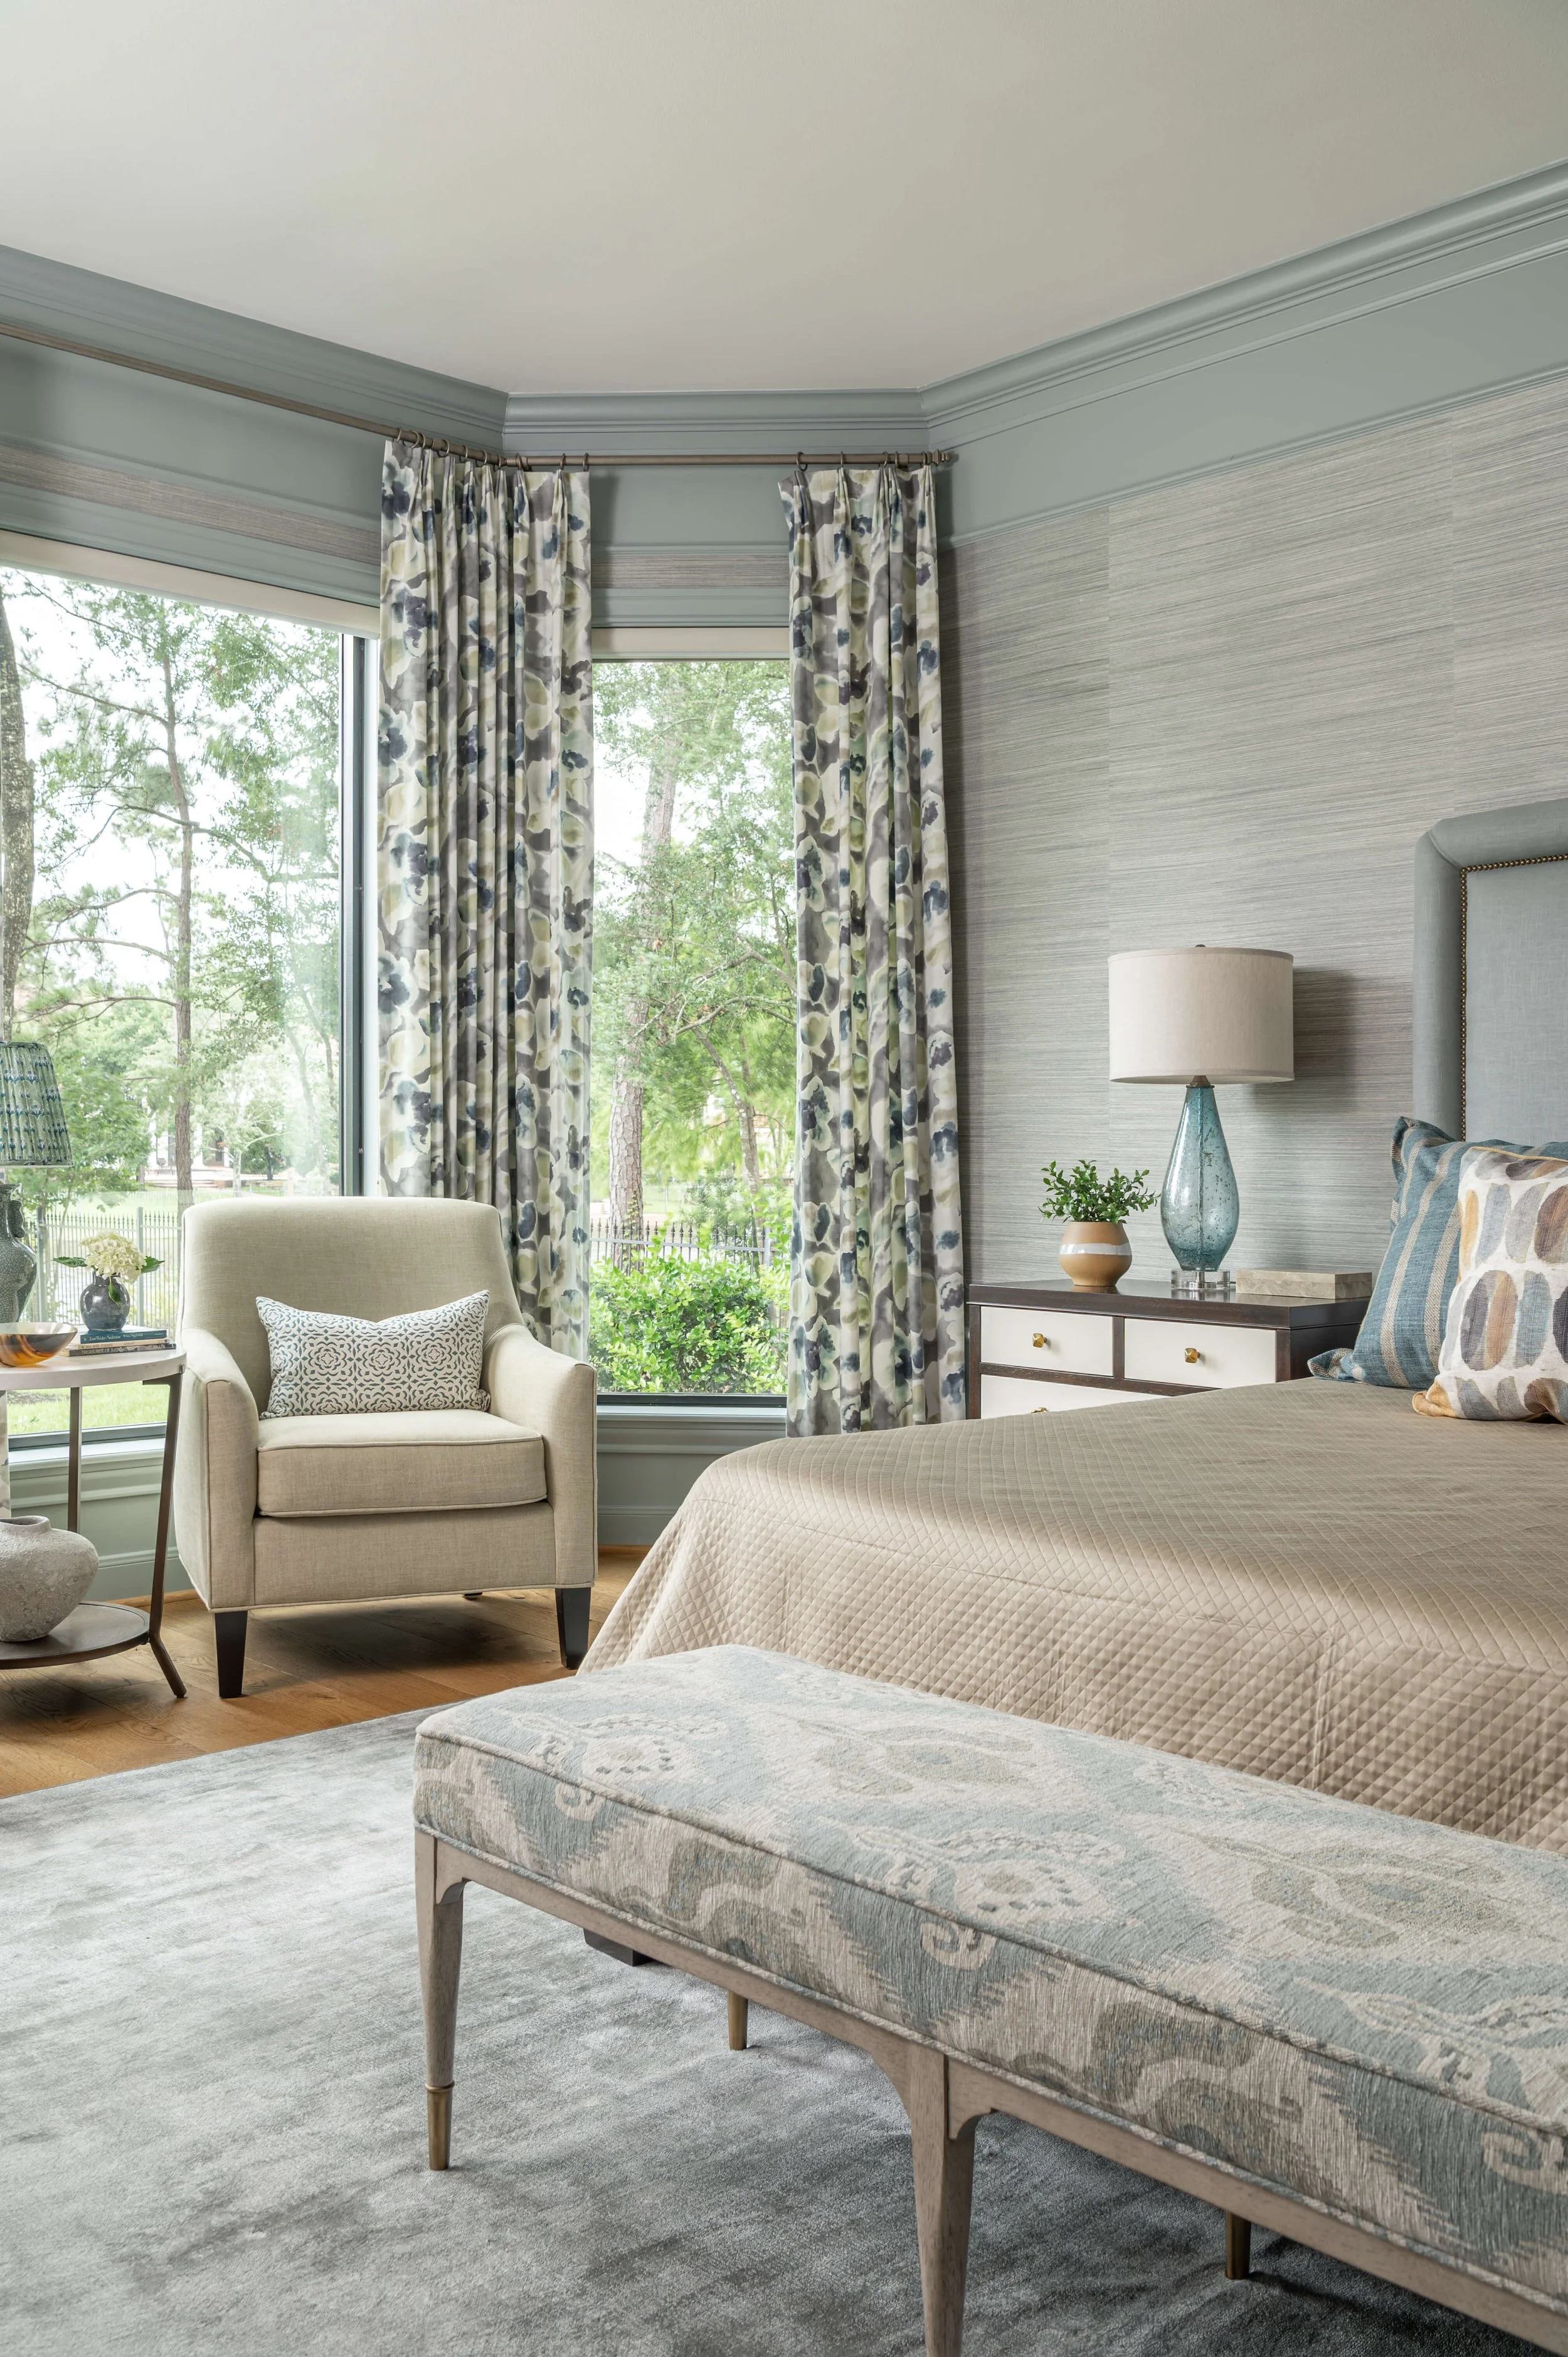
AFTER - Primary Bedroom Remodel | Designer: Carla Aston, Contractor: CA Design Build, Photo: Ellen Renee Photography
We did some new pillows and grasscloth on the walls. I have to show you how this room looked when we got it.
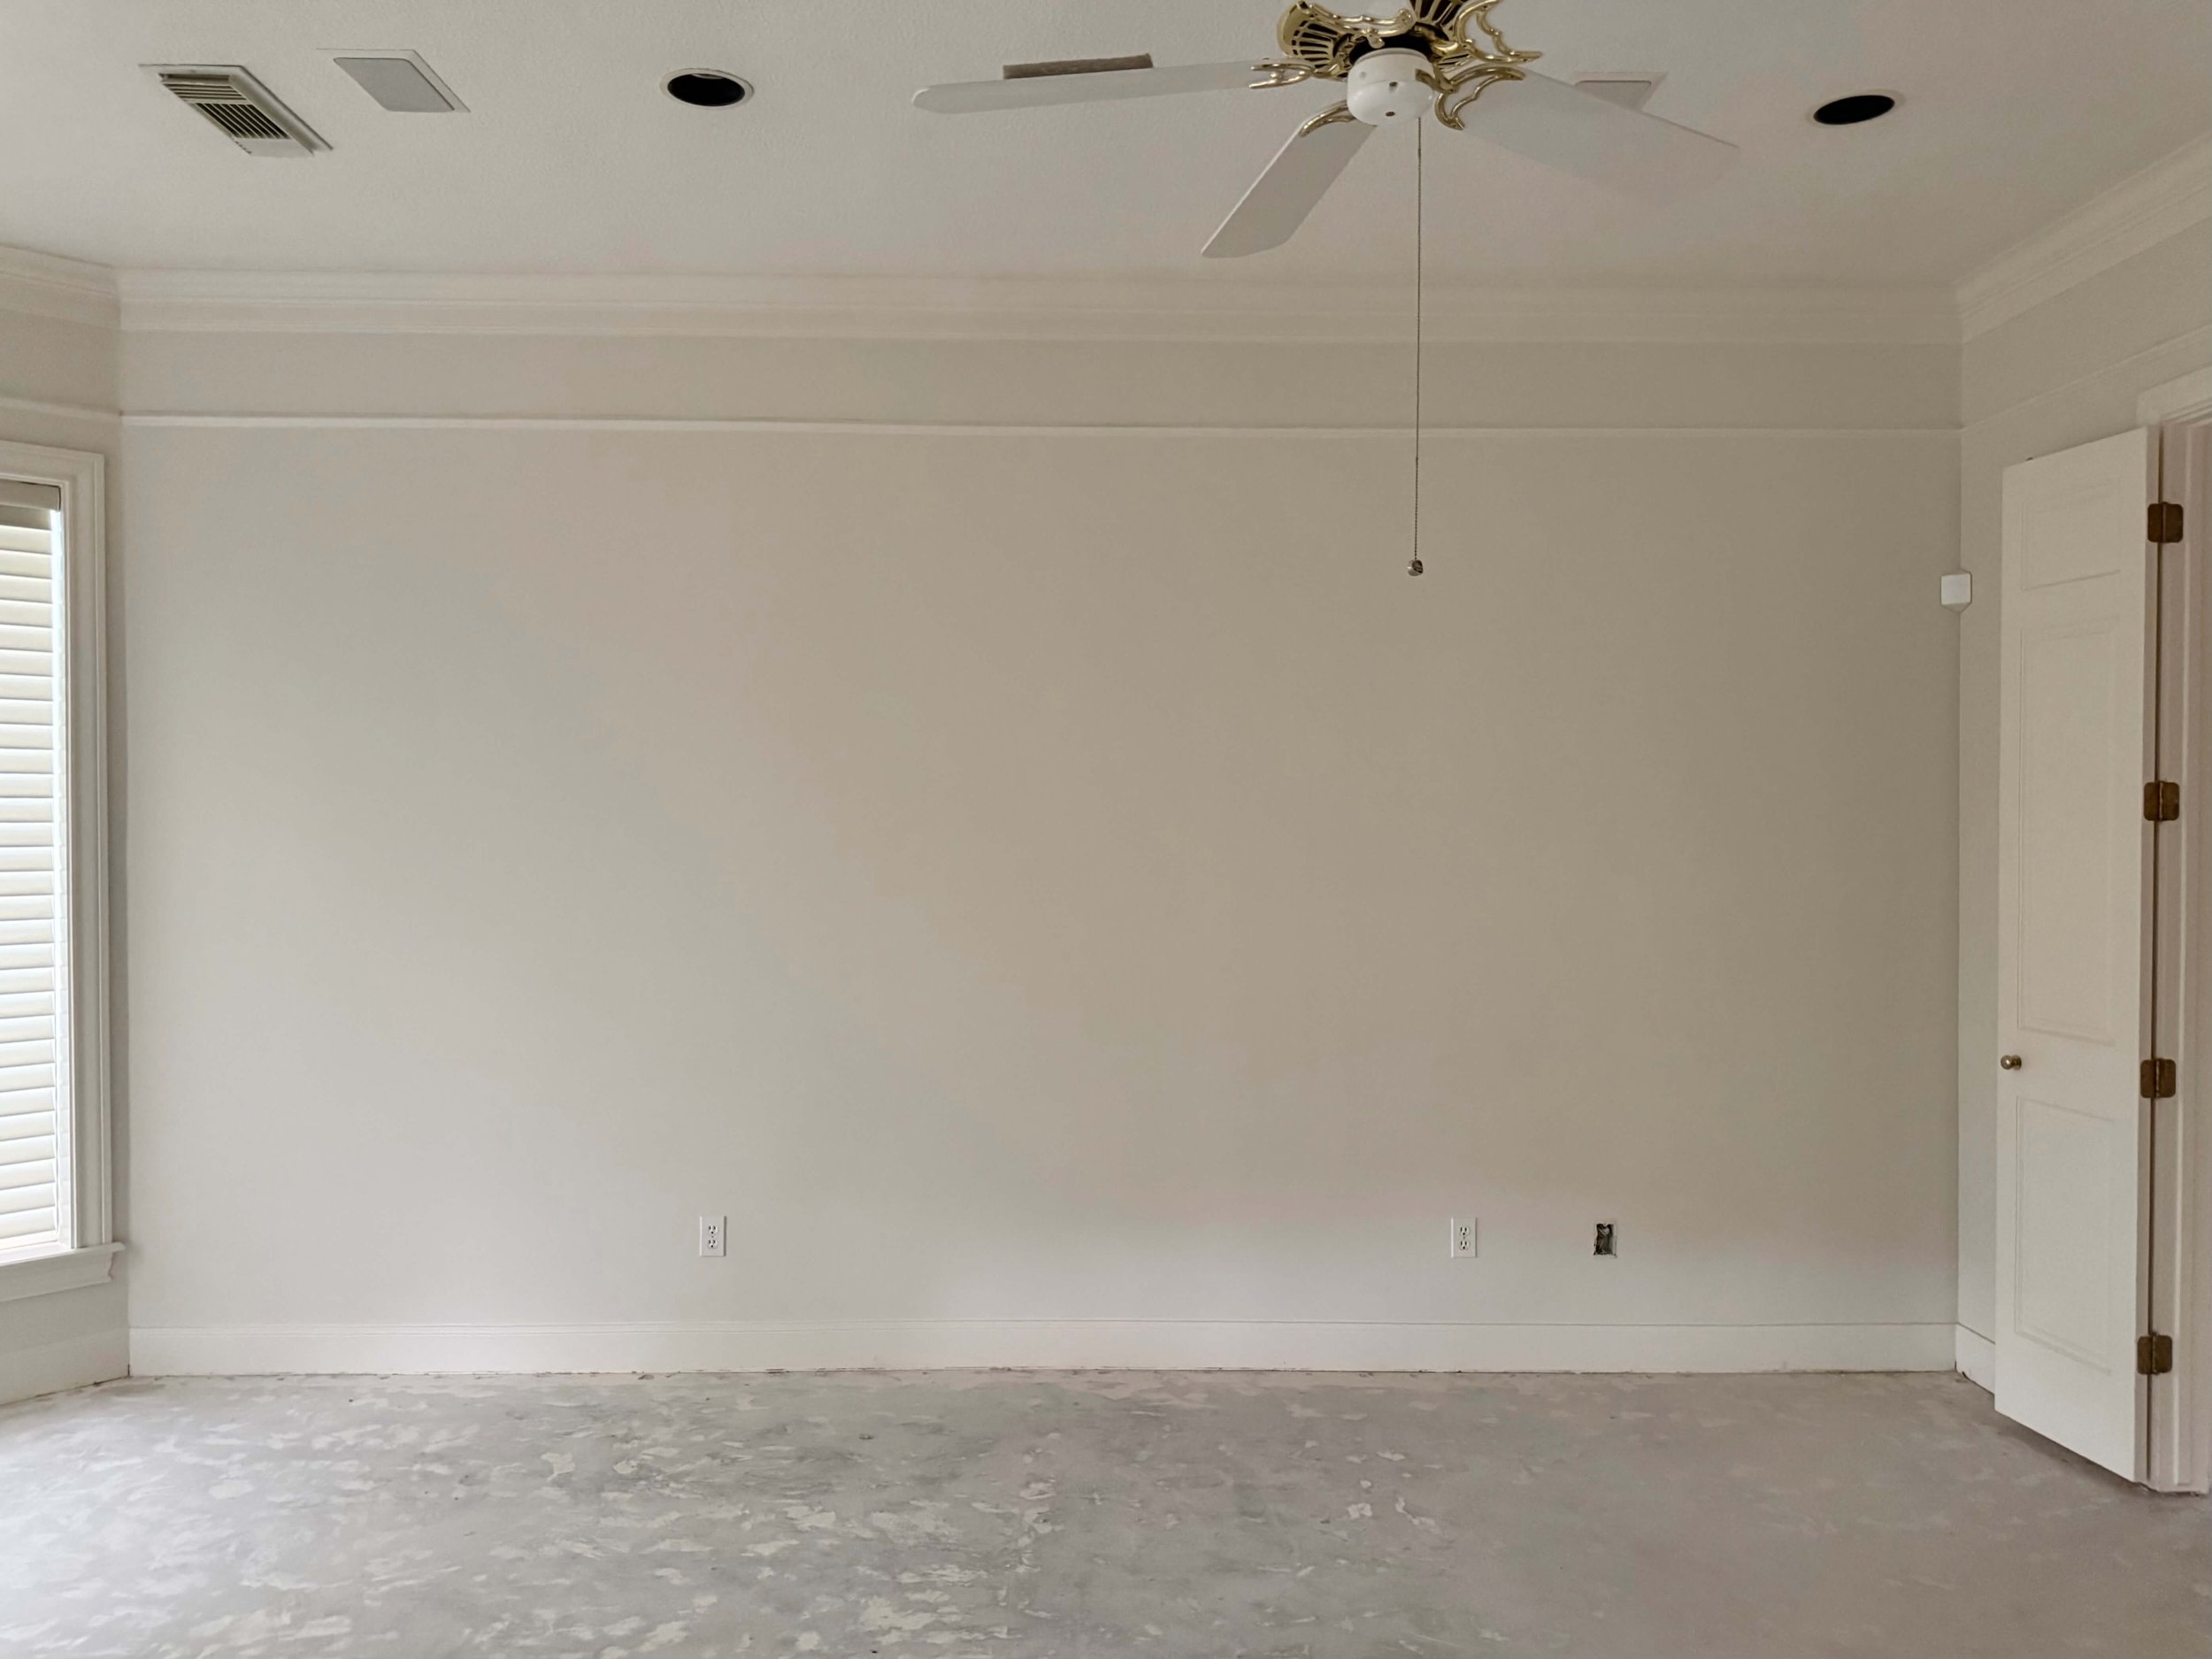
BEFORE - Primary Bedroom
Pretty basic, we needed something more special in here.
There was a good sized crown moulding and then a piece of moulding running the perimeter just down from the ceiling a bit. I thought we could use a matching piece at the lower portion of the wall, sort of a low wainscot idea, and put the grasscloth in between. That way we wouldn’t have a grasscloth overload and would keep the texture up where you’d notice it, not behind the furniture so much.
I matched the wall space, mouldings and doors in color so the room wouldn’t feel so chopped up. Then selected a grasscloth that would add texture and a variation but be relatively the same color.
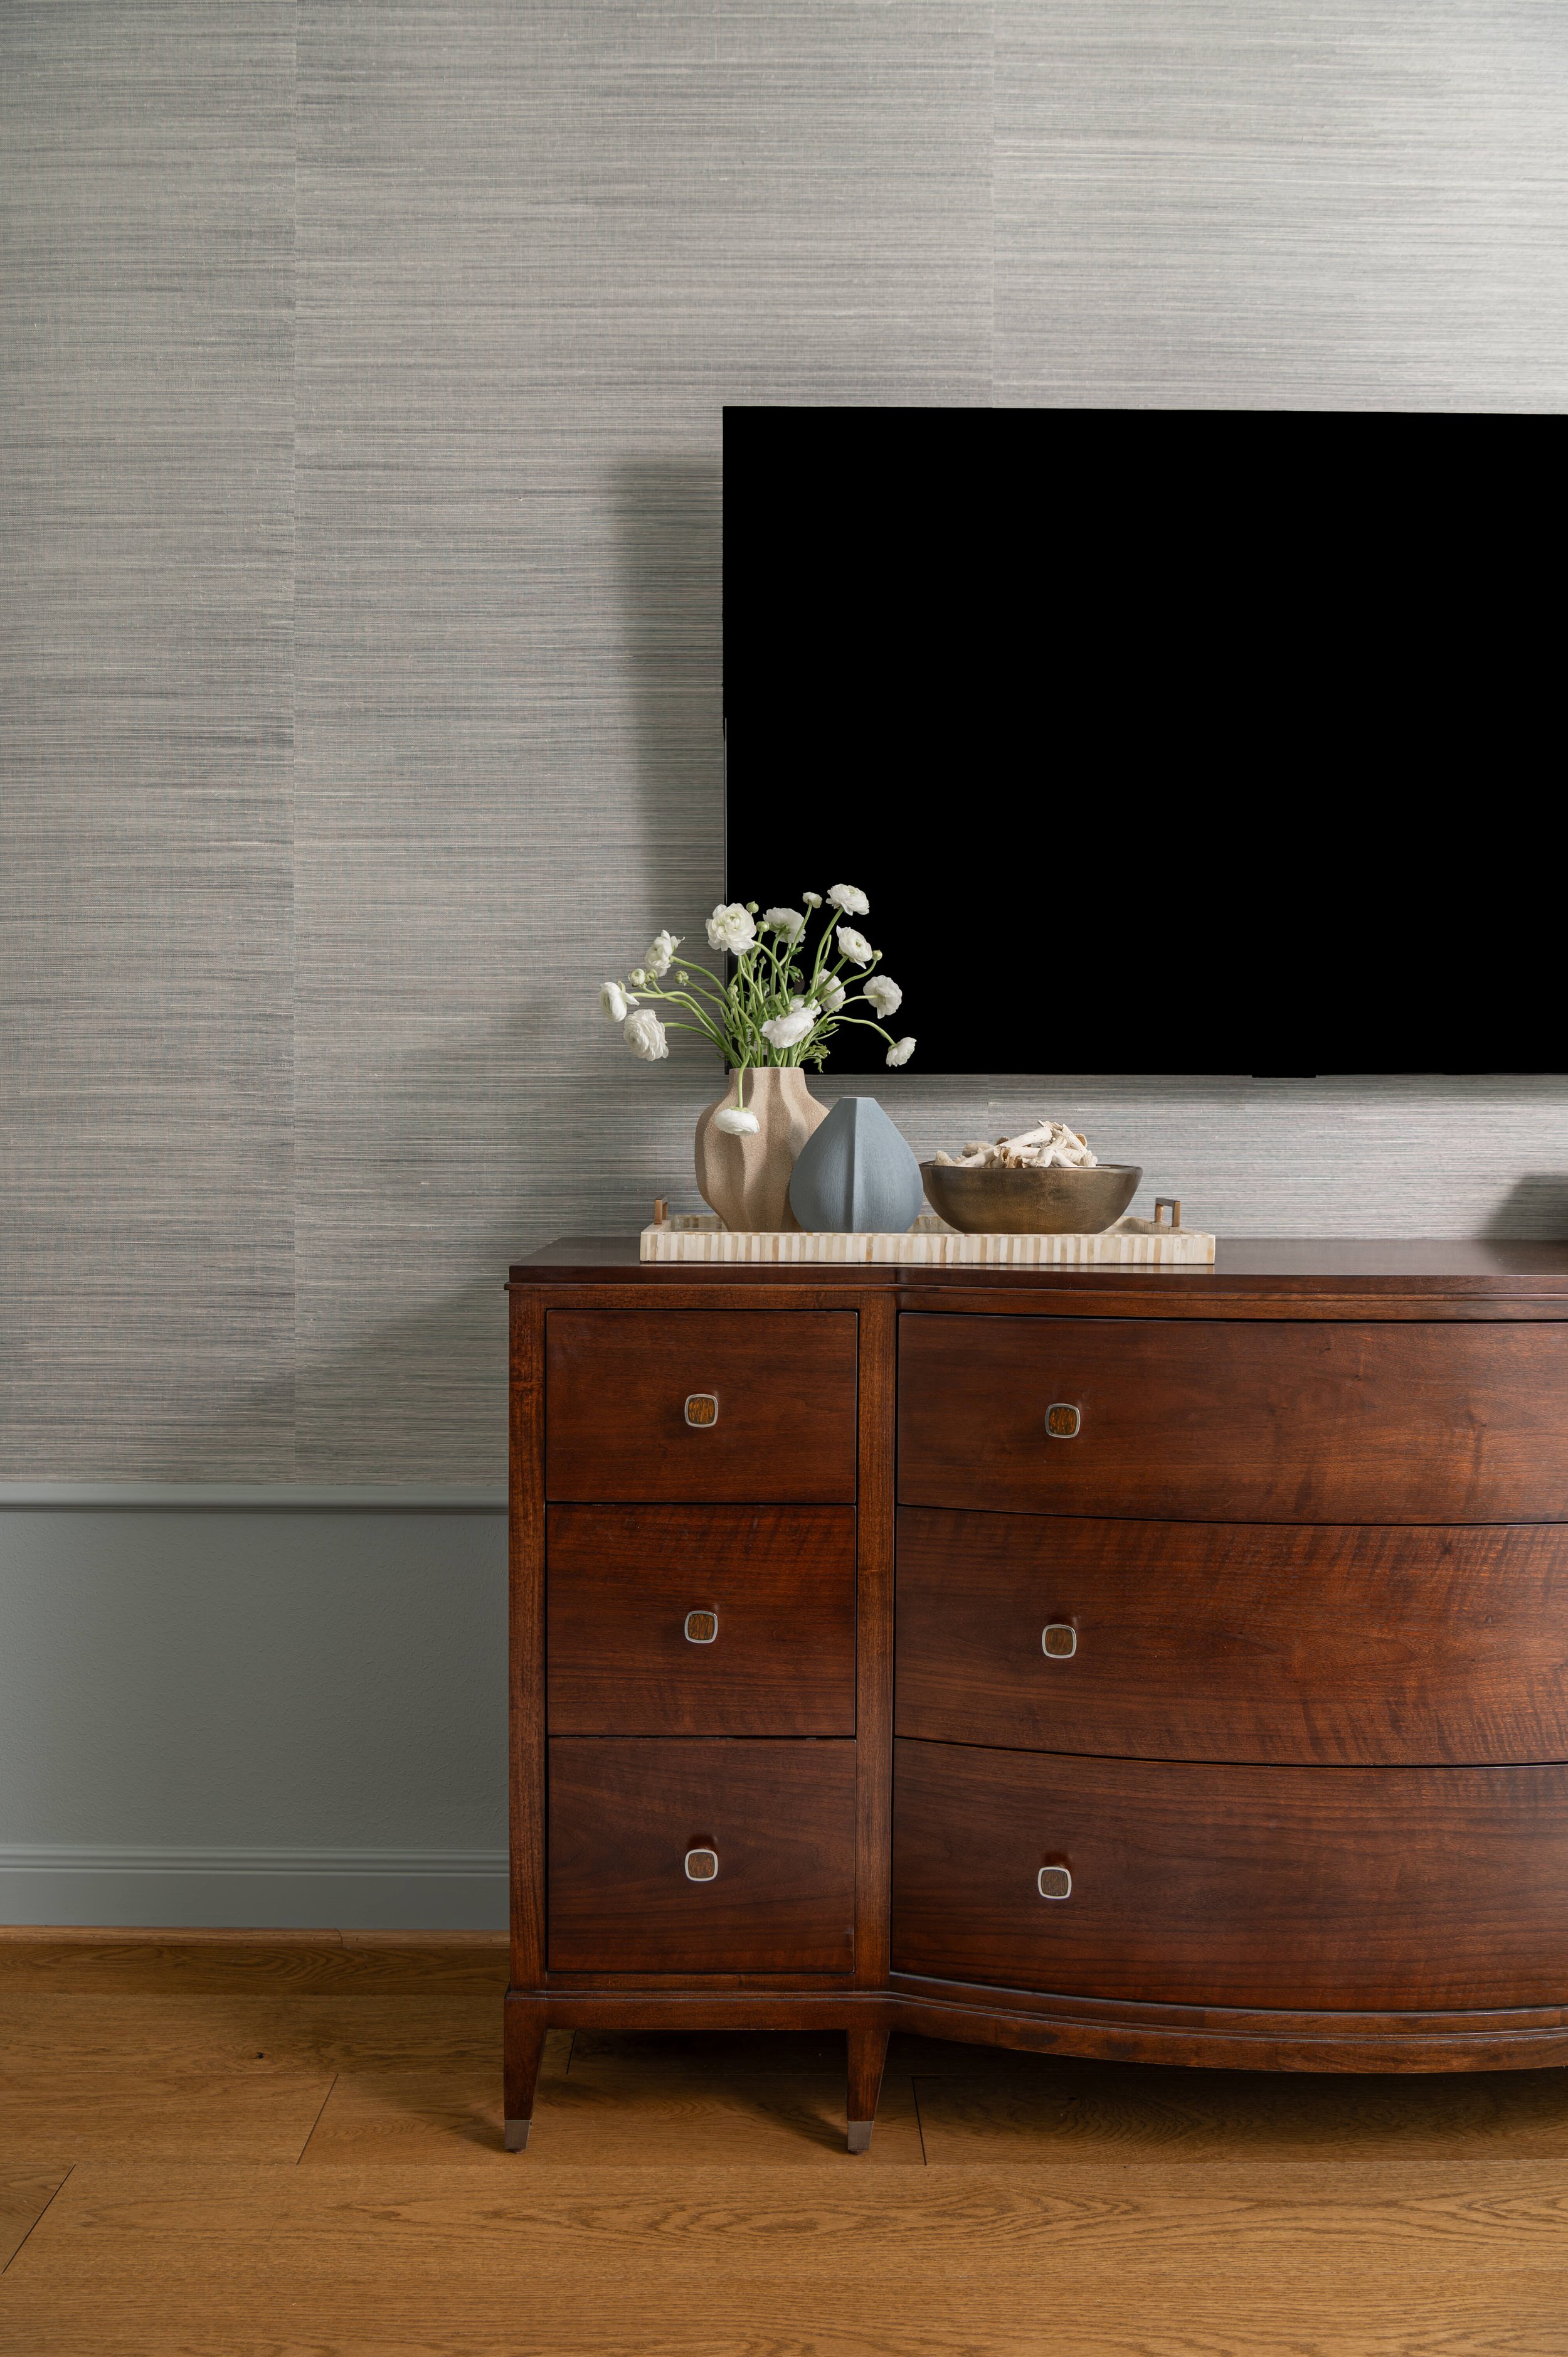
AFTER - Primary Bedroom Remodel | Designer: Carla Aston, Contractor: CA Design Build, Photo: Ellen Renee Photography
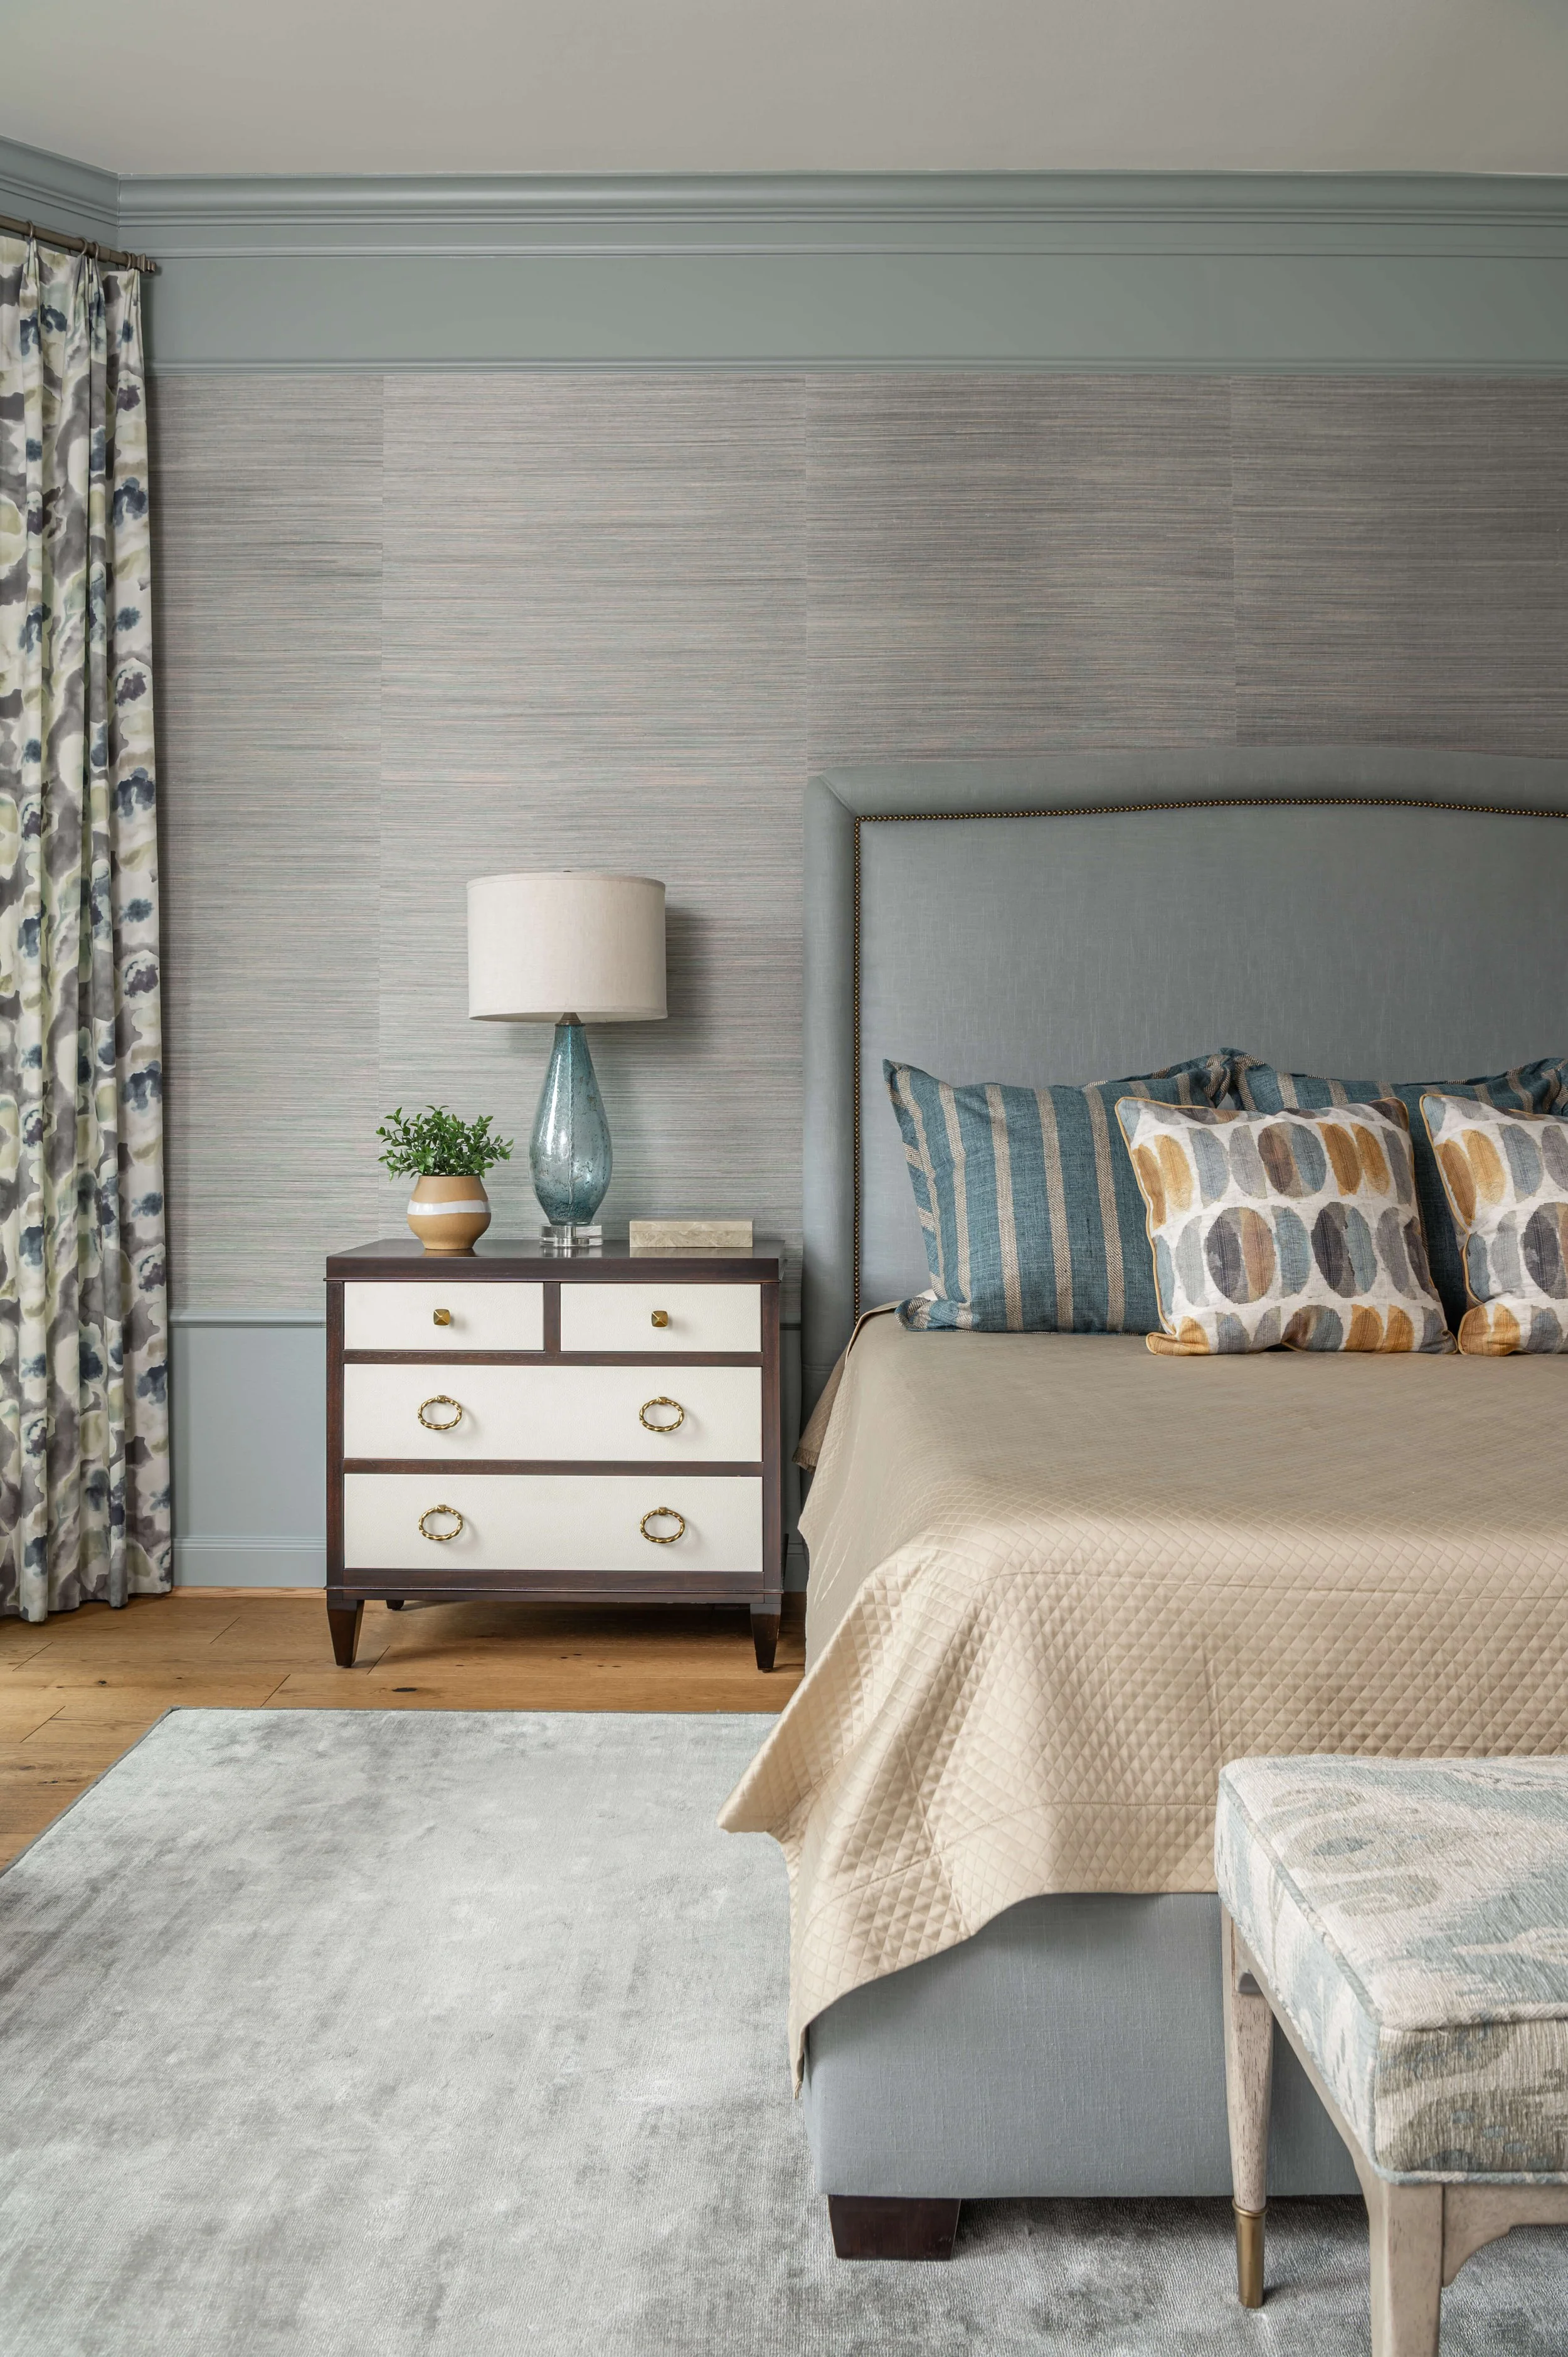
AFTER - Primary Bedroom Remodel | Designer: Carla Aston, Contractor: CA Design Build, Photo: Ellen Renee Photography
I’m very proud of how this primary suite turned out, serene and sophisticated, for sure!
Contractor: CA Design Build, construction only
Photography: Ellen Renee Photography
Drafting: Staci Nugent
See more about this home remodel below!
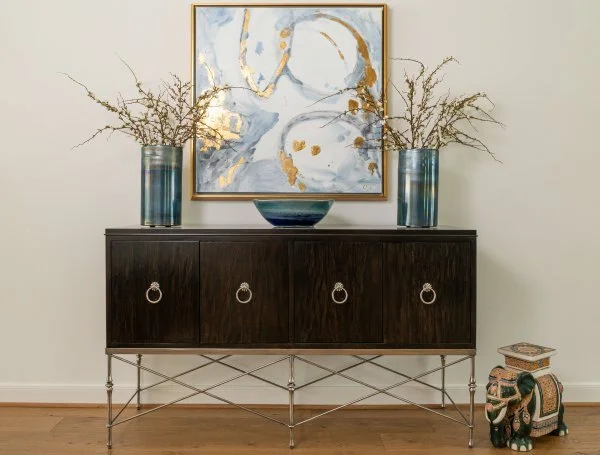

I’m sharing some of the smaller downstairs spaces today of the whole home remodel I shared some already. These include the workhorse spaces, laundry room and mud room and then the pool bath too!