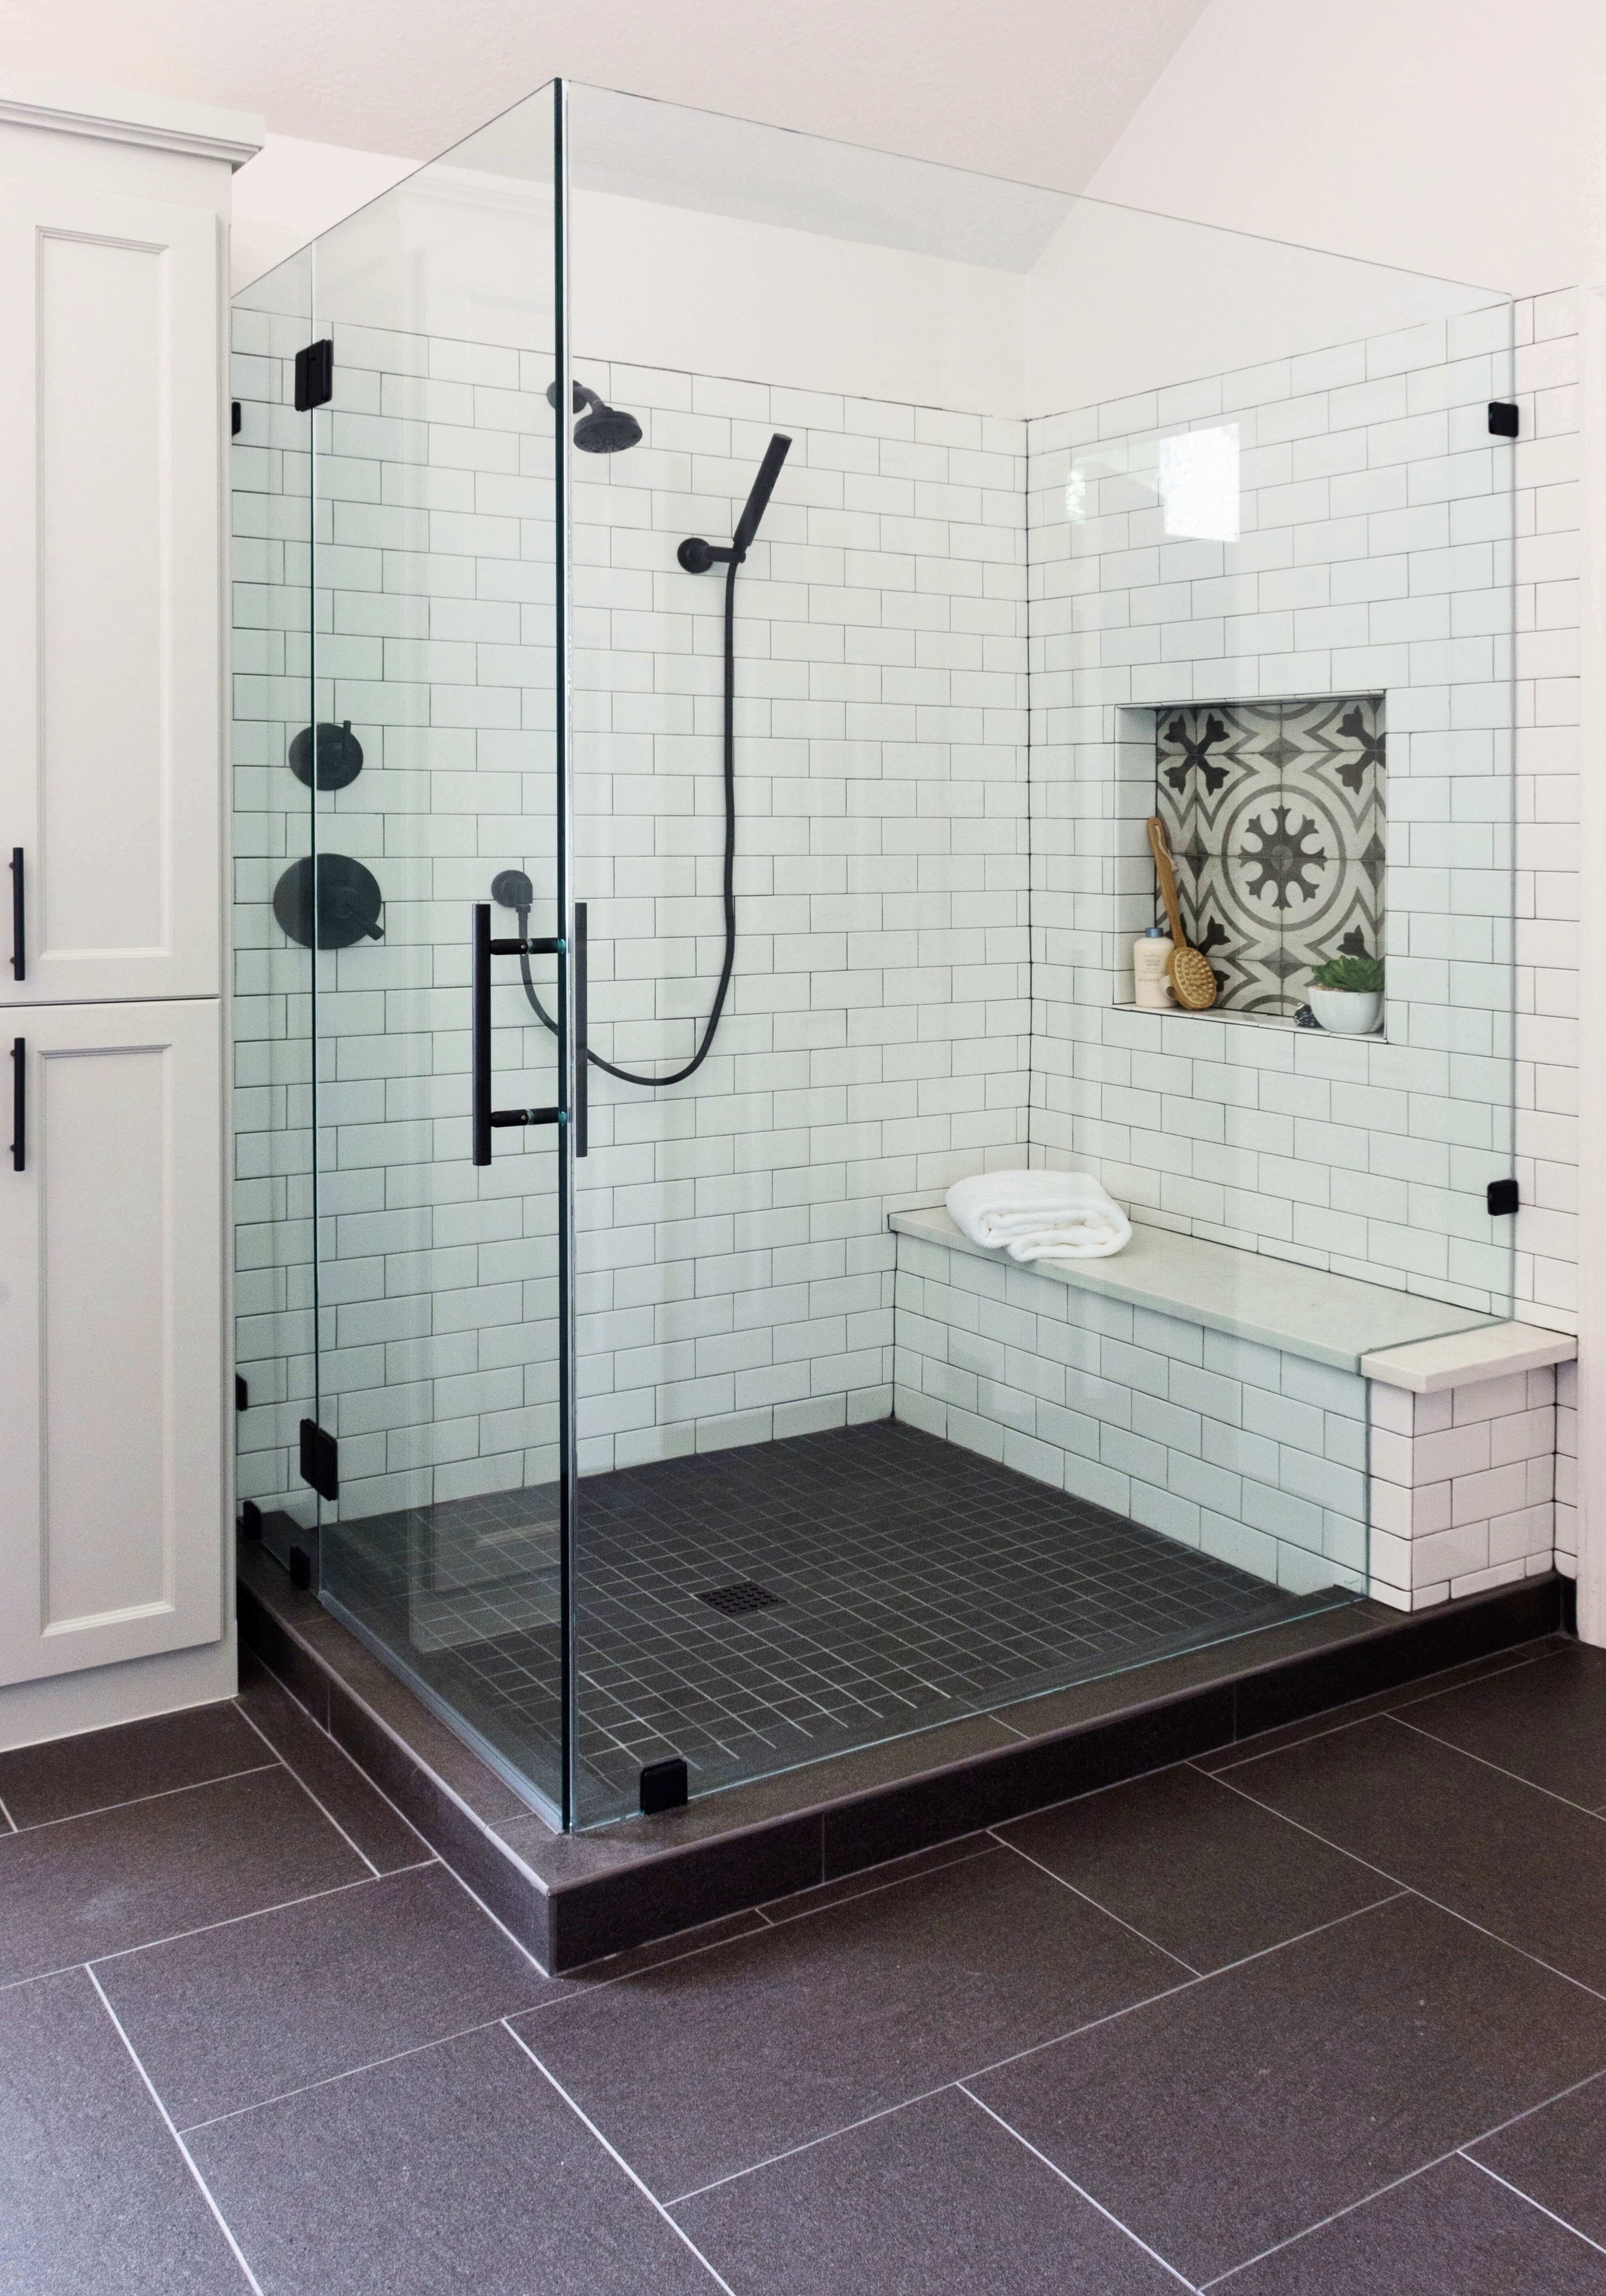
I’m sharing some tips today about how to transition from tile to sheetrock or finish your shower tile edges for a professional look. There are a variety of ways to do this, but these are my go-to details, so you’re going to want to save this post for your next bathroom remodel.
Shower tile edge detail #1 - Slab material
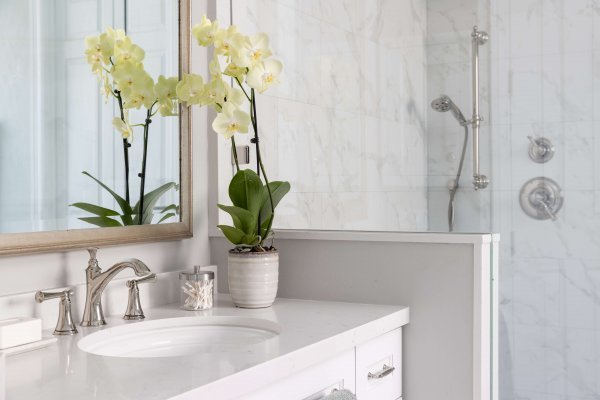
I absolutely love to use a slab material as a transition when I can. It presents such a neat and tidy look, provides a slight inside corner for the tile to die into, and is easy to maintain, long term.
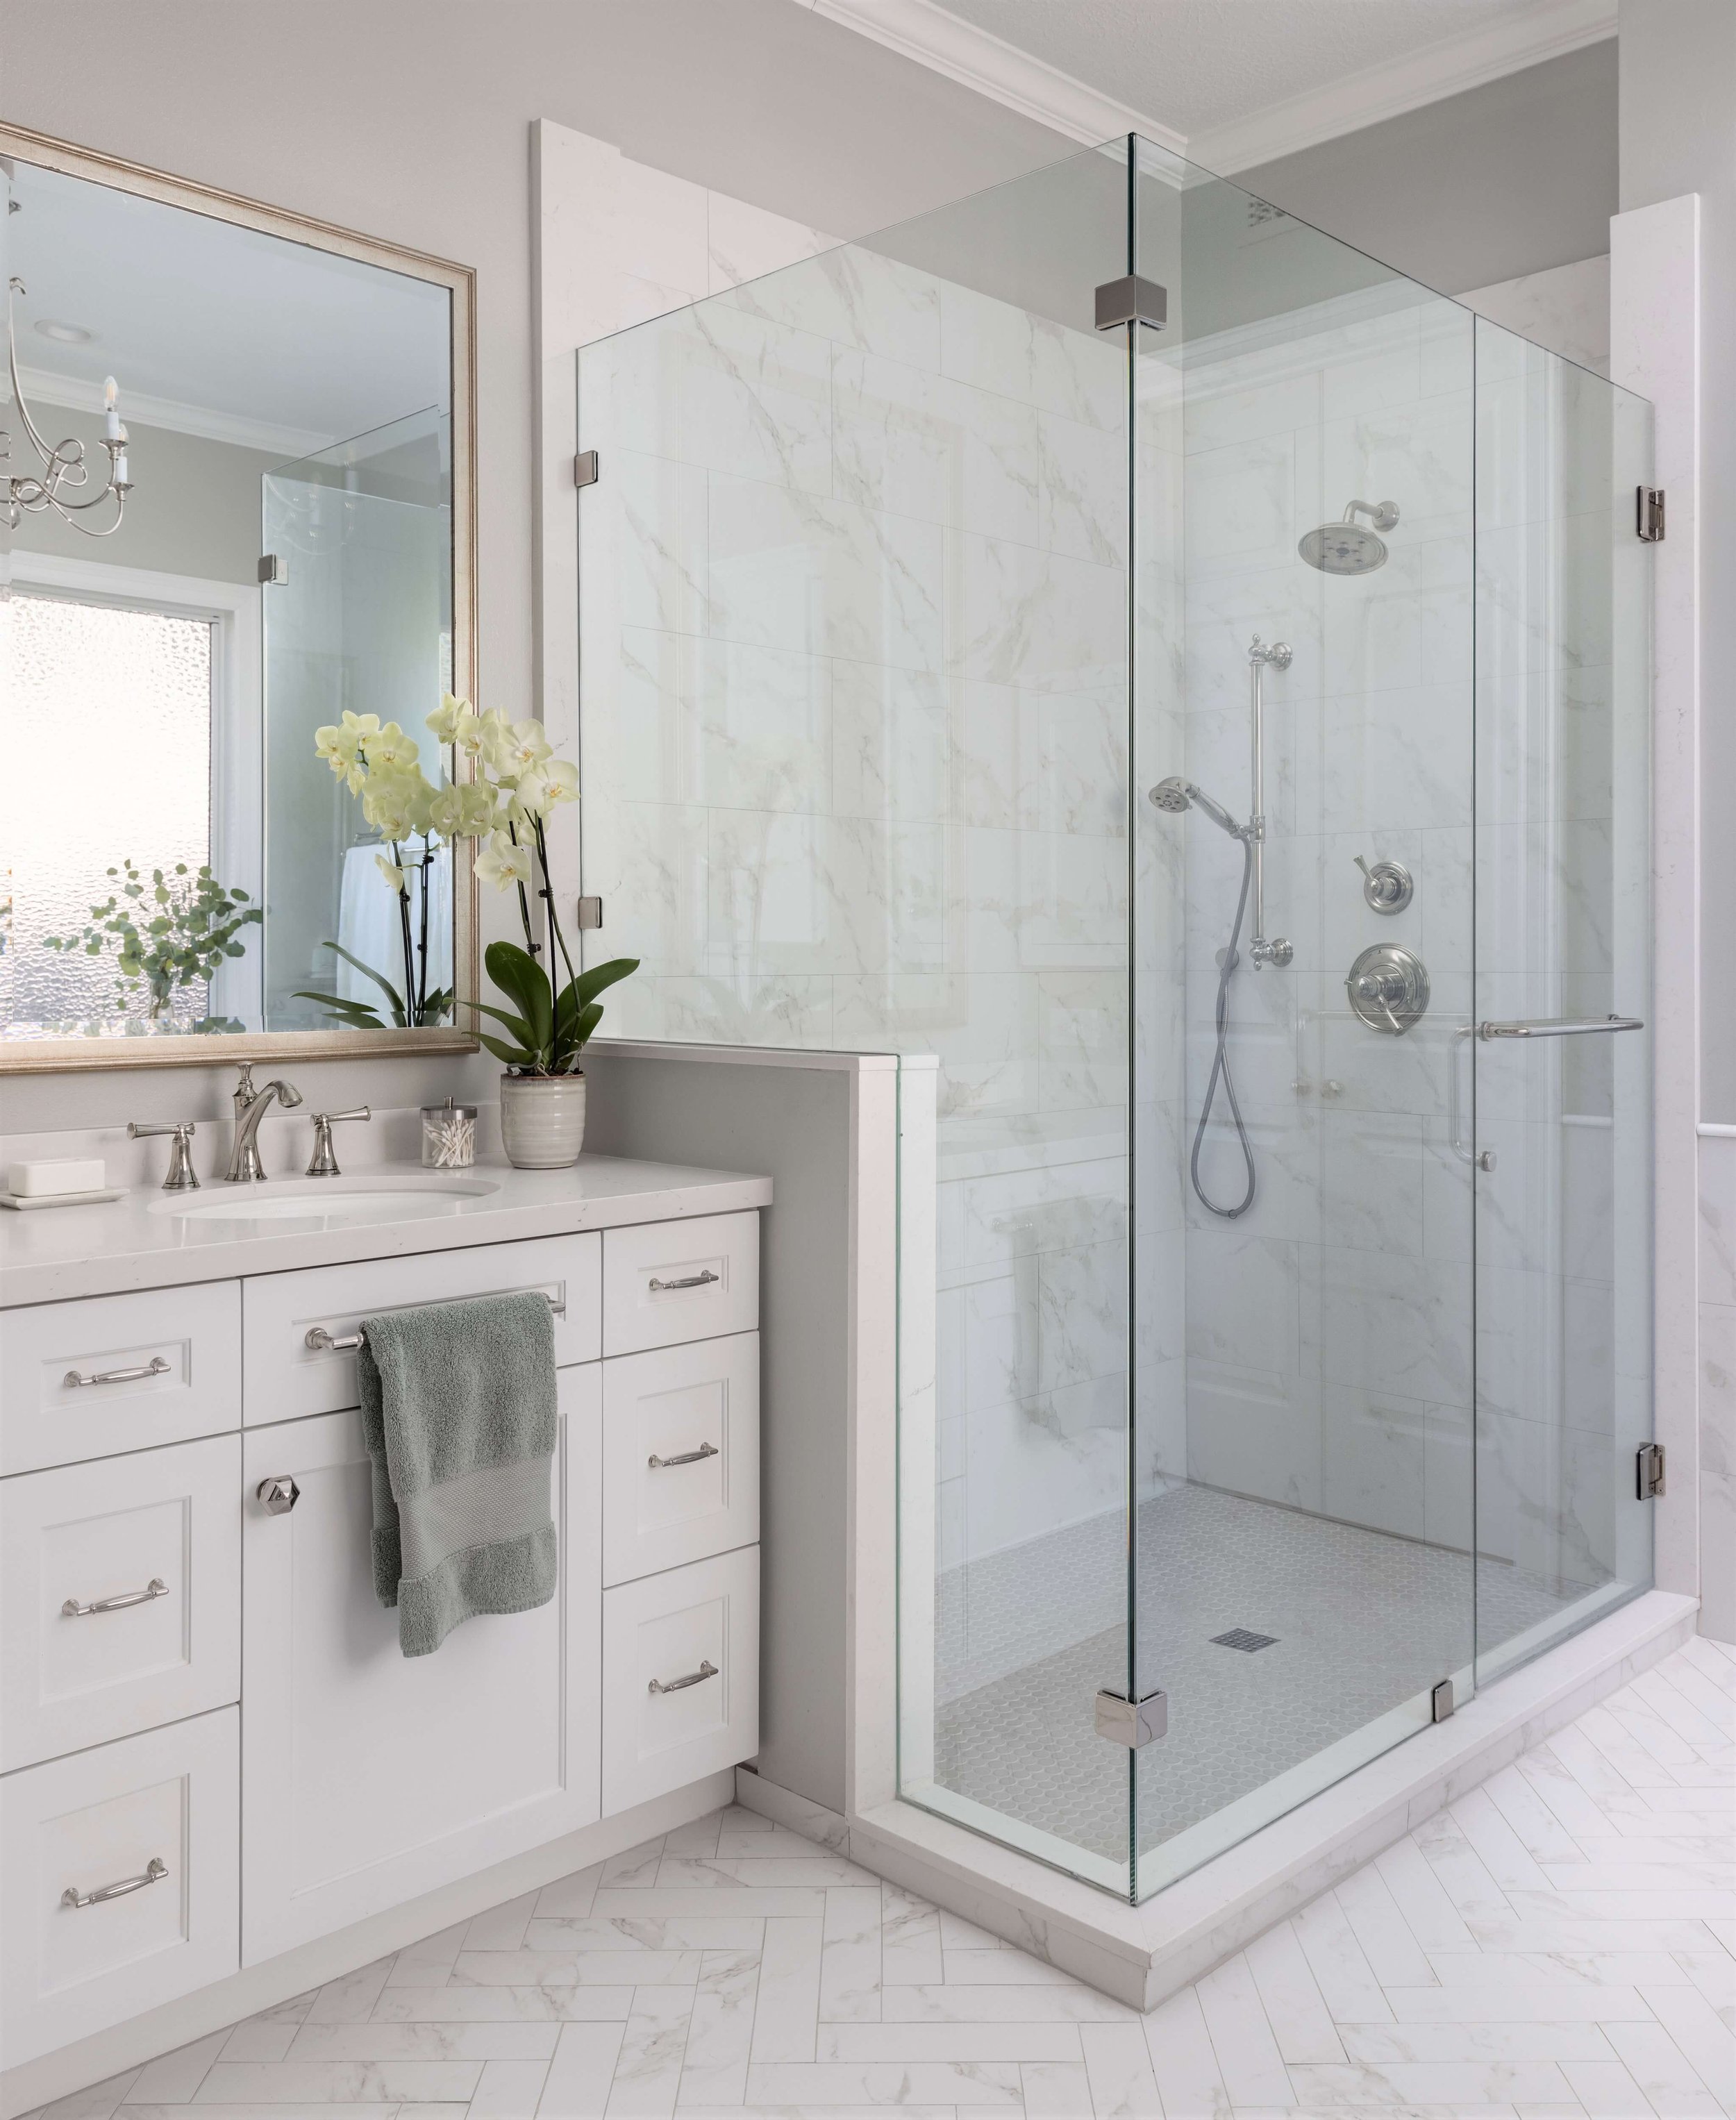
I use the slab material that we are using on the countertops in the space, so it coordinates nicely and ties in with the material used elsewhere in the room. I typically use this as a bench seat too or even at the shampoo niche. We usually have left over material, so getting these extra smaller, long cuts are not a problem.
When I use a slab material on the wall, then I have almost always used it on top of the shower curb, so that the opening is all encompassed in the slab material, like in this primary bath shower, below.
5 Ways to Finish Shower Tile Edges for a Professional Look | carlaaston.com
5 Ways to Finish Shower Tile Edges for a Professional Look | carlaaston.com
When I specify and address this detail in my specs and on my drawings, I call out that I want a slab curb top and jamb on the shower. It really helps to have detailed drawings to show a contractor exactly what you are talking about.
The advantage to using slab material, especially on the curb, is that water doesn’t stand in any grout joints and there is a nice, sturdy, waterproof surface for the glass to mount to.
5 Ways to Finish Shower Tile Edges for a Professional Look | carlaaston.com
5 Ways to Finish Shower Tile Edges for a Professional Look | carlaaston.com
In this bathroom with a steam shower, below, the slab material wraps all the way around the opening….curb, jamb and at the top as well, since a steam shower needs a fully enclosed space.
5 Ways to Finish Shower Tile Edges for a Professional Look | carlaaston.com
shower tile edge detail #2 - Tile with trim piece or finished edge
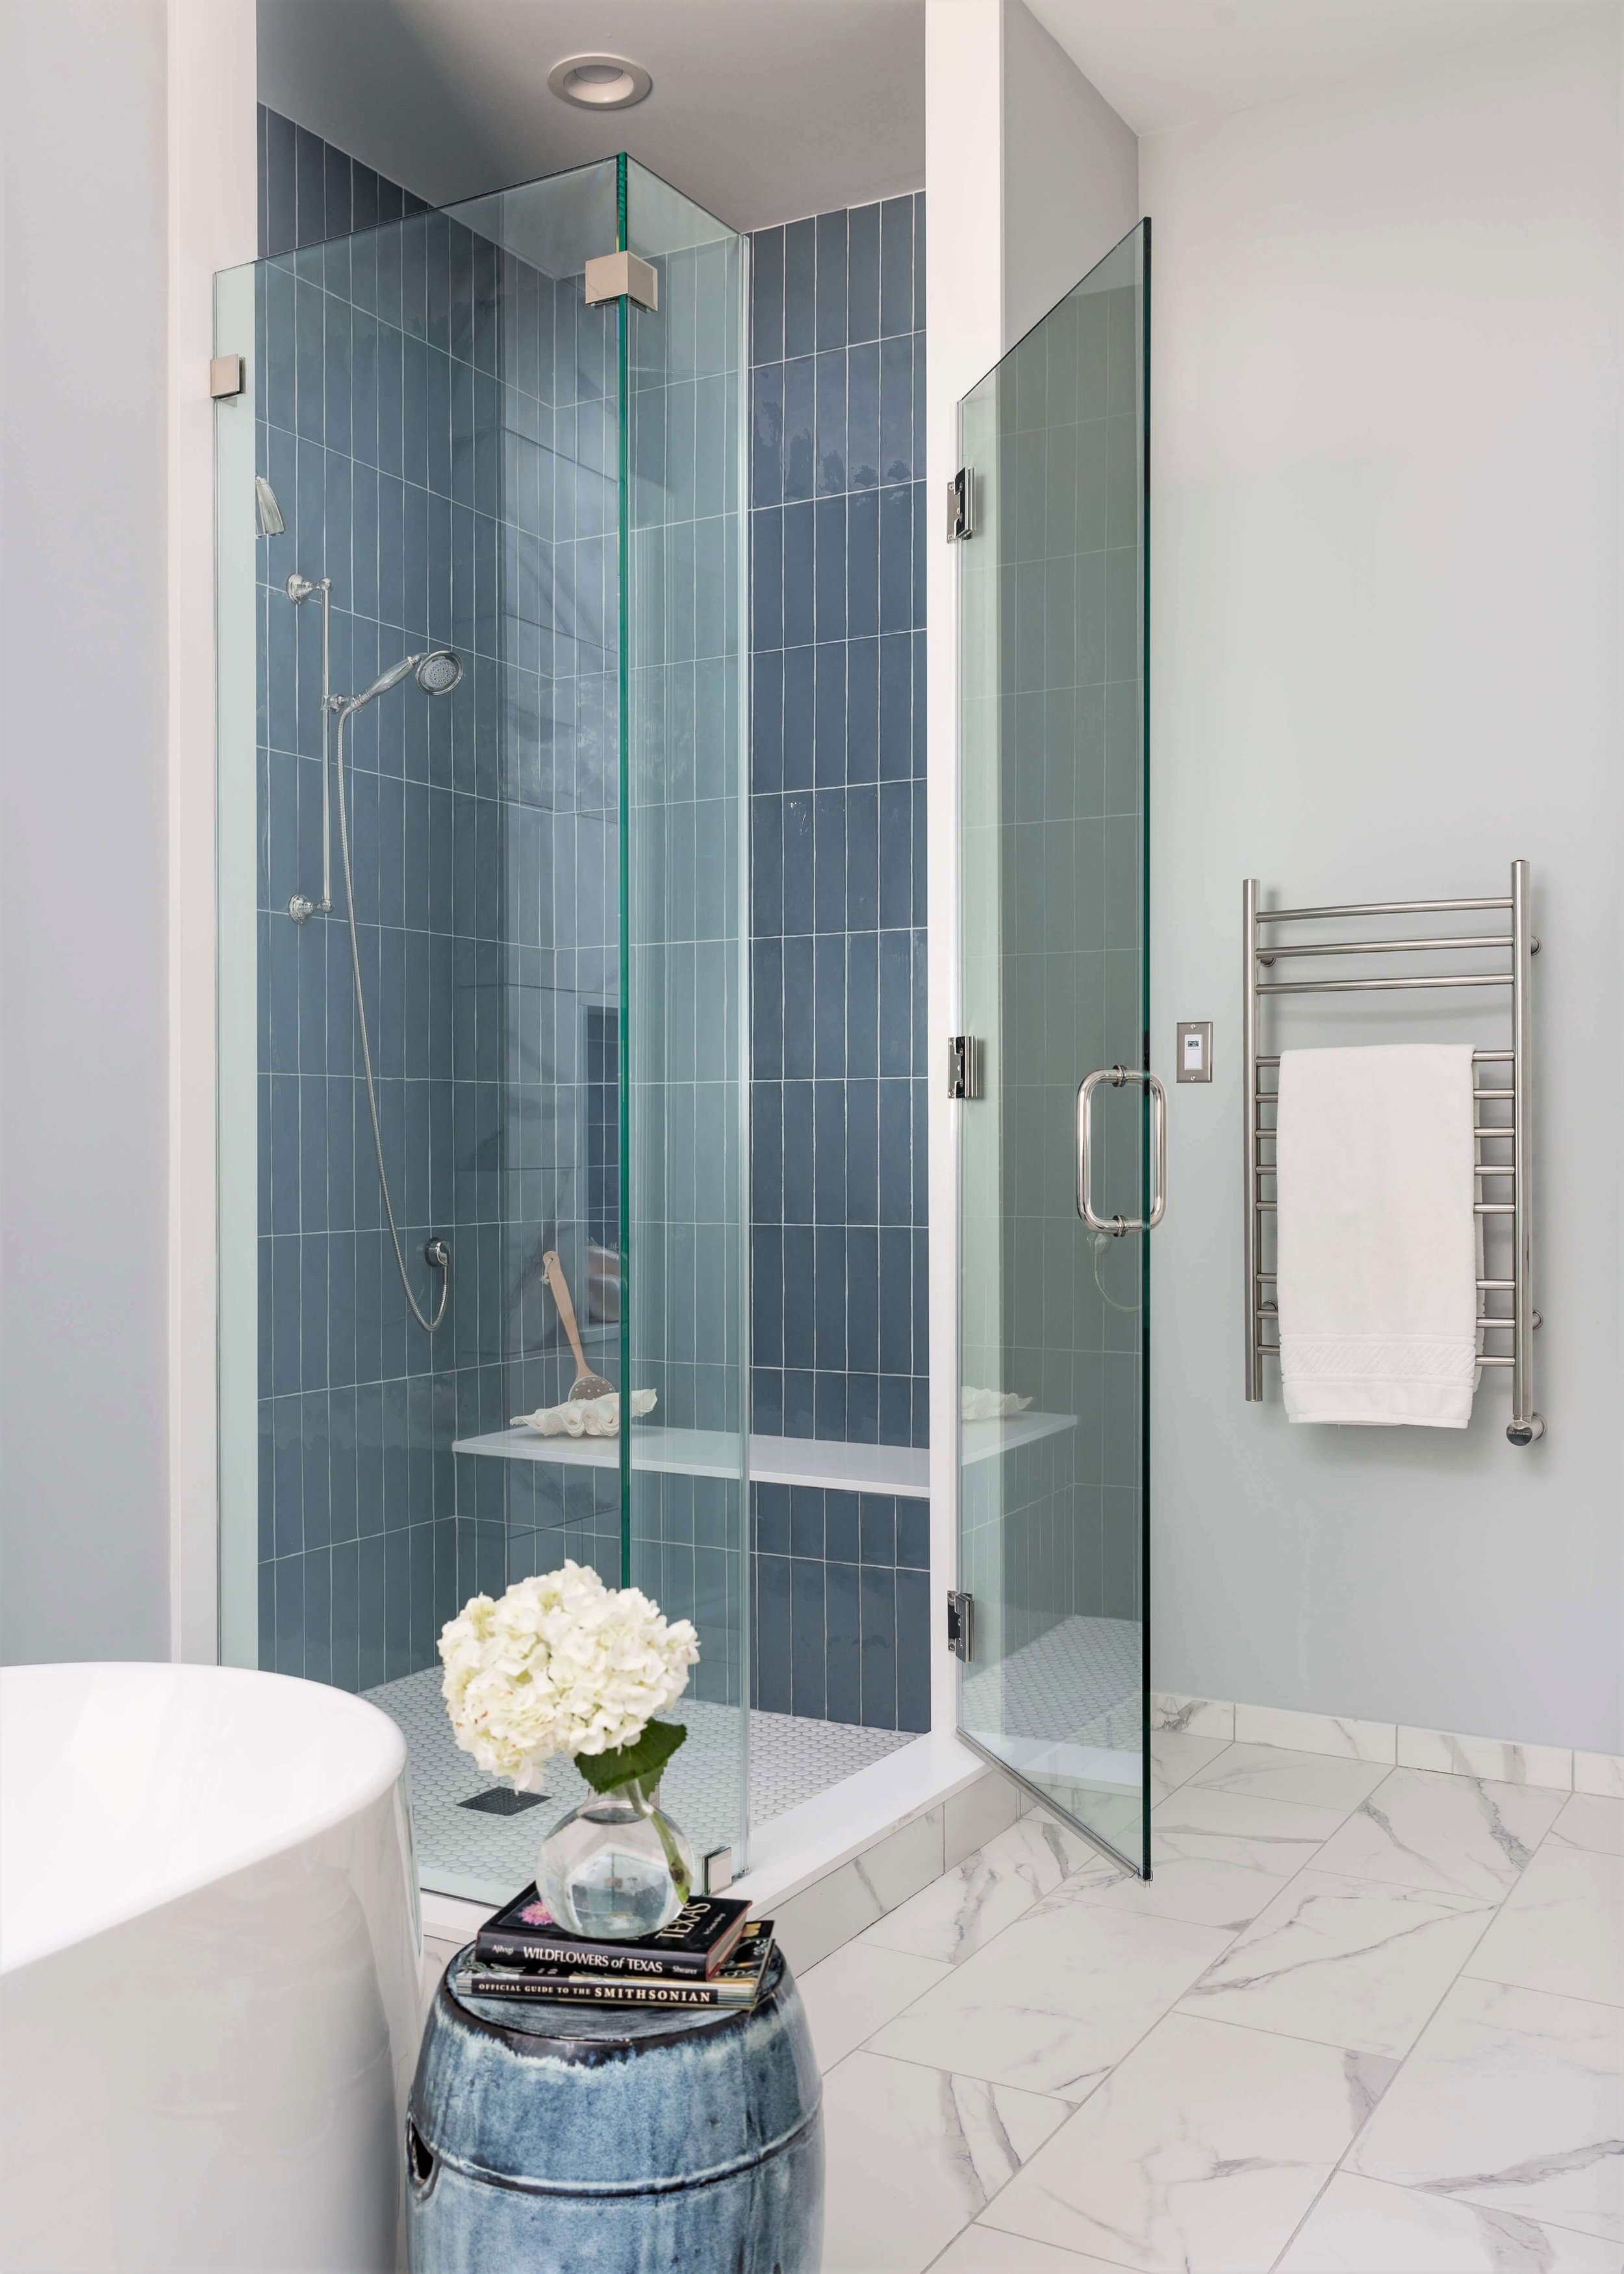
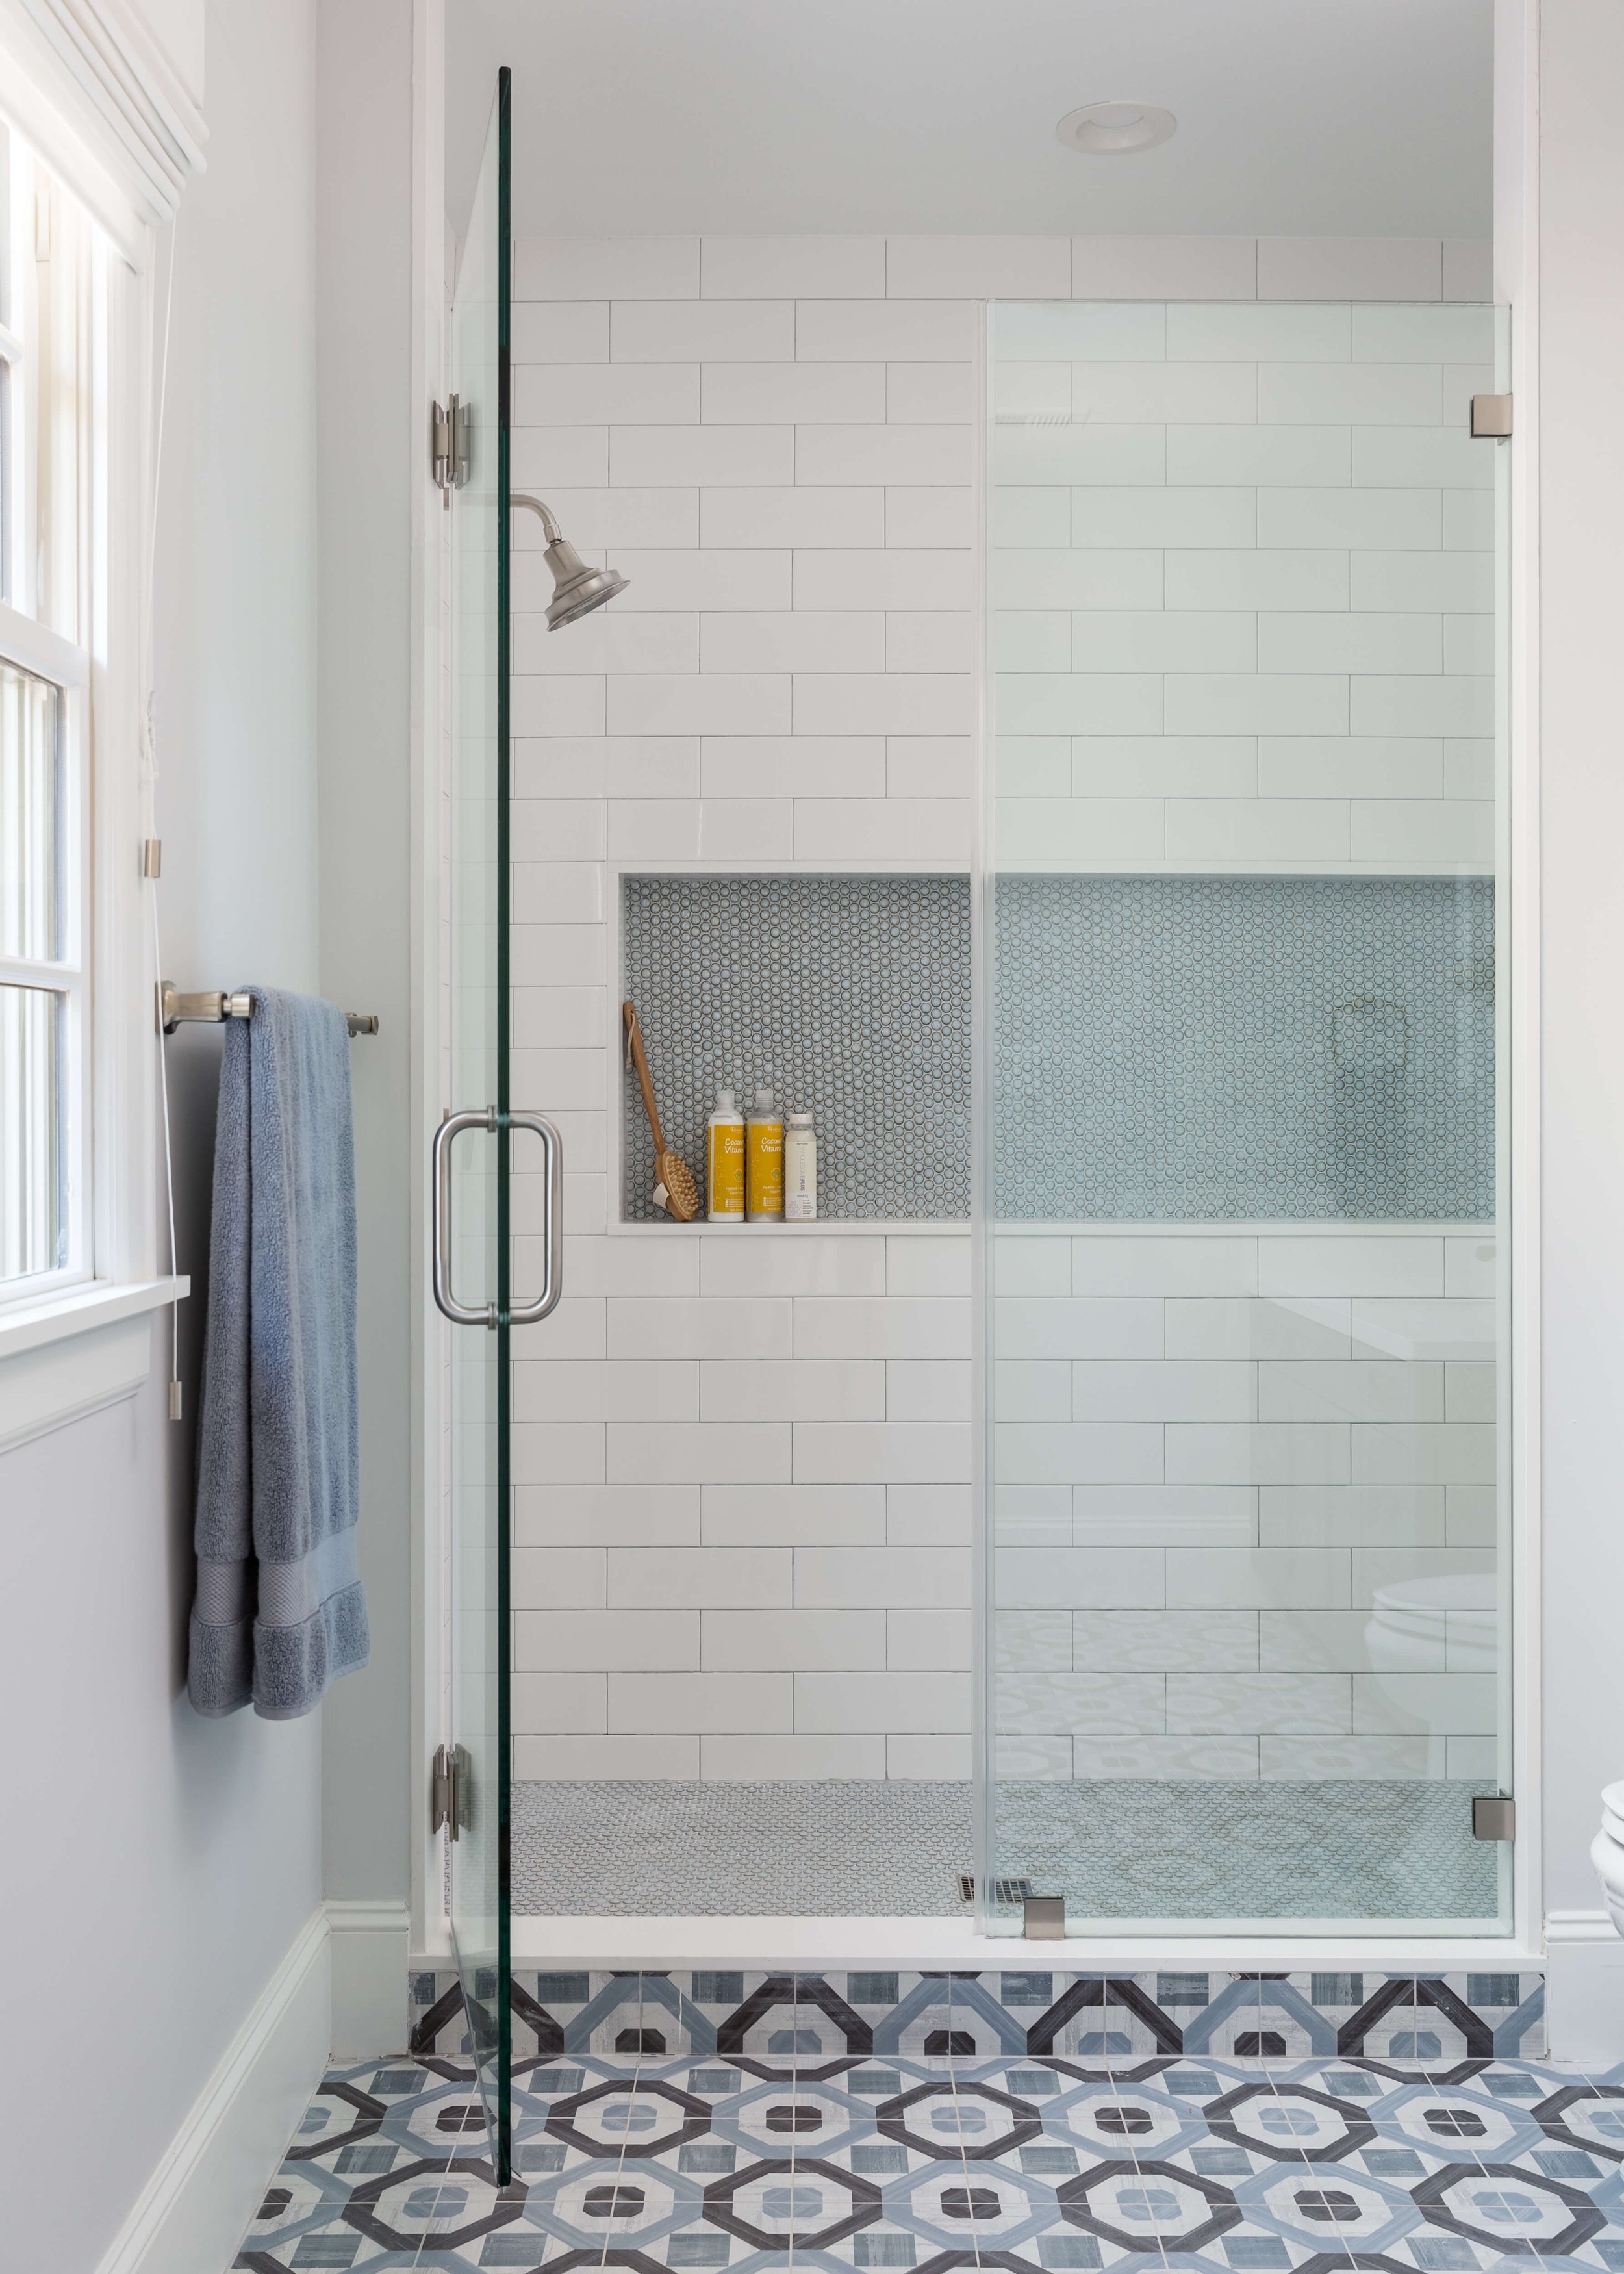
In some situations, like in really small bathrooms where I don’t want a big transition to show up between the shower and floor or walls, then I might do a trim piece or a tile with a bullnose edge piece to end the tile.
In this upstairs bathroom, pictured below, I kept the floor tile on the curb, because the shower was rather large in the small bathroom. I wanted the finishes to flow smoothly between the bathroom space and the shower, so I made a more minimal visual transition.
5 Ways to Finish Shower Tile Edges for a Professional Look | carlaaston.com
In this bathroom, below, I didn’t want a chunky piece of slab on the wall and since we were continuing with a tile wainscot above the toilet, I preferred to go with a tile bullnose piece to end the tile. I used a wallpaper too in this bathroom, so it dies nicely into the finished bullnose edge of the tile, both at the top of the wainscot and the side of the shower stall.
You can see I still did a slab curb in this shower, so you can mix these transitions on floor and wall.
5 Ways to Finish Shower Tile Edges for a Professional Look | carlaaston.com
Often, I find that available trim pieces sometimes dictate what tile I will use in a given situation. If there are no trim pieces for a certain tile I want to use, I would likely use a slab or make sure the tile dies into an inside corner of some kind.
We used to use pencil rails or other types of decorative trim pieces, but they aren’t so popular anymore and sometimes feel a little bulky and traditional.
I have used a solid, small white marble pencil rail recently, it is a classic look that never goes out of style. With all the porcelain marble-look tile out there, in 12 x 24 or larger sizes, doing a trimpiece like this can be simple and effective.
I used this on top of the wainscot in this primary bathroom remodel to create a finished look.
5 Ways to Finish Shower Tile Edges for a Professional Look | carlaaston.com
Whenever there is not a trimpiece that comes with a specific tile I want to use, then I sometimes find a trim in another type of tile that is a good color match.
This tile was a glazed brick look and I found a ceramic trim piece in another line that was a similar color and glazed on three sides. It worked great as a trimpiece for this tile.
A ceramic trim tile that was glazed on three sides made for a good edging for this tile that had no trim pieces offered. carlaaston.com
shower tile edge detail #3 - Door jambs or other inside corner transitions
In this bathroom remodel, below, we had a door jamb on one side of the shower and then a tall cabinet on the other that we could die the tile into. I didn’t need a full stop of that tile of some kind on the flat wall surface, so we just tiled right up to those wood pieces.
5 Ways to Finish Shower Tile Edges for a Professional Look | carlaaston.com
5 Ways to Finish Shower Tile Edges for a Professional Look | carlaaston.com
Here’s another bathroom remodel job where the tile butted into the door jamb of this pool bath.
5 Ways to Finish Shower Tile Edges for a Professional Look | carlaaston.com
Here’s a bathroom where slate tile was used in the shower and on the floor. The tile on the wall was butted up to the painted wood trim and cabinetry.
5 Ways to Finish Shower Tile Edges for a Professional Look | carlaaston.com
With the bathtub/shower, below, there was a furr out, done for the tub to fit.
We used a “jolly” trim piece (that’s the term for a thin trim piece that is designed to finish an outside edge) to turn the tile around that outside corner and then have it die into the wall. It made for a really neat transition of materials.
5 Ways to Finish Shower Tile Edges for a Professional Look | carlaaston.com
Here is a tile “jolly” trim piece, pictured below. It is really thin and long and puts a bullnose edge to the end of a tile or can make a nice transition on an outside corner.
shower tile edge detail #4 - Schluter Trim
I rarely use Schluter trim to finish off tile, although many designers do.
I might use the white version if I had to, with a white tile, hoping it would blend in and go away visually, but I just feel it often looks too abrupt or just not well thought out. I guess I’ve seen so many sloppy installs in builder grade homes that it turned me off to it years ago. Also, I prefer to keep the focus on the tile, and I really don’t like the introduction of the metal look unless it is for some reason an integral part of the design.
I did use it once in this situation, as this was a commercial installation and I felt I needed the metal edge for durability. With metal carts being rolled around in this deli and all the traffic this place received, it needed a super durable corner.
The pattern of the tile was such that there really was no other option. This was a severely tight budget job as well, and the Schluter was the most cost effective treatment. You can see I used on the vertical outside corners of this checkout counter.
5 Ways to Finish Shower Tile Edges for a Professional Look | carlaaston.com
shower tile edge detail #5 - Natural Stone Bullnosing
If I’m using a natural stone, like marble tile, then I might not worry at all about using some kind of transition piece. Since marble or any natural stone is solid, I often have the installers just bullnose the exposed edge of the tile for a softer transition.
When specifying the tile for the contractor, you HAVE to spell this out. This is a lot of labor cost, and the contractor needs a really good tile installer to do it. They can also get it done at a stone fabricator, but again, that costs money and it won’t be factored into your job as a detail unless you ask for it.
I do love it though and did it in a job on this outside corner of a tall fireplace on the white marble tile. It just looks so beautifully finished not to see the flat edge of that stone on each side of the fireplace.
5 Ways to Finish Shower Tile Edges for a Professional Look | carlaaston.com
You can do this look with natural stone on the edge of your tiled area to soften the transition between tiled shower and painted sheetrock wall.
Porcelain tile can be bullnosed as well, since it is a through body material. It just depends on the color of the body compared to the surface. A white surface with a gray body or interior would not necessarily be a good tile to bullnose. A gray surface with a gray body or interior would be fine to bullnose.
These are some of the details that need to hammered out before you tear out your bathroom to make sure you have the right quantity and type of materials and that your contractors know what you want.
Need a guide for your next bathroom remodel? I’ve got one right here.
Pin this image below to Pinterest to save for later reference!
Transition from shower tile to wall in a professional way when remodeling your bathroom. carlaaston.com

