

Call the electrician and move those awkwardly placed outlets and switches!
That’s what I’m sharing today for your consideration for your next home update or remodeling project. You’ll be happier in the long run with your home and so glad you went that extra mile.
I’ve seen images of people in the midst of expensive and laborious remodels and DIY’s (on Instagram and other platforms) that will go to extra lengths to work around badly placed outlets and switches.
Sometimes they can’t be moved for various reasons……most times they can.
I first published this post a few years ago, but I’ve just added some recent job site photos here to help illustrate this idea.
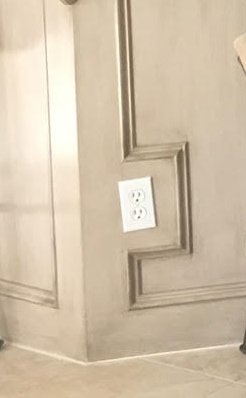
Bad detail - Having to build around an outlet with paneling and moulding is not a very thoughtful or well-designed look. Go the extra mile and call the electrician to move the outlet if you find yourself in this situation.
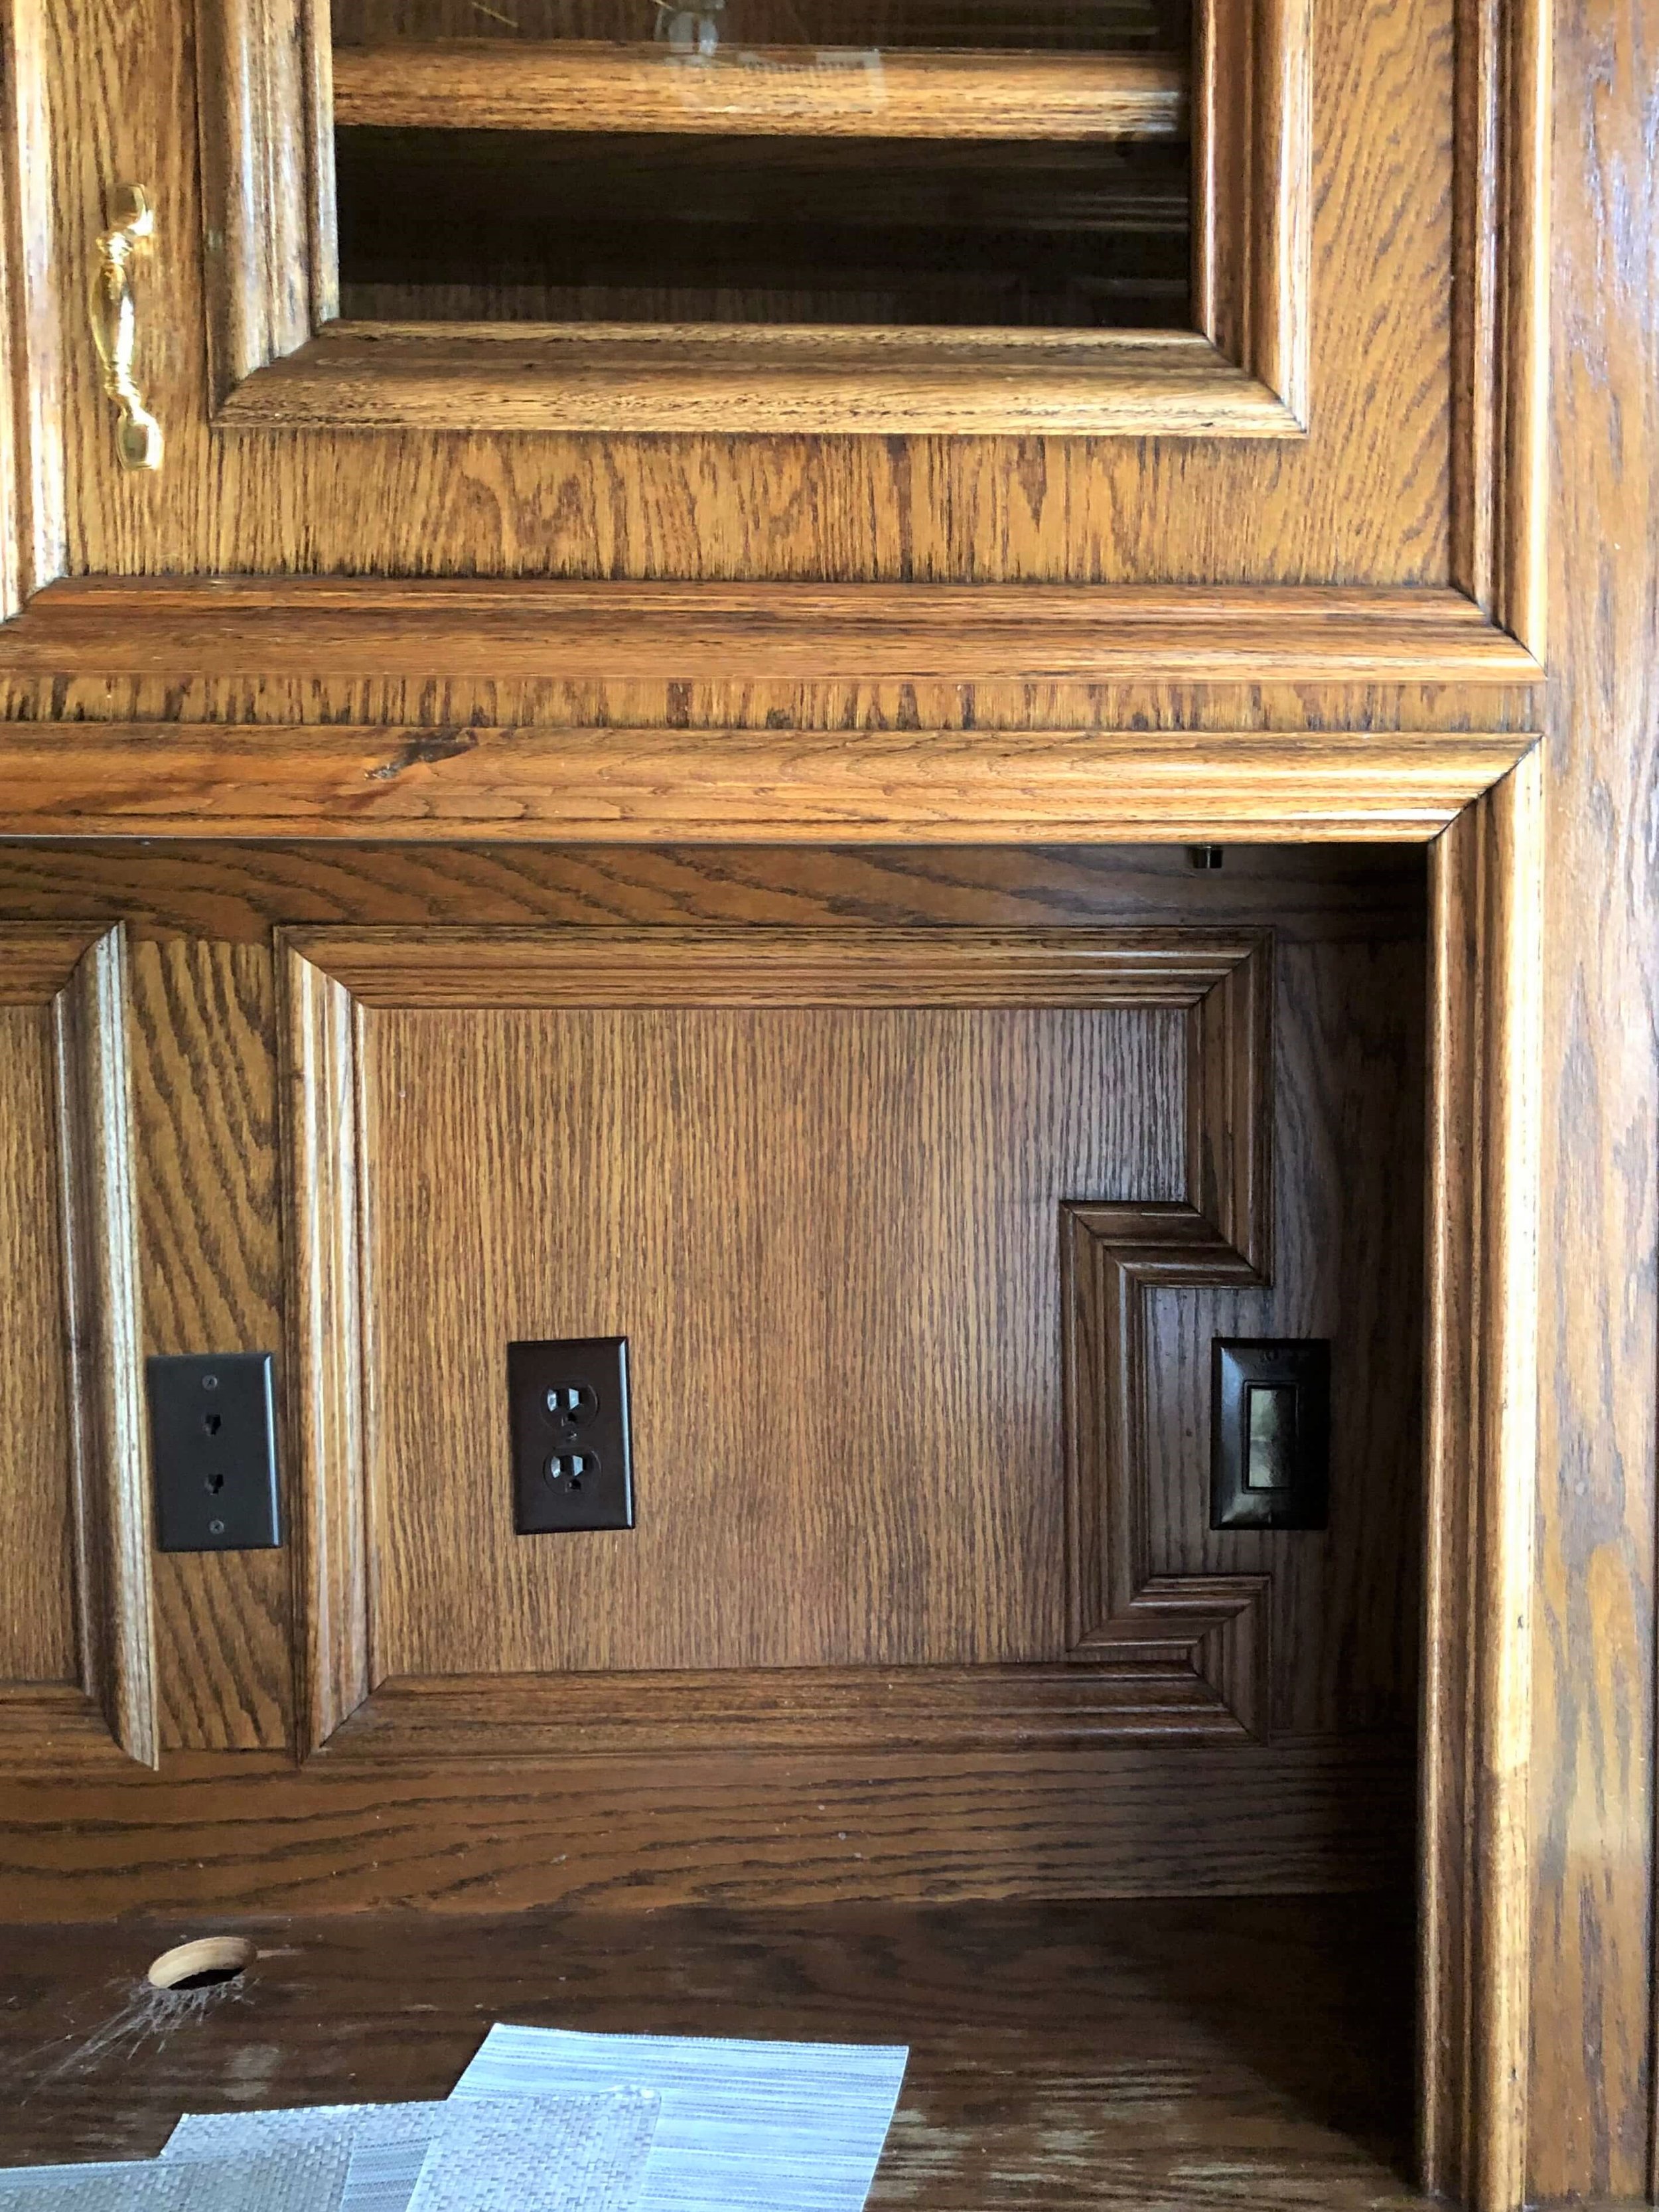
Bad detail - Having to build around a switch with paneling and moulding is not a very thoughtful or well-designed look. Go the extra mile and call the electrician to move the outlet if you find yourself in this situation.
Please don’t panel around an outlet or switch like these if you can at all help it.
With this switch, below, we deliberately placed the wainscot above the switch to clear it and then blended it into the paneling, using a switch from LeGrand Adorne, with a cover painted to match the paneling.

It certainly is worth a call to the electrican if you’re investing in your interiors, whether it affects wall finishes, artwork and furnishings placements that will be against a wall, or a kitchen backsplash or island.
Here’s a built-in that was in the game room of a project of mine. The home had a separate bar area elsewhere, and they didn’t have anything they particularly needed stored in here. They didn’t want this to be a dry bar.
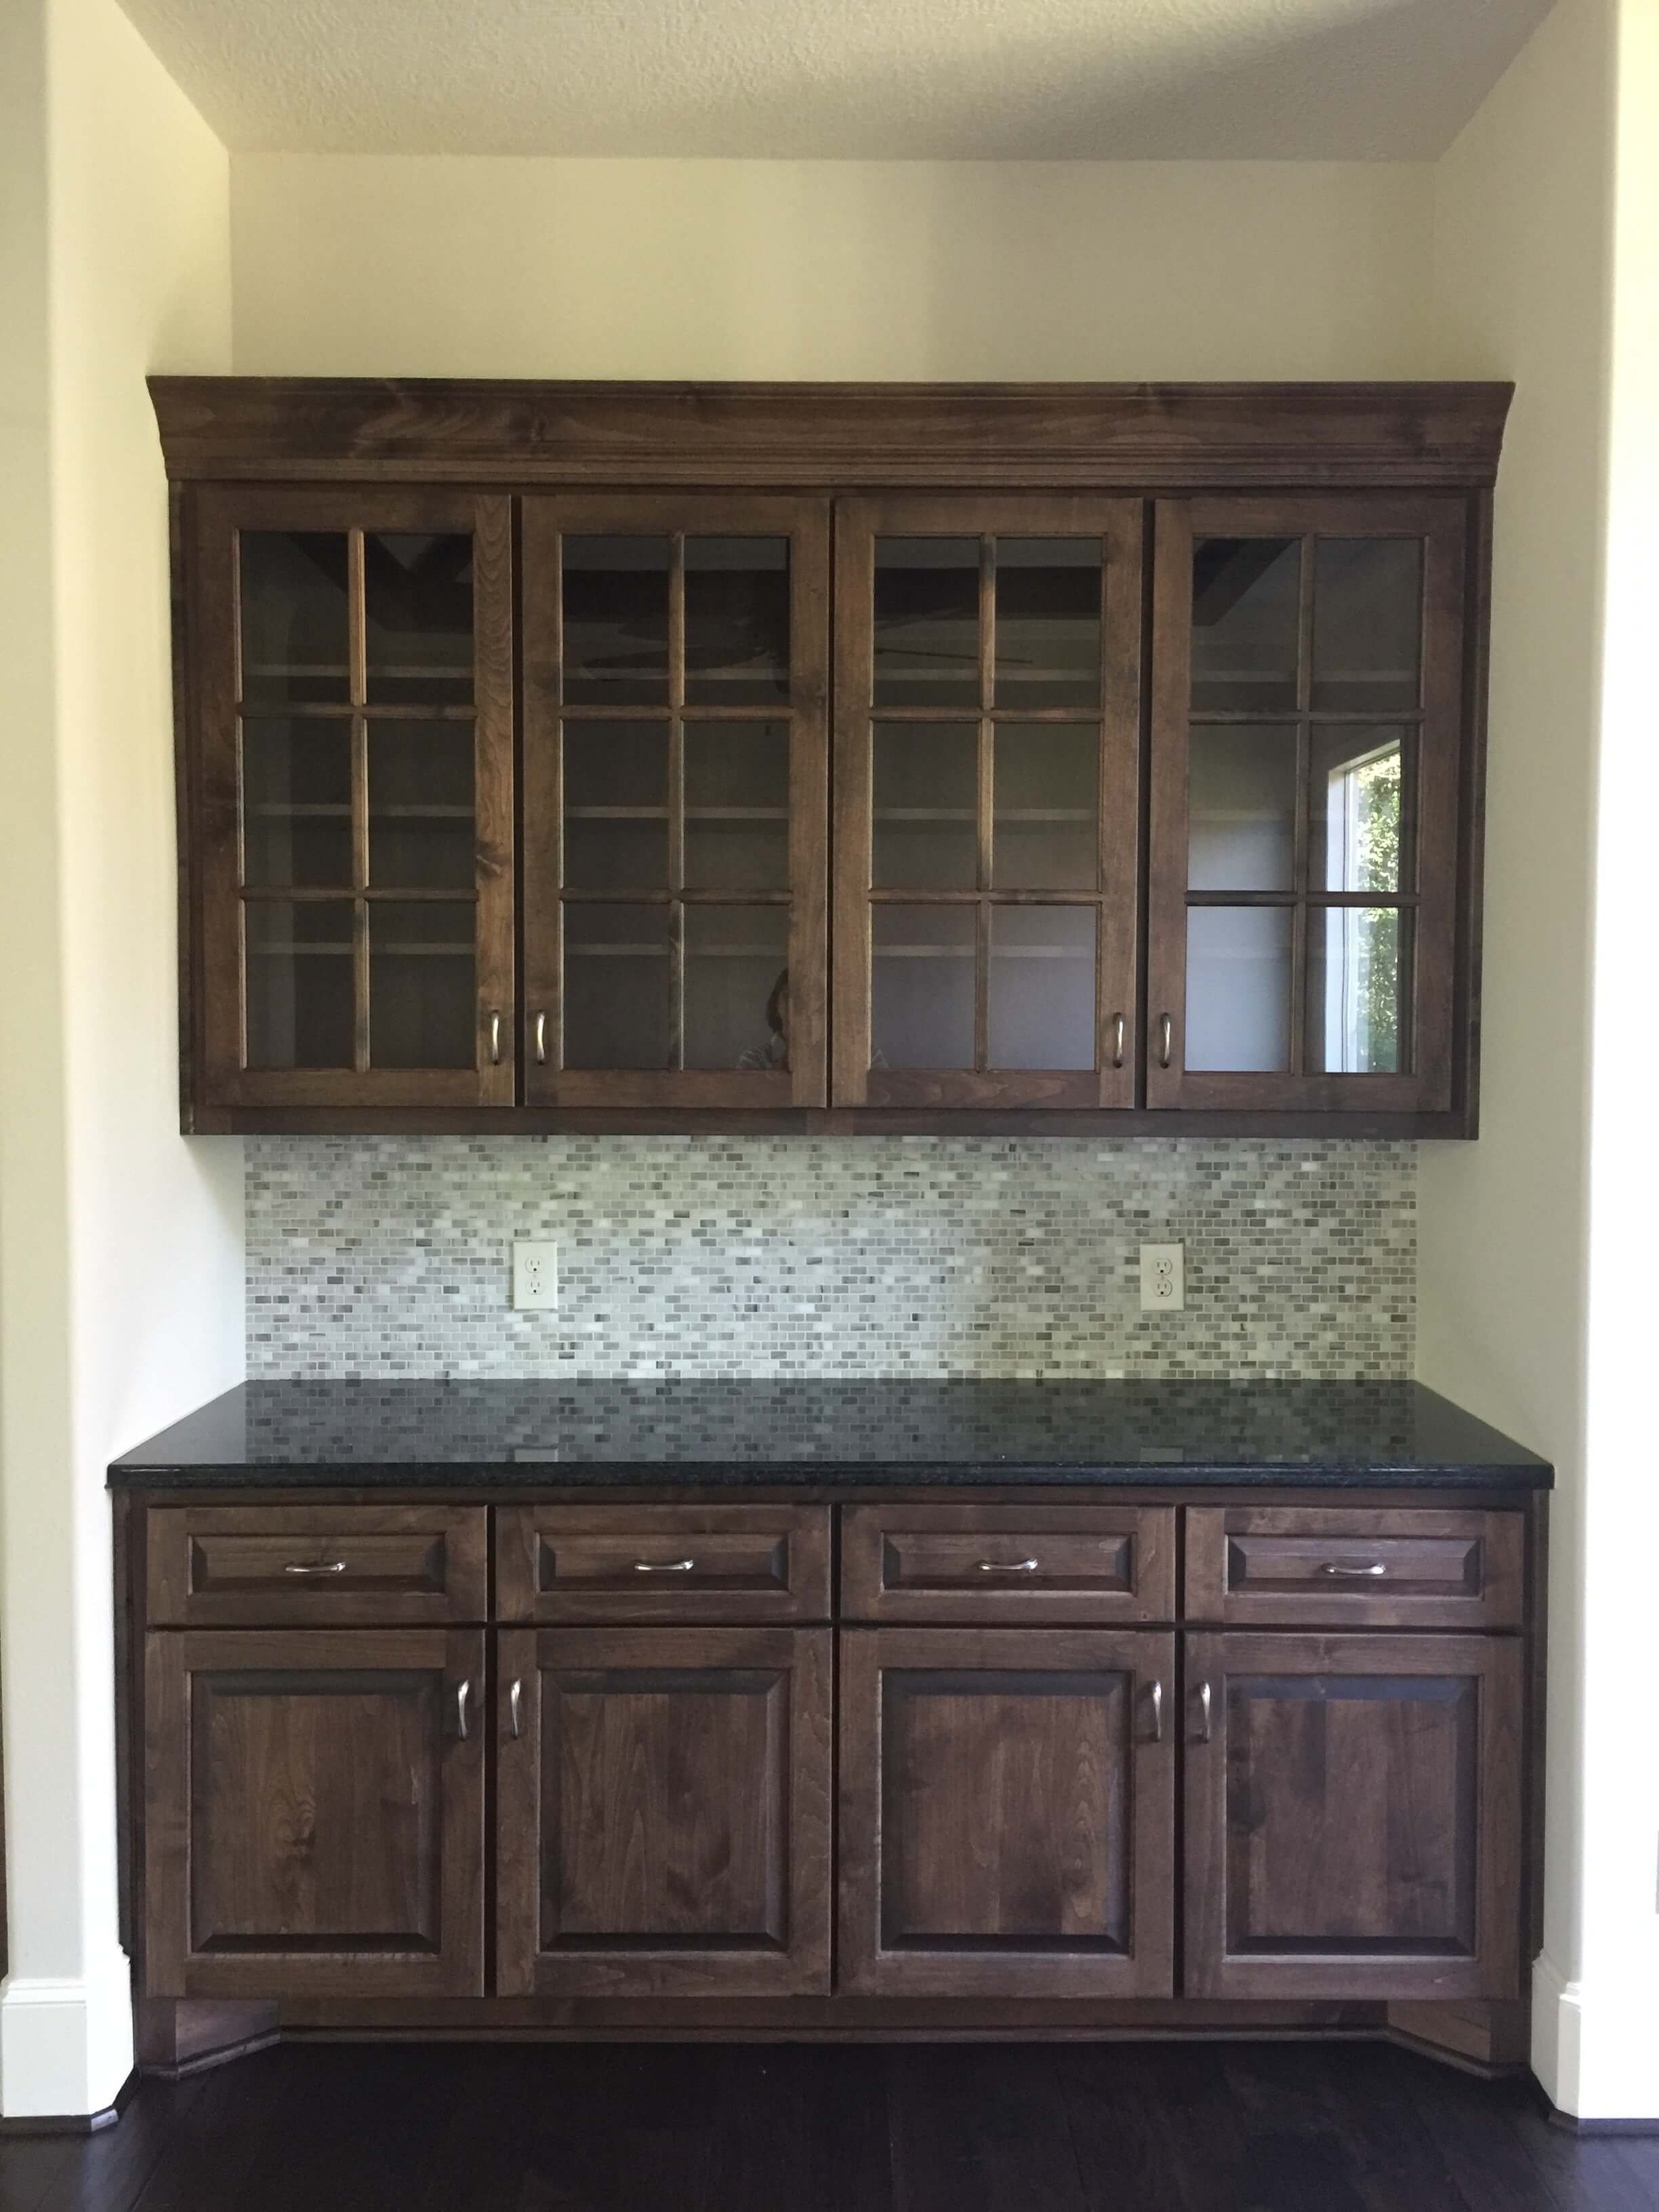
Before - All this cabinetry wasn’t needed in the game room of this large home. There was another bar located elsewhere. The uppers and backsplash were removed and floating shelves installed. The outlets were moved lower and horizontally on the back wall, to minimize them. carlaaston.com
We decided to make this into more of an accent area and deleted the overhead cabinets to put up floating shelves. The lower cabinet remained as is.
This room was painted a lovely green-gray and the shelves installed, but not before we minimized the look of those outlets on the wall. We had to patch the wall anyway and texture, so why not make them as inobtrusive as possible?

Moving the oultlets lower on the wall and laying them horizontally makes them less visible and easier to hide with decor. carlaaston.com
Here’s another job where the extra switch and doorbell speaker were located right where we wanted to hang some art. I wanted to minimize the number of white rectangles on this wall so that the wall decor could be featured properly.
The homeowner had this series of four art pieces and we needed blank wall space here. Without it being too costly (there was already some considerable painting and sheetrock patching going on with this project) they were moved to allow for the wall decor.

BEFORE PIC - Doorbell speaker and additional switches on wall at entry hall.

BEFORE PIC - The doorbell speaker and the switches closest to the center of the wall were relocated. These can be ganged too, so they aren’t so big, especially with some more modern devices.

AFTER - Even though we still had to hang the artwork above the switch, it was much neater and tidier looking with less switches.
I’m working on a project where I’m adding picture frame moulding in boxes with wallcovering in the middle sections. On this long wall, however, the switches on the far left were right in the way and the outlets were right where I wanted to have the moulding.
Along one wall of this same room the outlets were in the baseboard, which I chose to do here as well. It looks much neater and tidier to run them horizontally in the base in this situation. We moved the switches around the corner in the hall, still convenient, but not as visible and there, they don’t get in the way of any special finishes we are doing.

BEFORE - Switch and outlet right in the way of where I wanted to run the moulding.

Moved and ready to patch up!

Outlets moved to the baseboard. Switches were moved around the corner, still convenient but not as visible.
In the hallway we moved the return air to the ceiling and relocated the outlet to the baseboard.

This outlet and return air was right where I wanted to add mouldings and wallpaper. They would have really taken away from the look.

Outlet was moved to the baseboard and mounted horizontally, return air was moved to the ceiling. The wall will be sanded smooth and mouldings added with wallcovering.
Here were some other locations in a home where the switches were shifted or ganged together.

BEFORE - This switch was rewired and eliminated so that we could have a more open wall space for furniture and decor. carlaaston.com
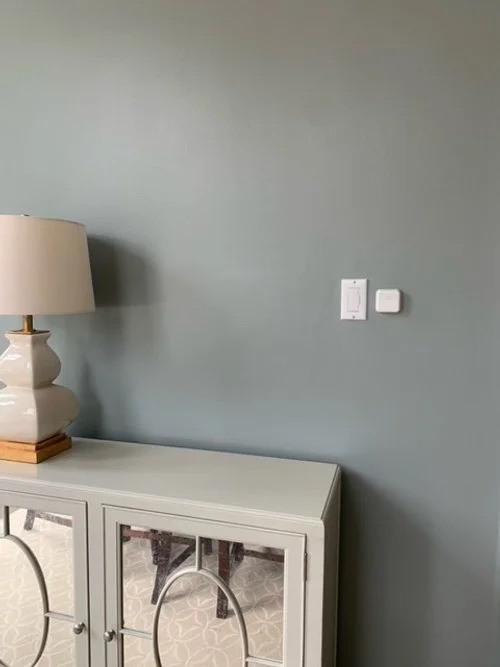
Switch is out of the way here, so that wall art can be hung over the console. carlaaston.com

BEFORE - These switches were ganged together and the wall patched to create more open wall space for artwork here. carlaaston.com

BEFORE - These switches were ganged together and the wall patched to create more open wall space for artwork here. carlaaston.com

AFTER - These switches were ganged together and the wall patched to create more open wall space for artwork here. carlaaston.com
You won’t regret spending this extra money to take care of details like this. It will make your project look very finished and thoughtfully detailed.
Check out these posts, below, for more info on locating outlets and switches!

This blogpost was thoughtfully written by me, Carla Aston, and not by AI, ghostwriters, or guest posters.
I’m sharing some good practices to go by when dealing with outlets and light switches on your kitchen backsplashes today. These are the guidelines I use when I design a kitchen and I’m kind of excited to lay it all out here in this post.