I’m sharing some master bath design advice here today, as I’m guessing that bathroom design might be on your mind after staying at home so much lately, especially if your bathroom is feeling a bit cramped and too small. :-)
This was one of my Designed in a Click consultations done via email, back around the first of the year. Her questions weren’t that major, but I couldn’t really offer solutions I felt good about, unless I recommended something bigger than what she was thinking.
She was already going to tear out the shower and cabinetry, etc., so I wasn’t proposing a larger scope of work necessarily. I was proposing that she really open up the bathroom more visually and just work out a better design plan overall.
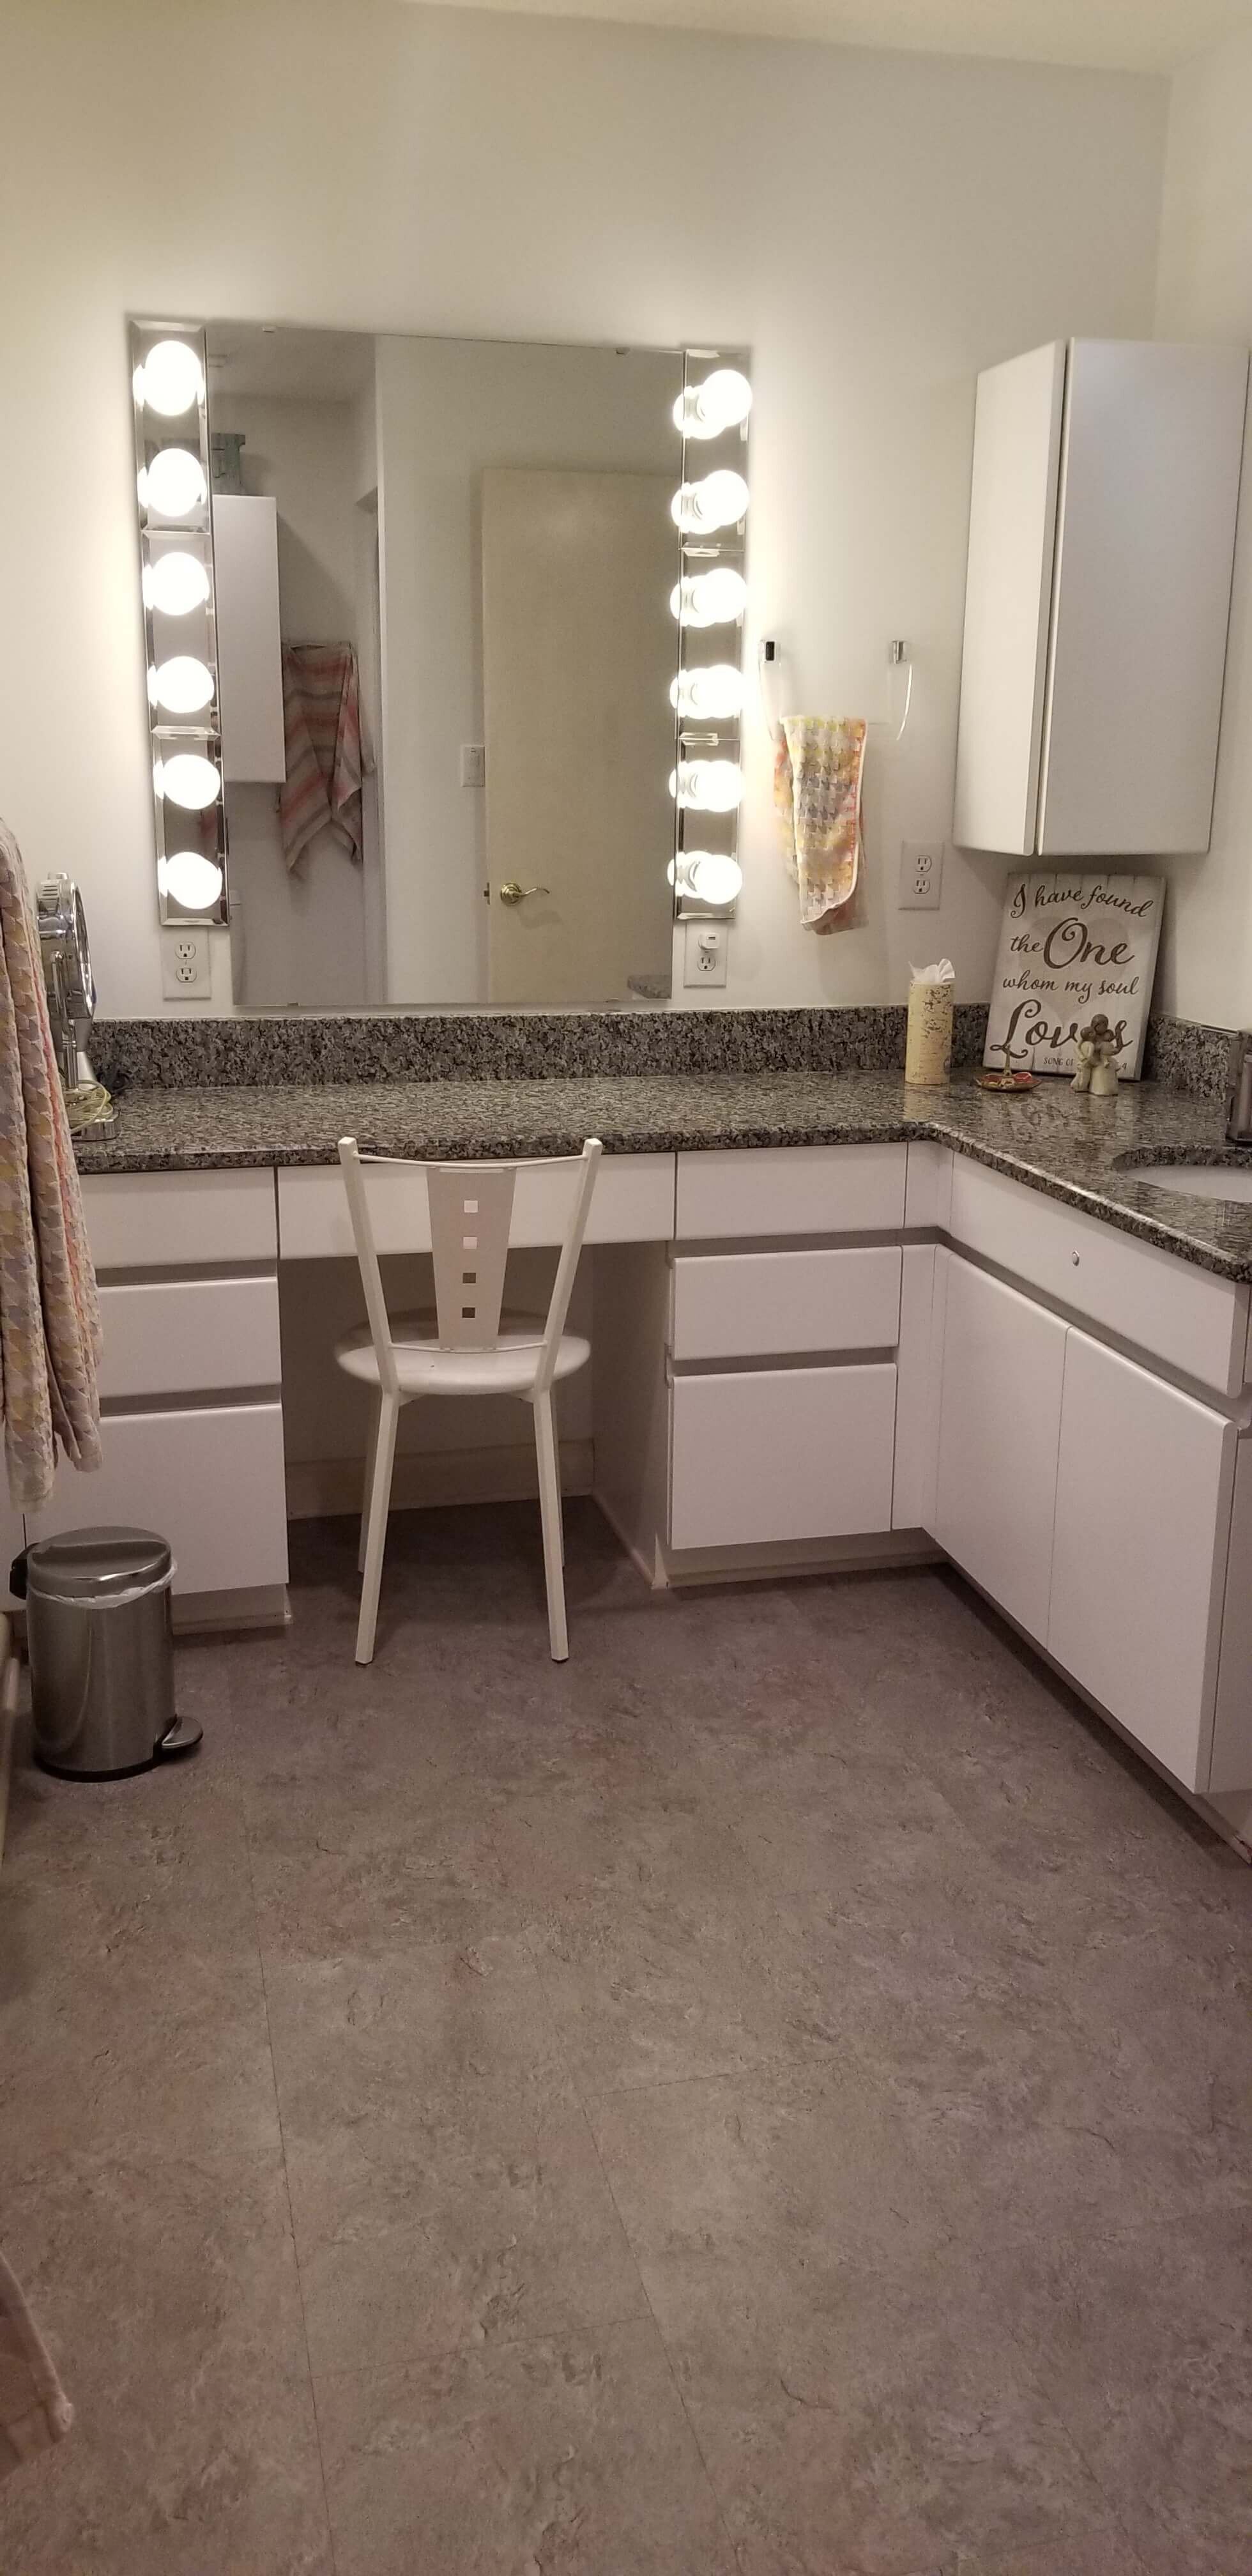
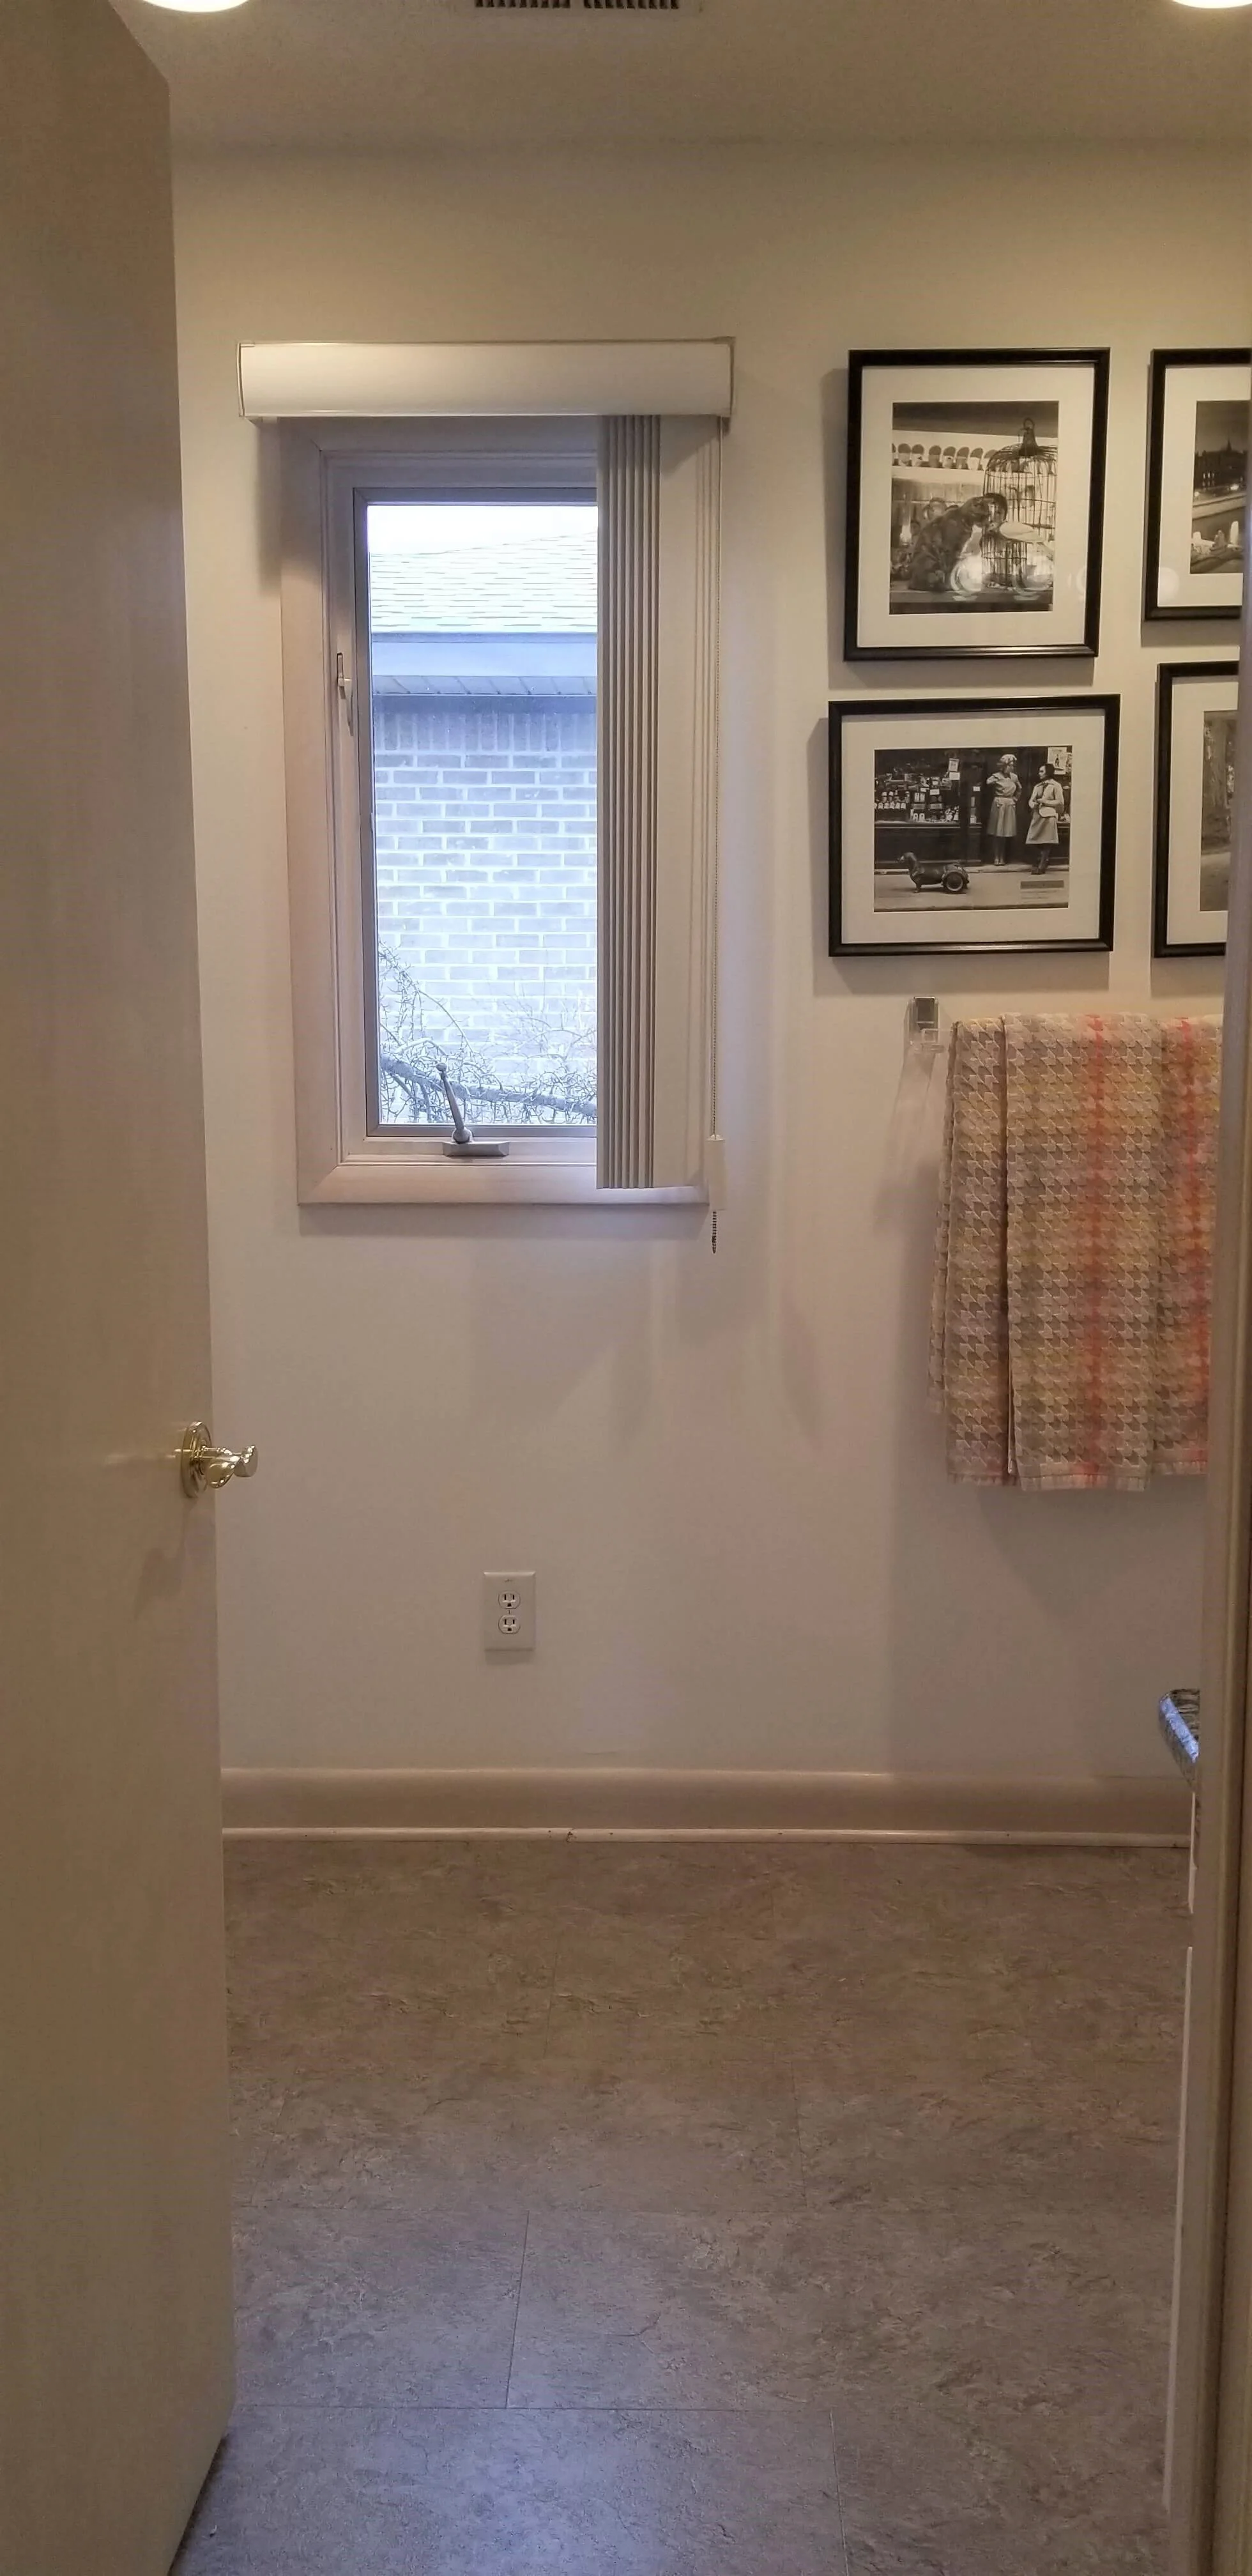
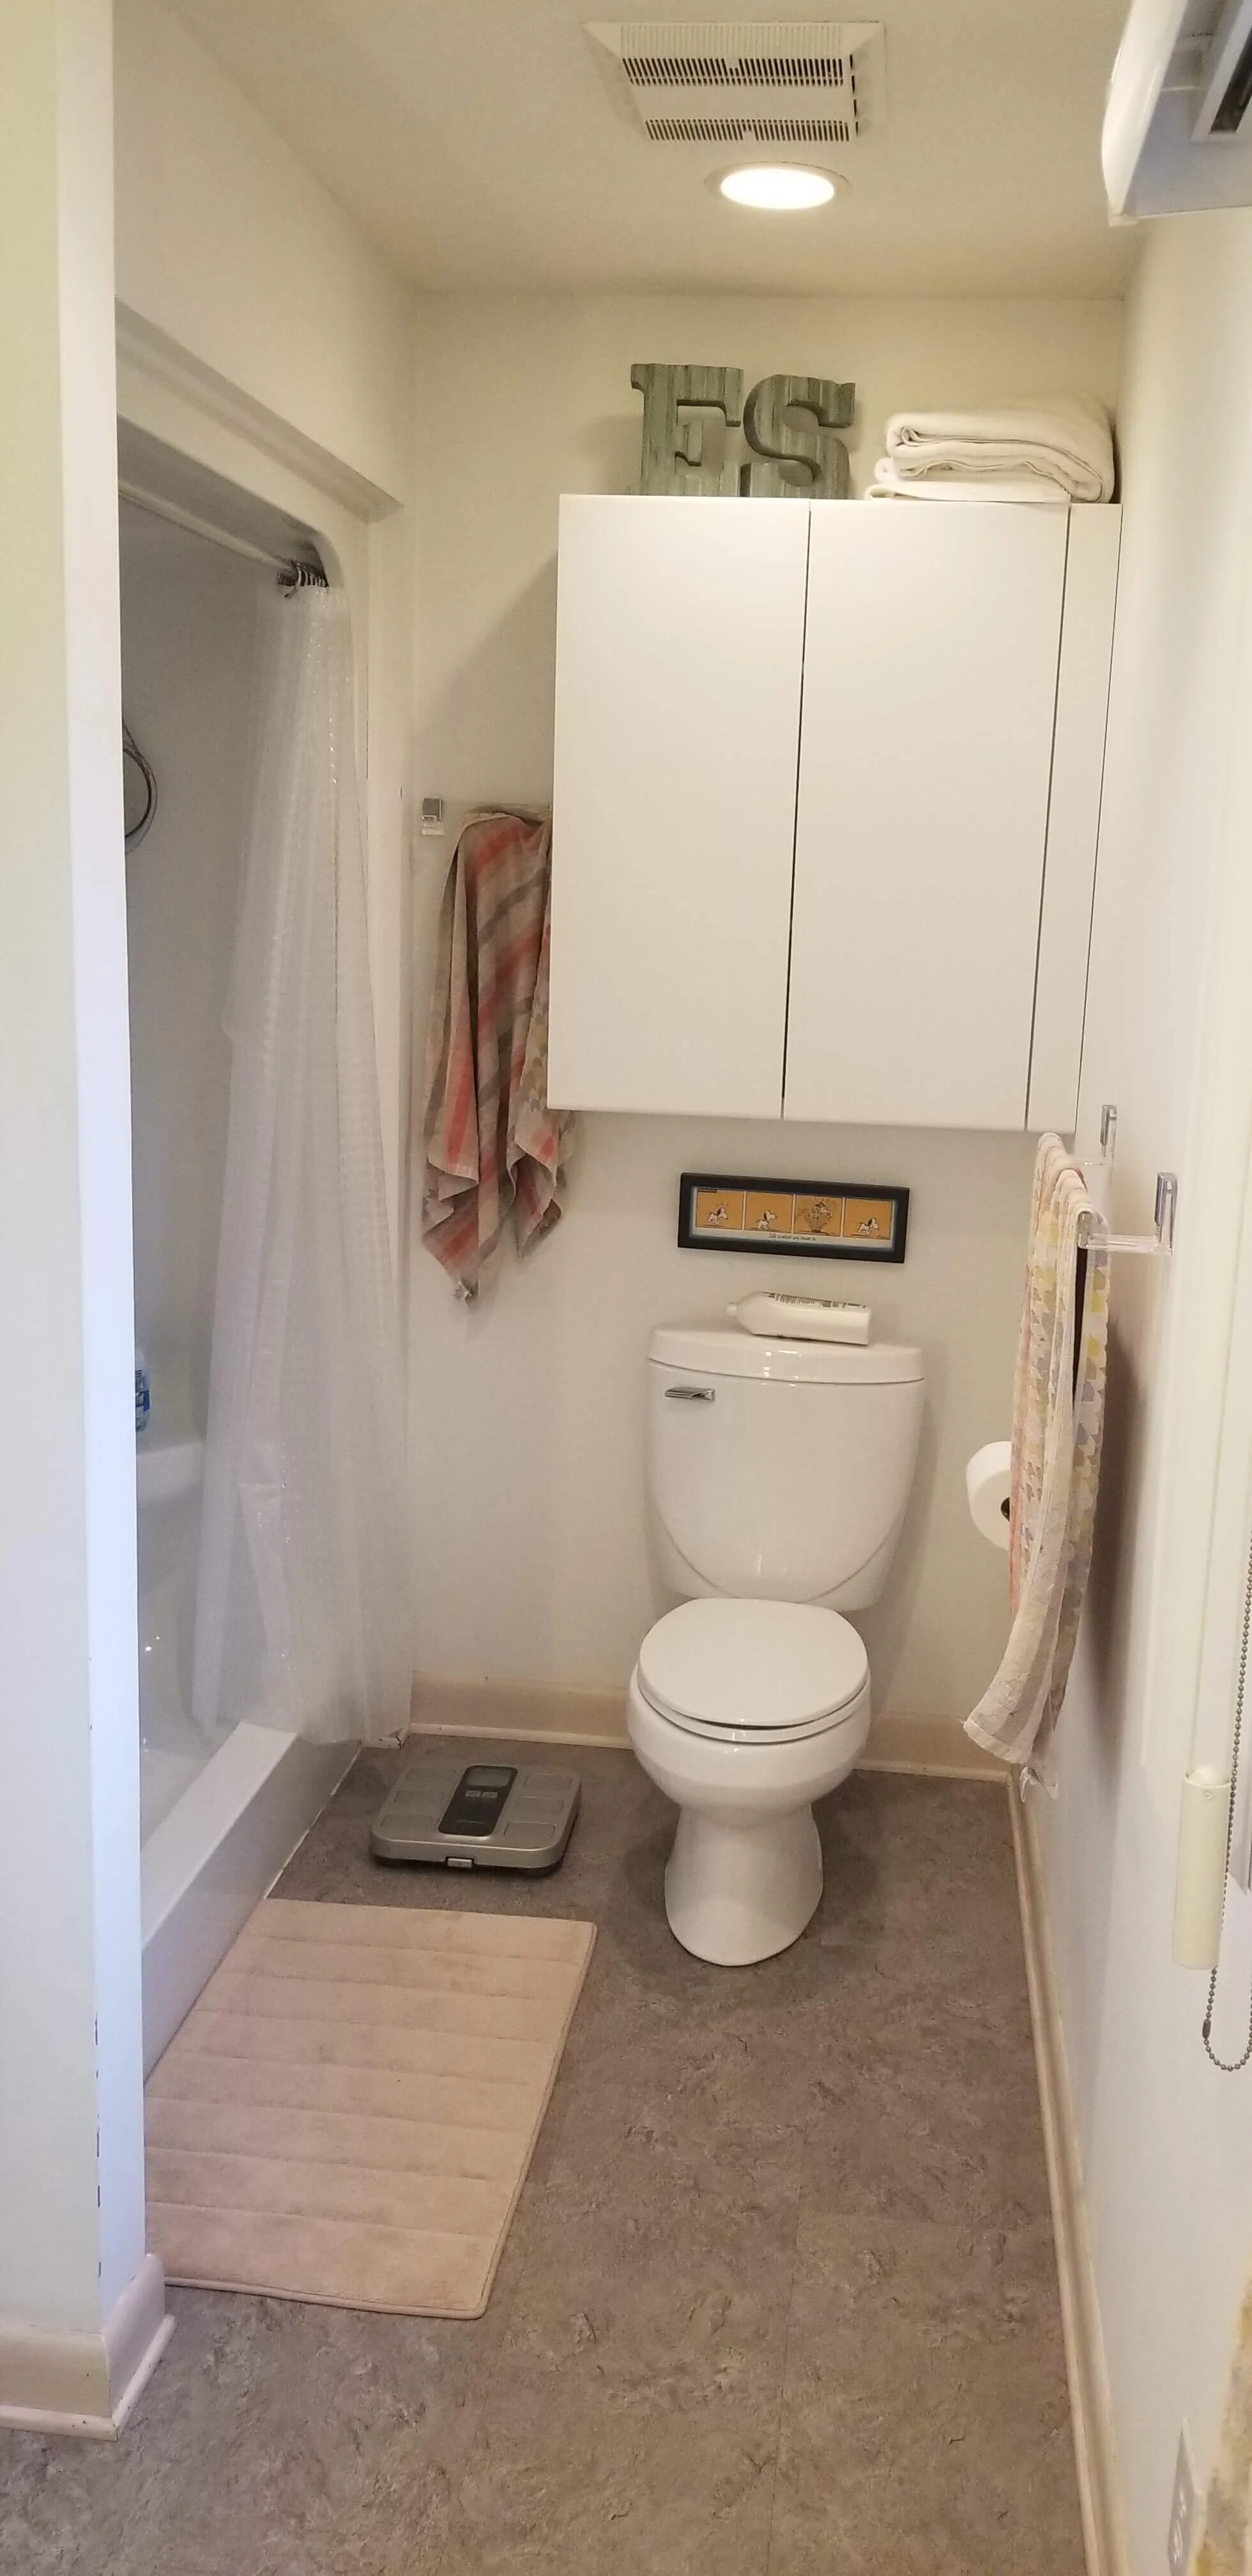
bathroom pics before
BEFORE - Bathroom Vanity
BEFORE - Bathroom Entry, vanity is to the right, shower and toilet area to the left.
BEFORE - Bathroom to be remodeled with new shower area.
BEFORE - View into the bathroom from the master bedroom, you can see the vanity area there.
The overall layout isn’t going to change. It’s a rather narrow bathroom, with the functions clearly divided in half by the door/entry.
Basically they needed some storage, were wondering about the cabinet over the toilet (if they should keep it) and were intending to just replace that shower enclosure with a new pan and tiled walls.
They were planning to keep that wall at the end of the shower.
They were getting rid of the seated vanity and would be having two sinks on a single vanity at that end of the bathroom. (I thought that was a good idea for the use of space.)
Here were my suggestions for their bathroom remodel
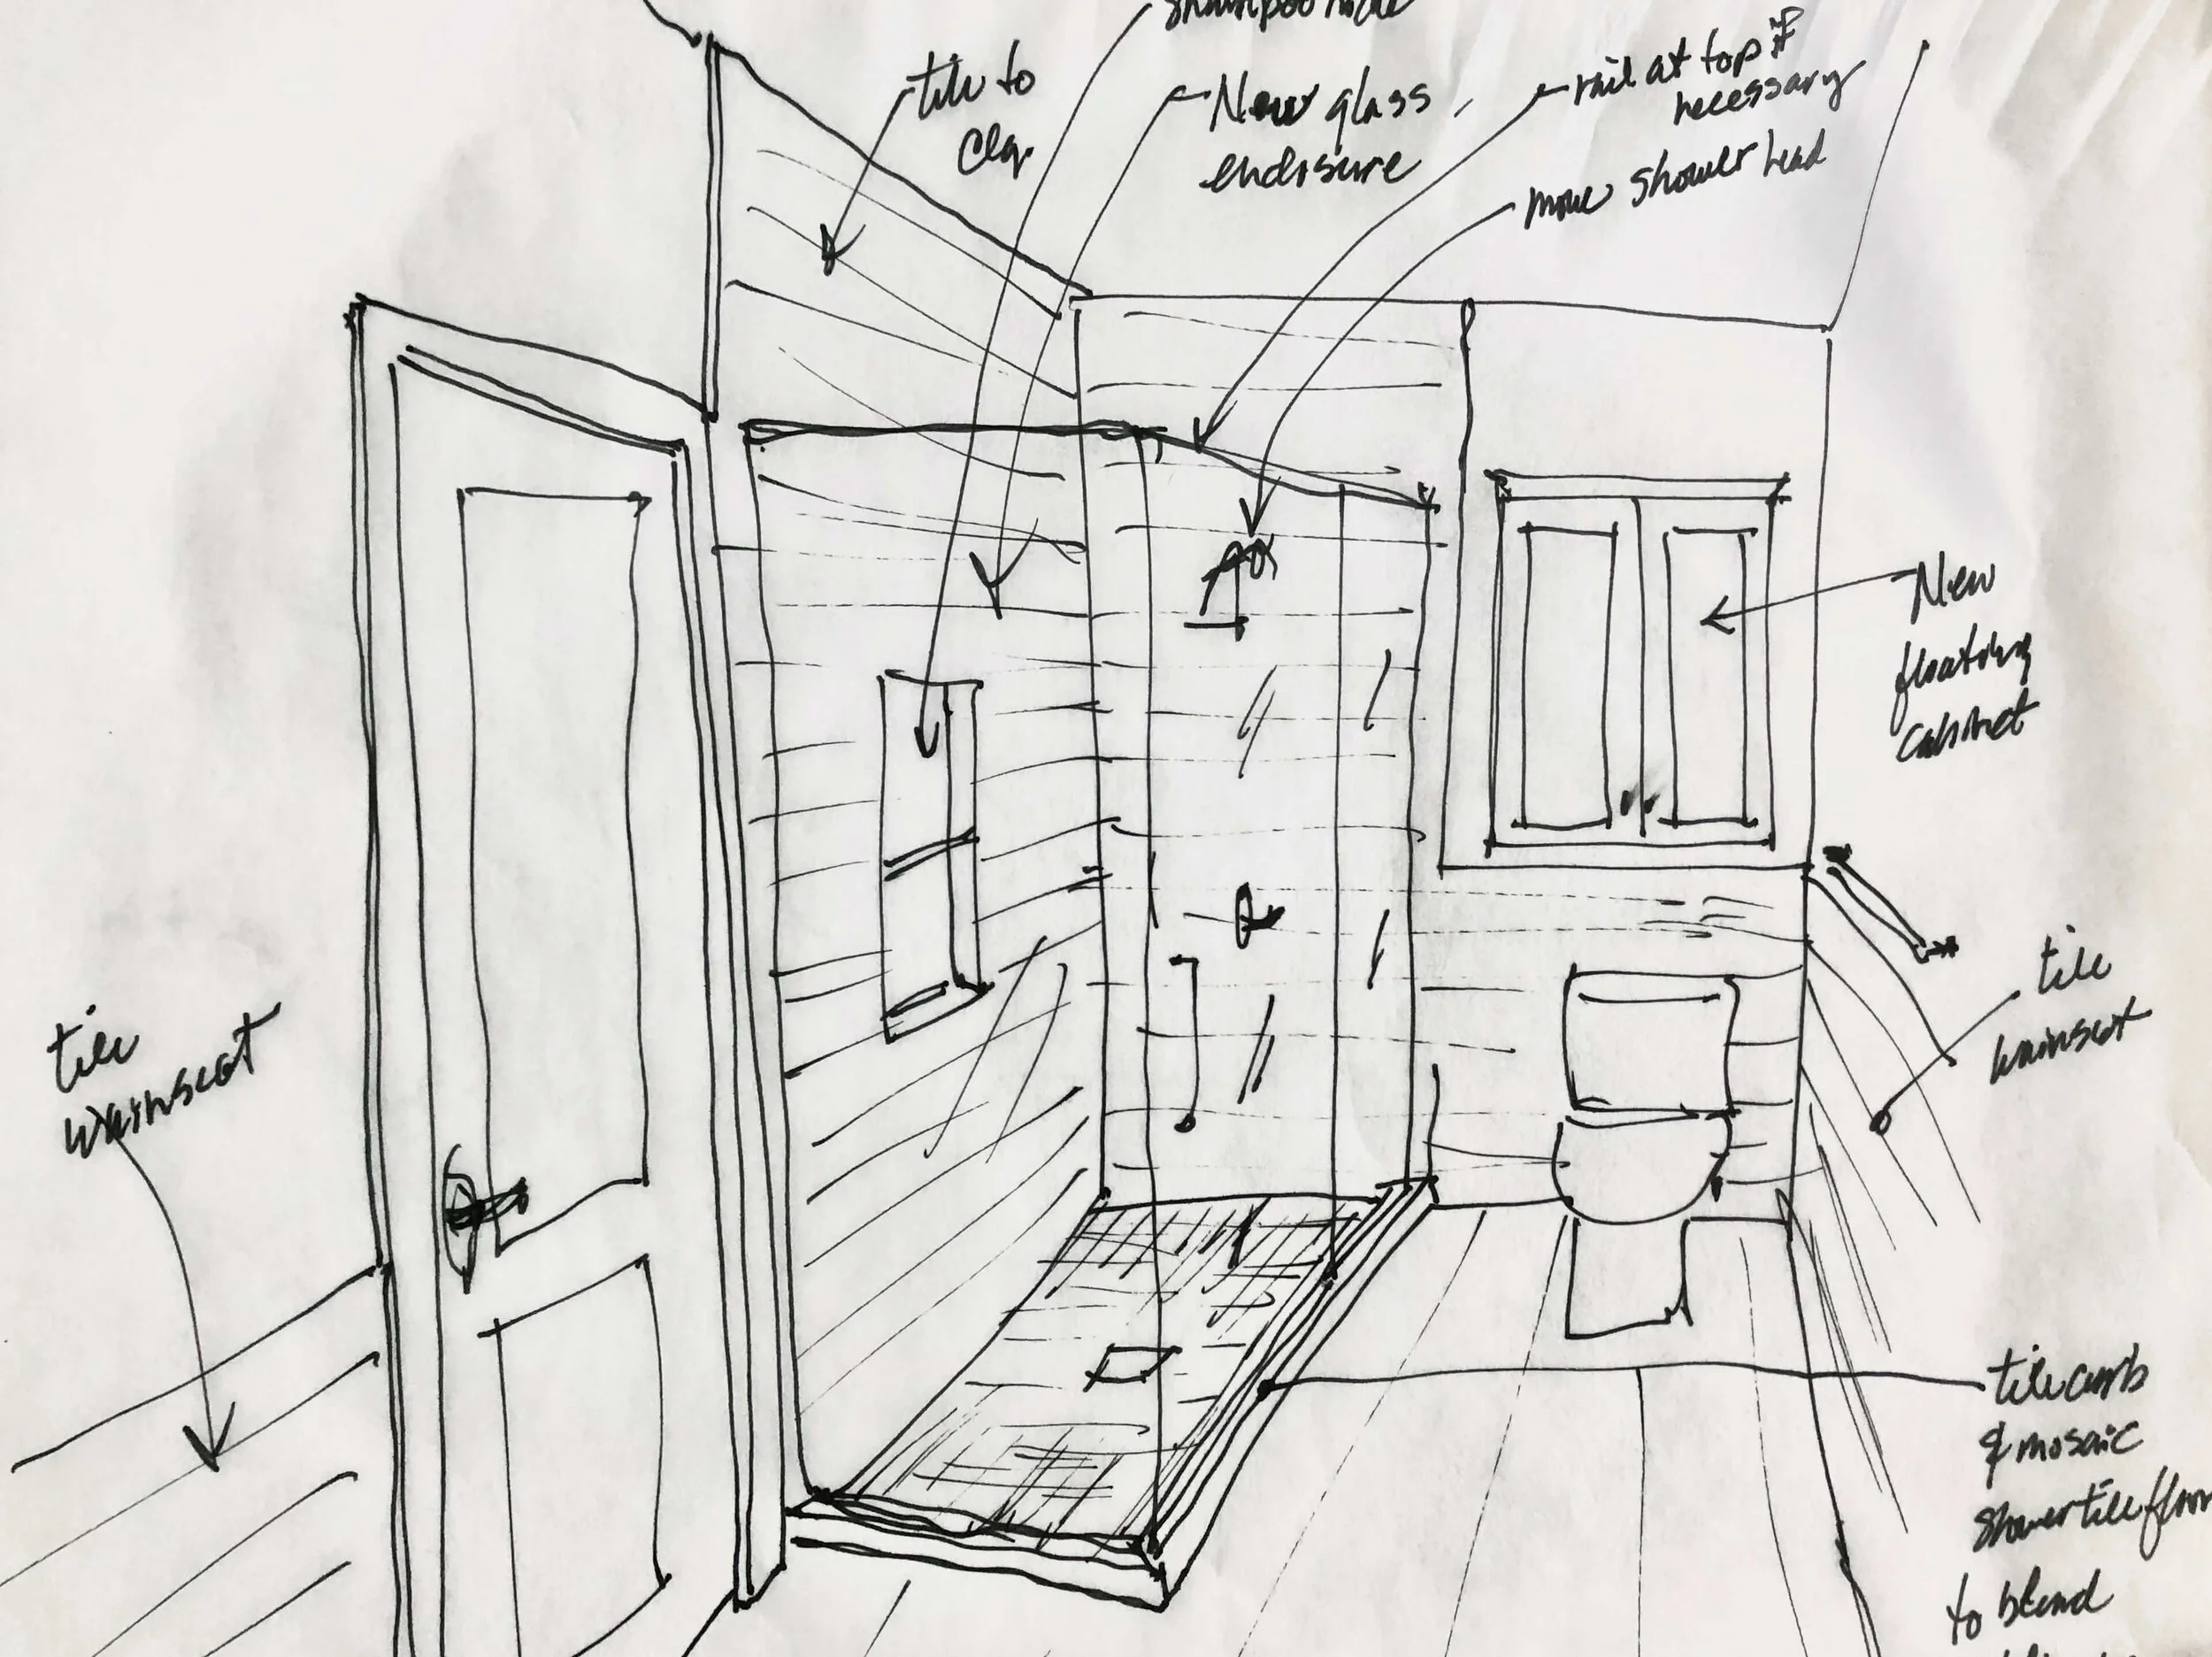
First of all, I suggested they open up that shower. That will just make the bathroom feel more luxurious and spacious.
The existing shower feels cramped and dark right now, so I thought investing in new materials and labor here would be regretted if we didn’t make a bigger change overall to the look and feel of the space.
(I don’t like it when a remodel doesn’t deliver the impact it was intended to. It should feel like a fresh, new space, no matter how much is done!)
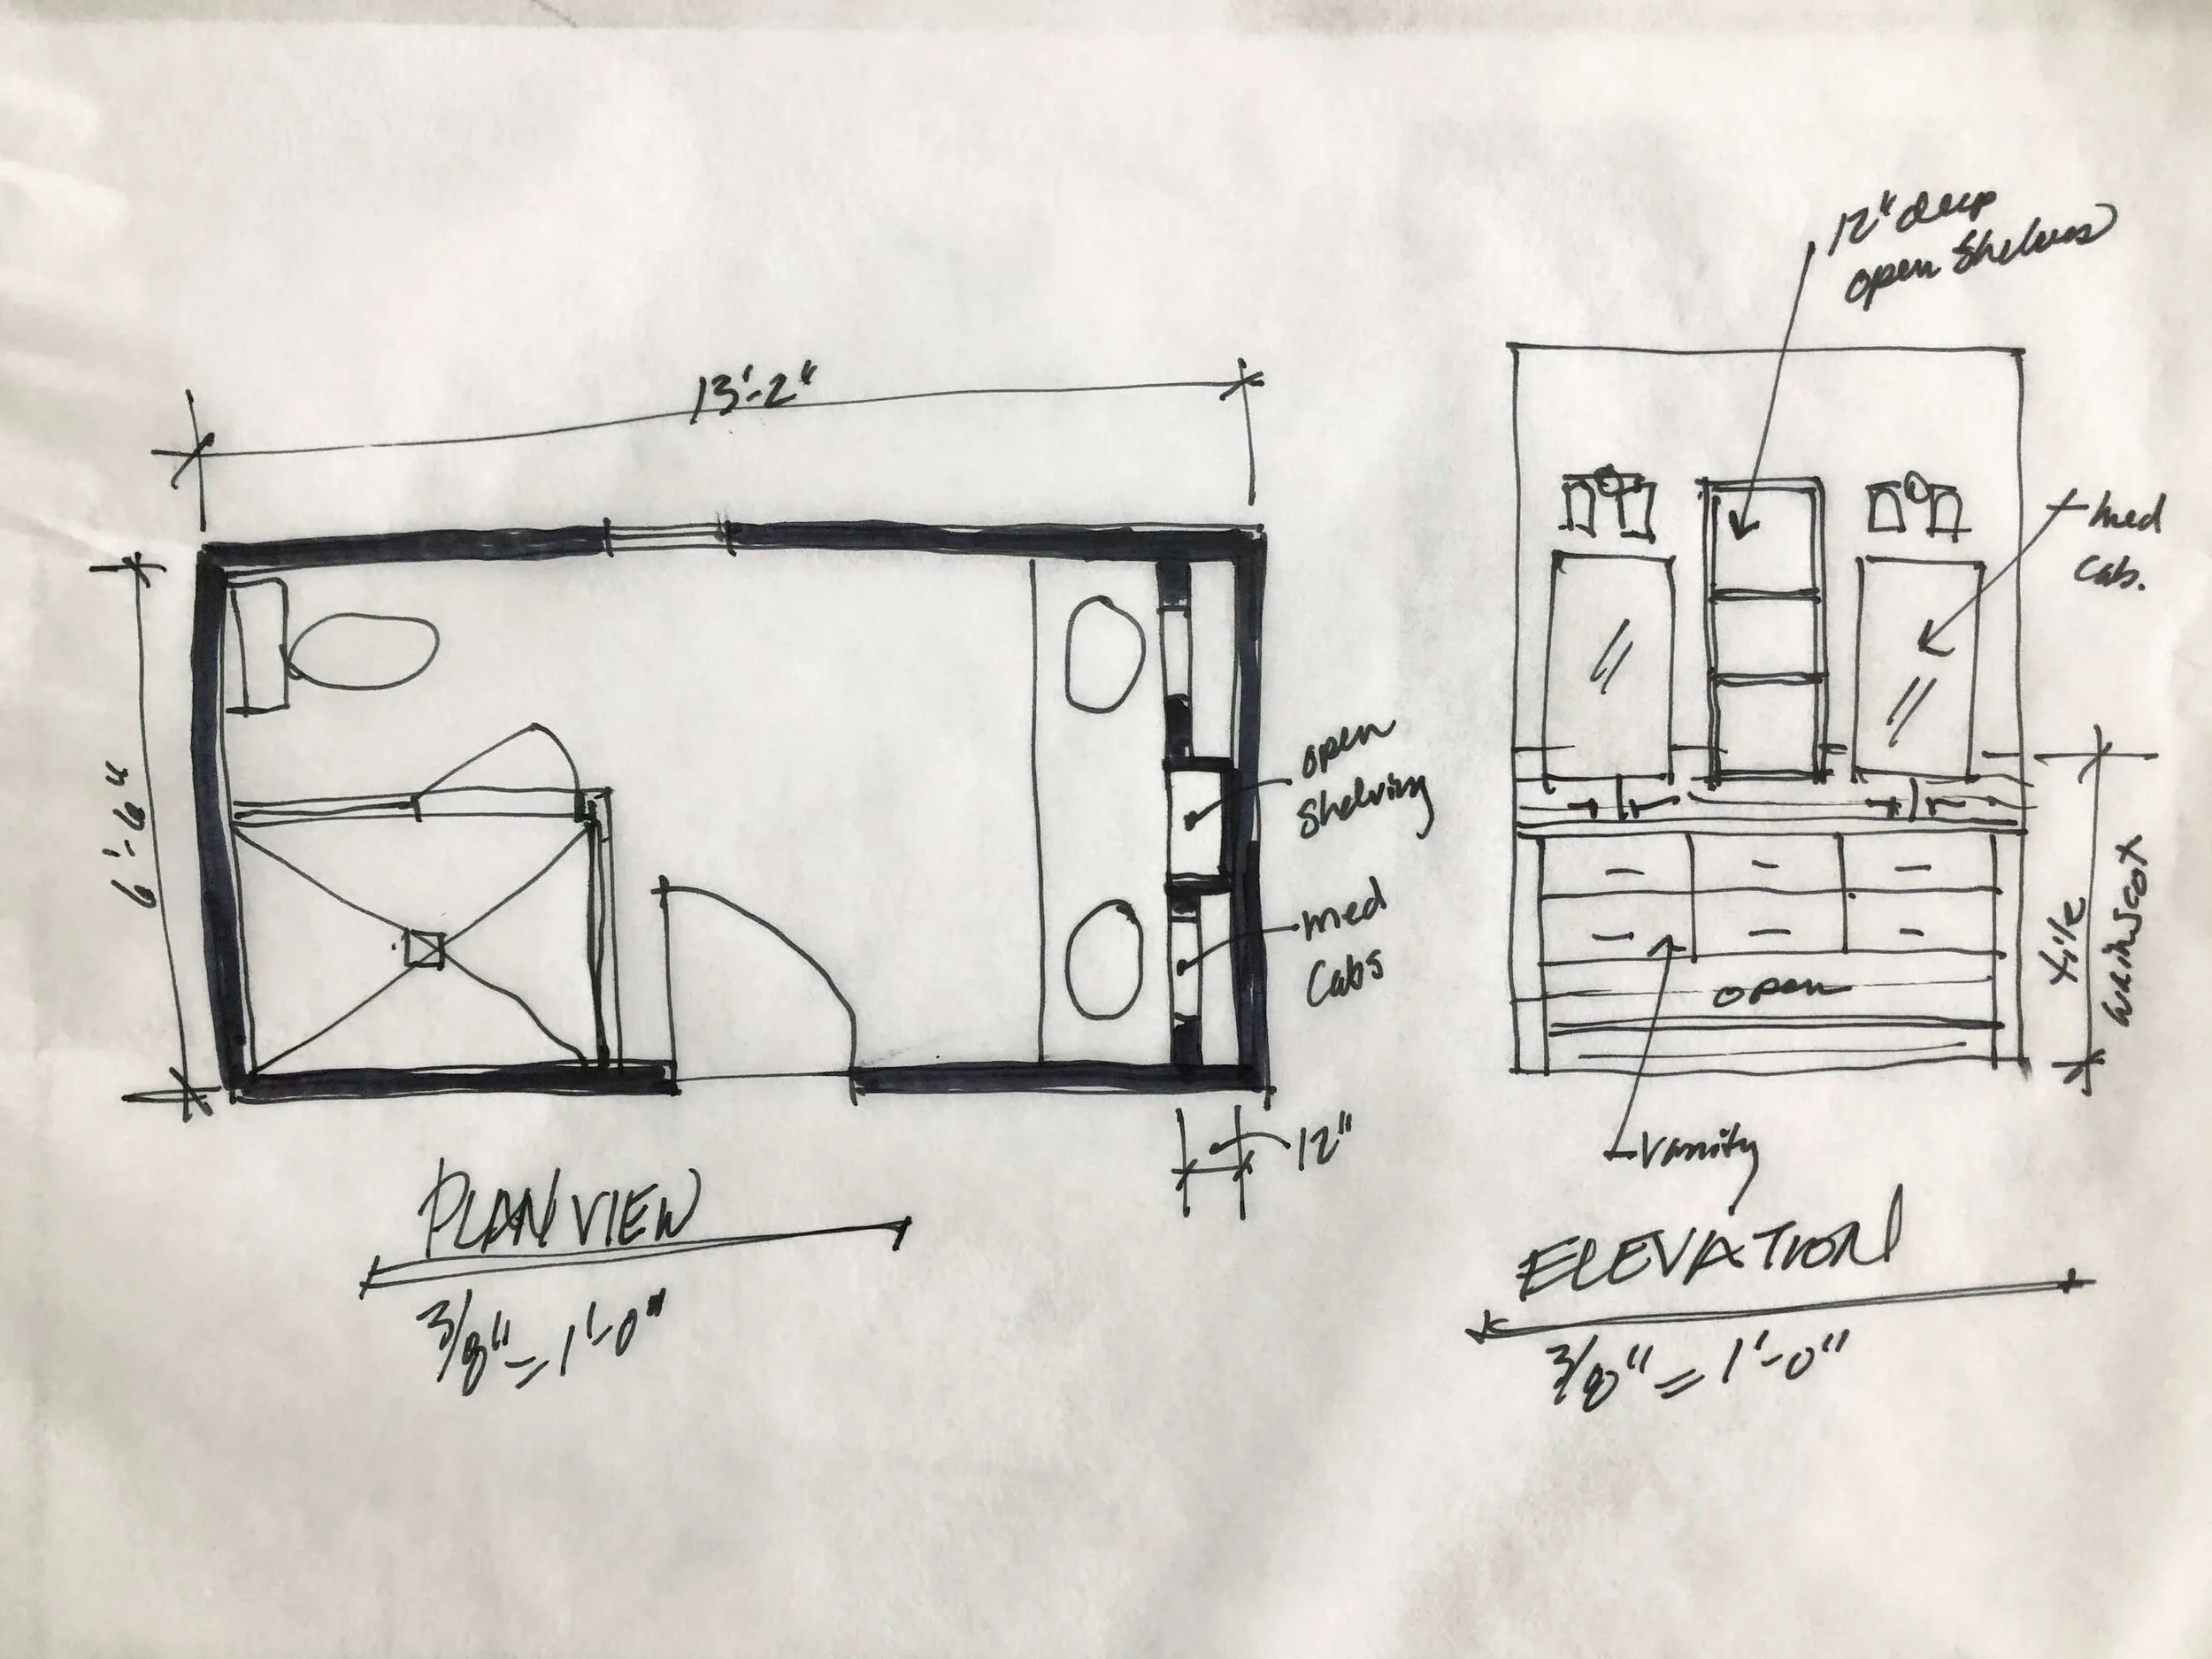
I also liked tiling to the ceiling there and then adding a wainscot of tile around the room for some consistency and to break up the long walls a bit, visually.
I liked doing a new cabinet over the toilet, but having it float there, centered in the open wall space, so that it felt intentional.
Design sketch showing open shower look, tile wainscot, and floating cabinet above the toilet. From my Designed in a Click email interior design QandA service. | carlaaston.com
A new shampoo niche could go on the side wall and towel bars hung just over the tile wainscot.
On the opposite wall, at the vanity, I suggested adding using some of the depth there and furr out to create some deeper storage behind the wall.
Mirrored medicine cabinets would definitely give some extra storage here and a deep towel storage area above the counter, in the wall, could be nice as well.
Design sketch showing bathroom vanity, tile wainscot, and storage above the vanity. From my Designed in a Click email interior design QandA service. | carlaaston.com
I would continue the wainscot around to this wall, creating the backsplash there and dying into the cabinets .
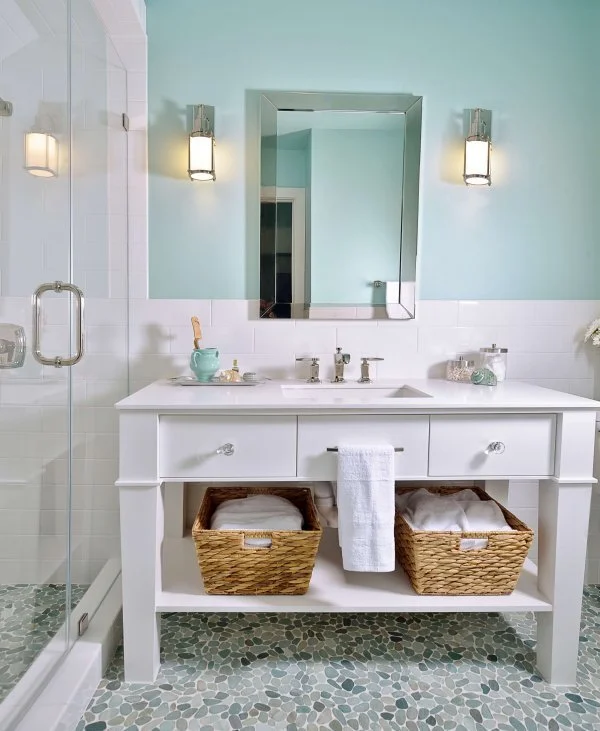
That towel niche could be lined with painted or stained wood to match the vanity finish. I like the vanity looking a little more special with legs and a shelf below. It will serve to open up the bathroom even more, visually.
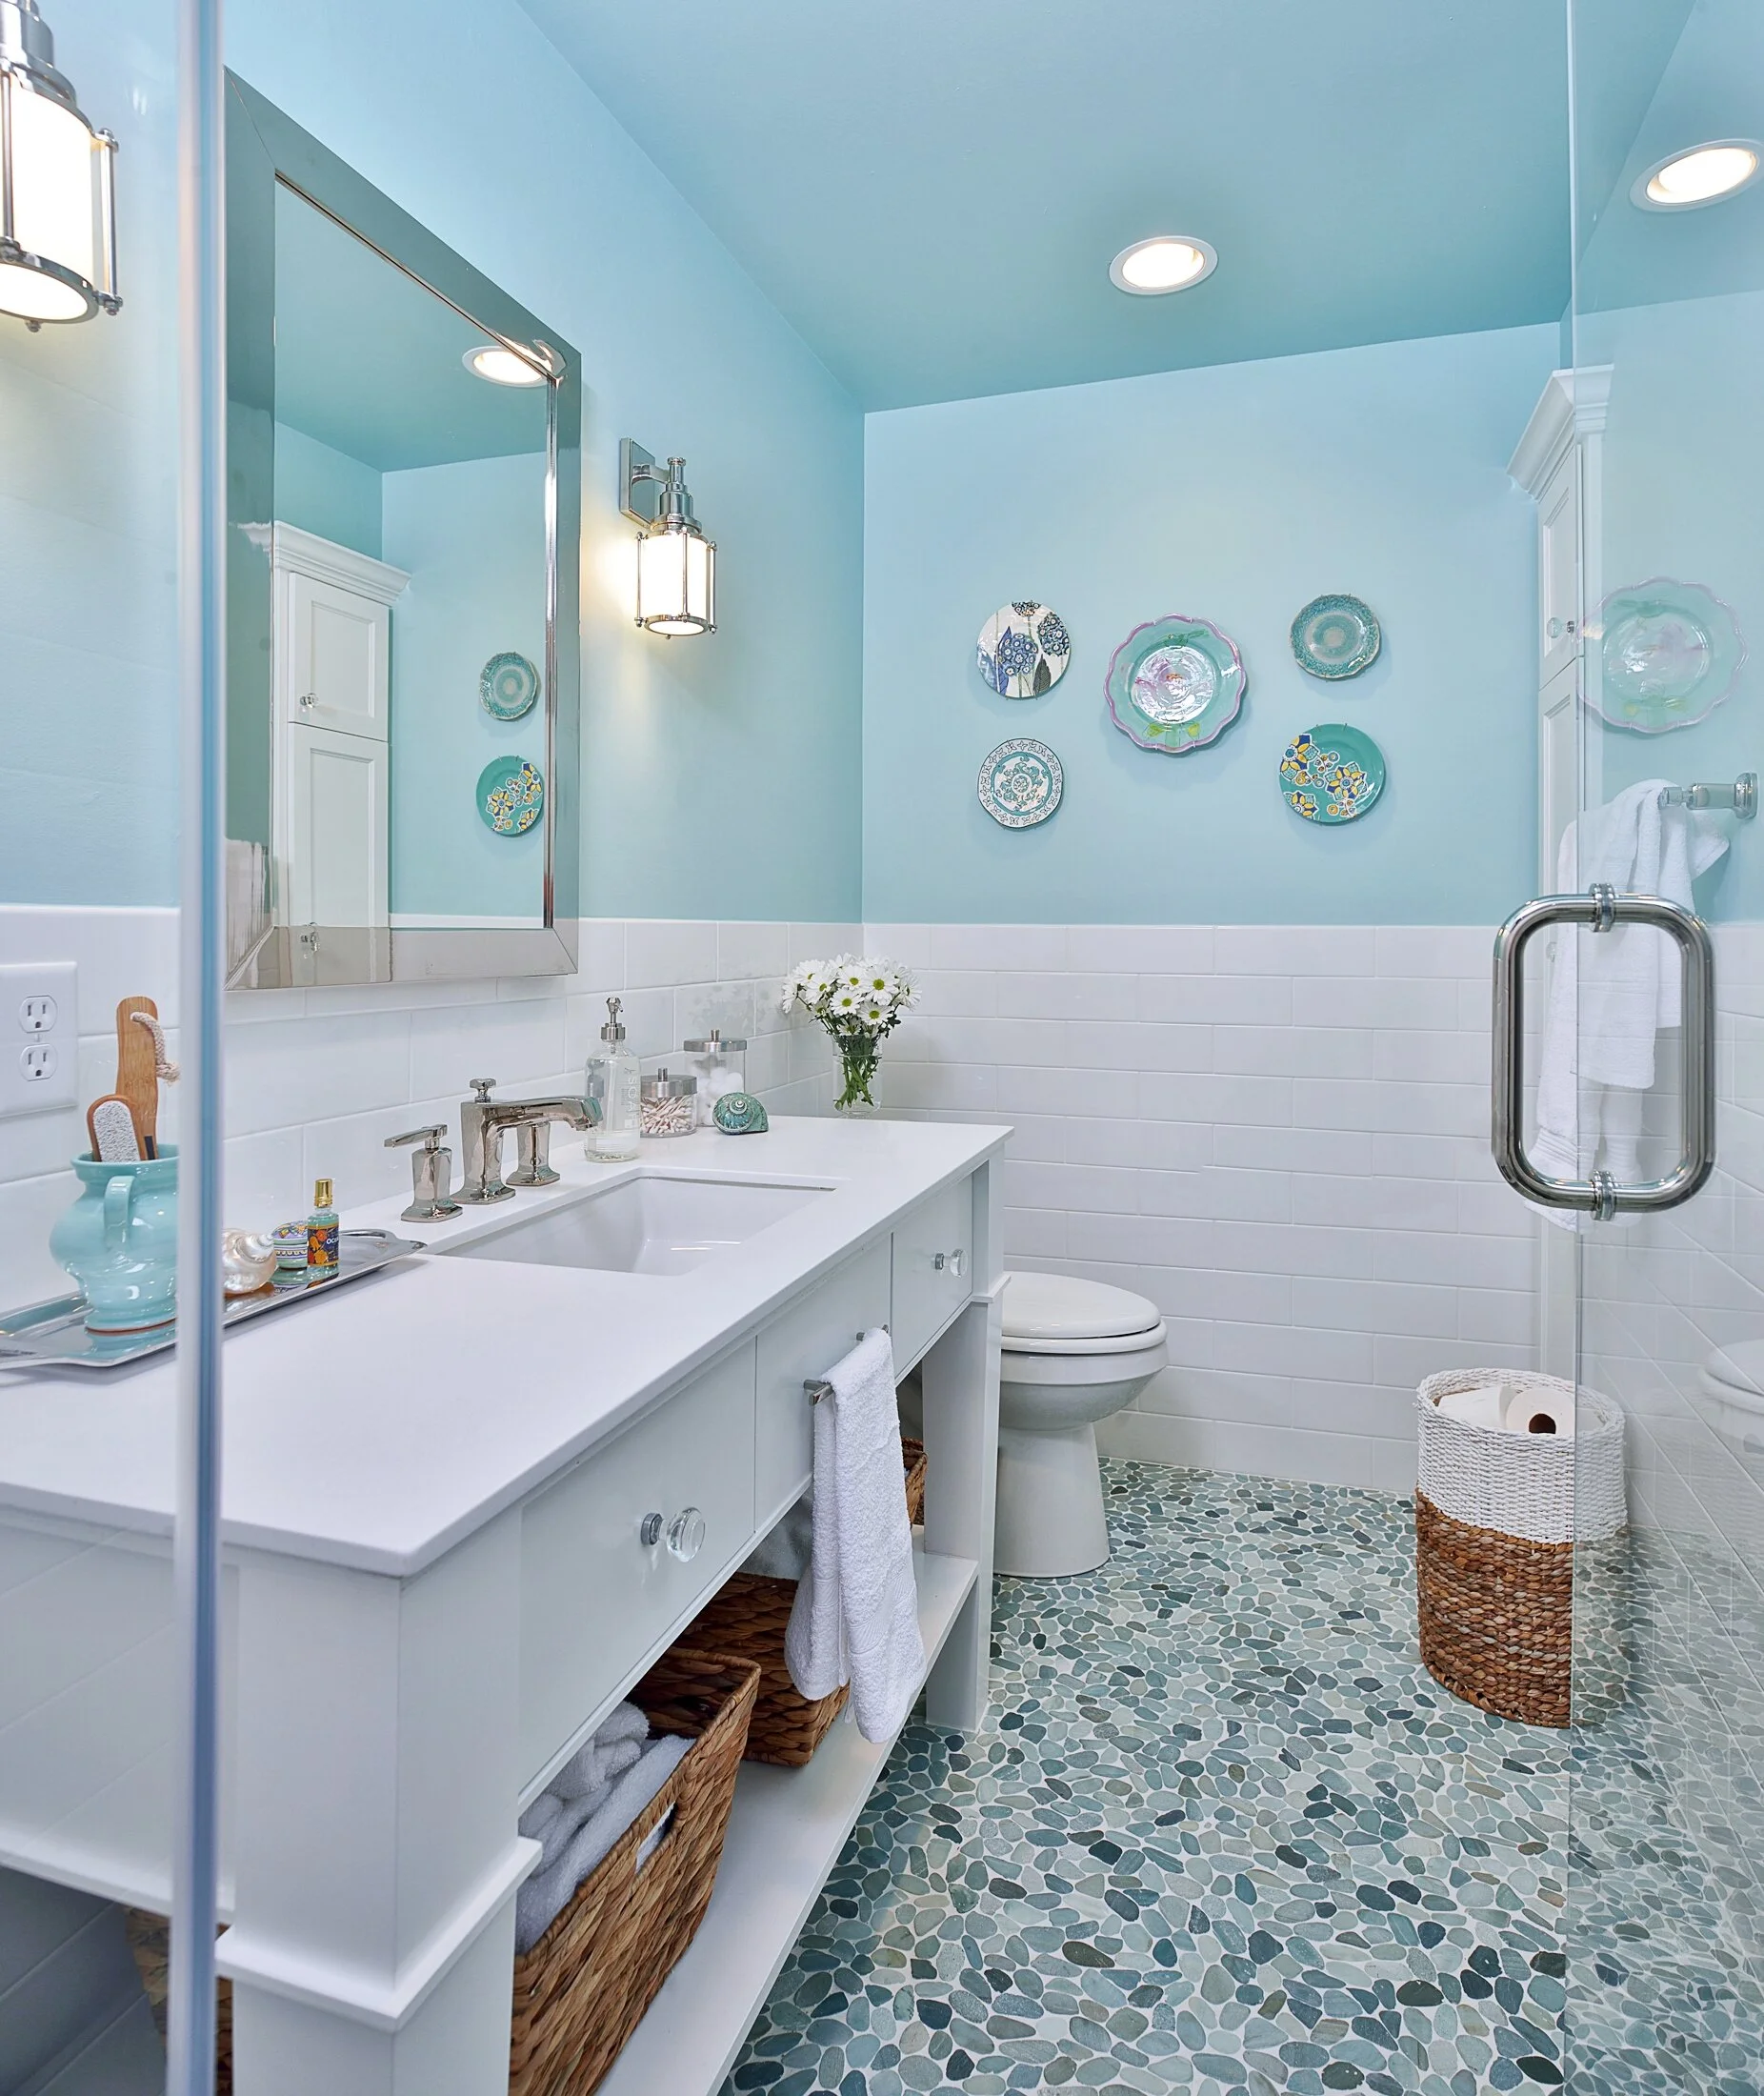
The tile wainscot would look something like what I did in my own upstairs bathroom years ago, pictured below.
Feminine bathroom in Tiffany blue with pebble tile floor and custom vanity for a girl’s bathroom. Carla Aston, Designer | Miro Dvorscak, Photographer
Feminine bathroom in Tiffany blue with pebble tile floor and custom vanity for a girl’s bathroom. Carla Aston, Designer | Miro Dvorscak, Photographer
Bathroom Design Tip
When I do a wainscot in a bathroom, I’m careful to make sure it doesn’t feel like it cuts the bathroom in half. I usually take it slightly higher than half way up the wall. It usually works well for the backsplash at the sinks then and protects the wall too. That’s nice, especially if children or teens use the bathroom!
Are you thinking about remodeling a bathroom?
I have just the thing that can help you through, even if you’re not going to gut it. My Bathroom Design Guide is basically my own personal checklist that I go through to make sure I’ve thought through everything when designing a bath.
Check it out the Bathroom Design Guide here.
Of course, you can always hire me for a personal look at your own project, like this homeowner above did.
My Designed in a Click service is really popular right now, with people tackling their own projects and coming up with questions that they can’t seem to figure out by themselves. :-)
Bookshelf Styling For Upcoming Blogposts
BTW, I’m looking for a few people to help with bookshelf styling in an upcoming post. If you have some problem shelves that you need help with and don’t mind me posting your pic with my advice in a blogpost, then send them on. You can email me here with an attached photo.
