

I’m sharing some good practices to go by when dealing with outlets and light switches on your kitchen backsplashes today. These are the guidelines I use when I design a kitchen and I’m kind of excited to lay it all out here in this post.
Remodeling can render surprises for sure, but it doesn’t have to all the time if you plan ahead and try to anticipate problems.
Most of the questions I get on my blog about backsplashes are from people who didn’t consider some of the conditions like these below, before they started tiling. It’s pretty unsettling to realize once you’ve started, that you’ve got a problem that you should have likely thought out ahead of time.
My blog contains affiliate links. Any purchases, at no additional charge to you, render me a small percentage, are most appreciated and make this blog possible. :-)
So many outlets, so many backsplash interruptions.
You can have the most beautiful kitchen in the world but if you have a bunch of outlets that are distracting you from the whole look, it sort of ruins everything.
Each project is different and has different circumstances so there are no hard and fast rules except one, you don't want them to stand out or contrast too much with your material. You don't want outlets and switches to steal the thunder away from the star, your beautiful backsplash.
The best way to do that is to blend them in visually as much as possible.
Light gray outlets and switches were used on the light gray tile backsplash of the bar area in a local kitchen remodel project. Carla Aston, Designer
Typically on my jobs, the electrician changes out all the electrical in the splash to a standard color that is as close to the backsplash field color as possible. Standard colors are white, light almond, ivory, brown, gray and black. Stainless covers are also available and can blend in to a lot of materials.
It doesn't have to be perfect, just not such a high contrast. It's not just the plates, the receptacles need to be changed too, that's why you need an electrician.
Gray standard outlets were used on this gray quartzite slab backsplash to blend in better and be less visually obtrusive. Carla Aston, Designer | Tori Aston, Photographer
These taupe colored Lutron outlets worked well on the taupe tiled backsplash. Carla Aston, Designer | Miro Dvorscak, Photographer
Lutron makes some sleek looking outlets and switches that come in around 20 different colors, with a good selection of various neutrals. This kind of investment makes a big difference in the overall look of your kitchen backsplash.

Lutron outlets and switch plates were used in this backsplash to match the Taj Mahal quartzite, closely. Carla Aston, Designer | Colleen Scott, Photographer
Paintable Switch And Outlet Plates
For a more luxury look, Legrand makes a really nice paintable switch plate and outlet plate. I have used it on a few jobs. One we painted to match the shiplap paneling it was sitting on.
The other was in a showhouse room I did and we papered it with the wallpaper on the wall.


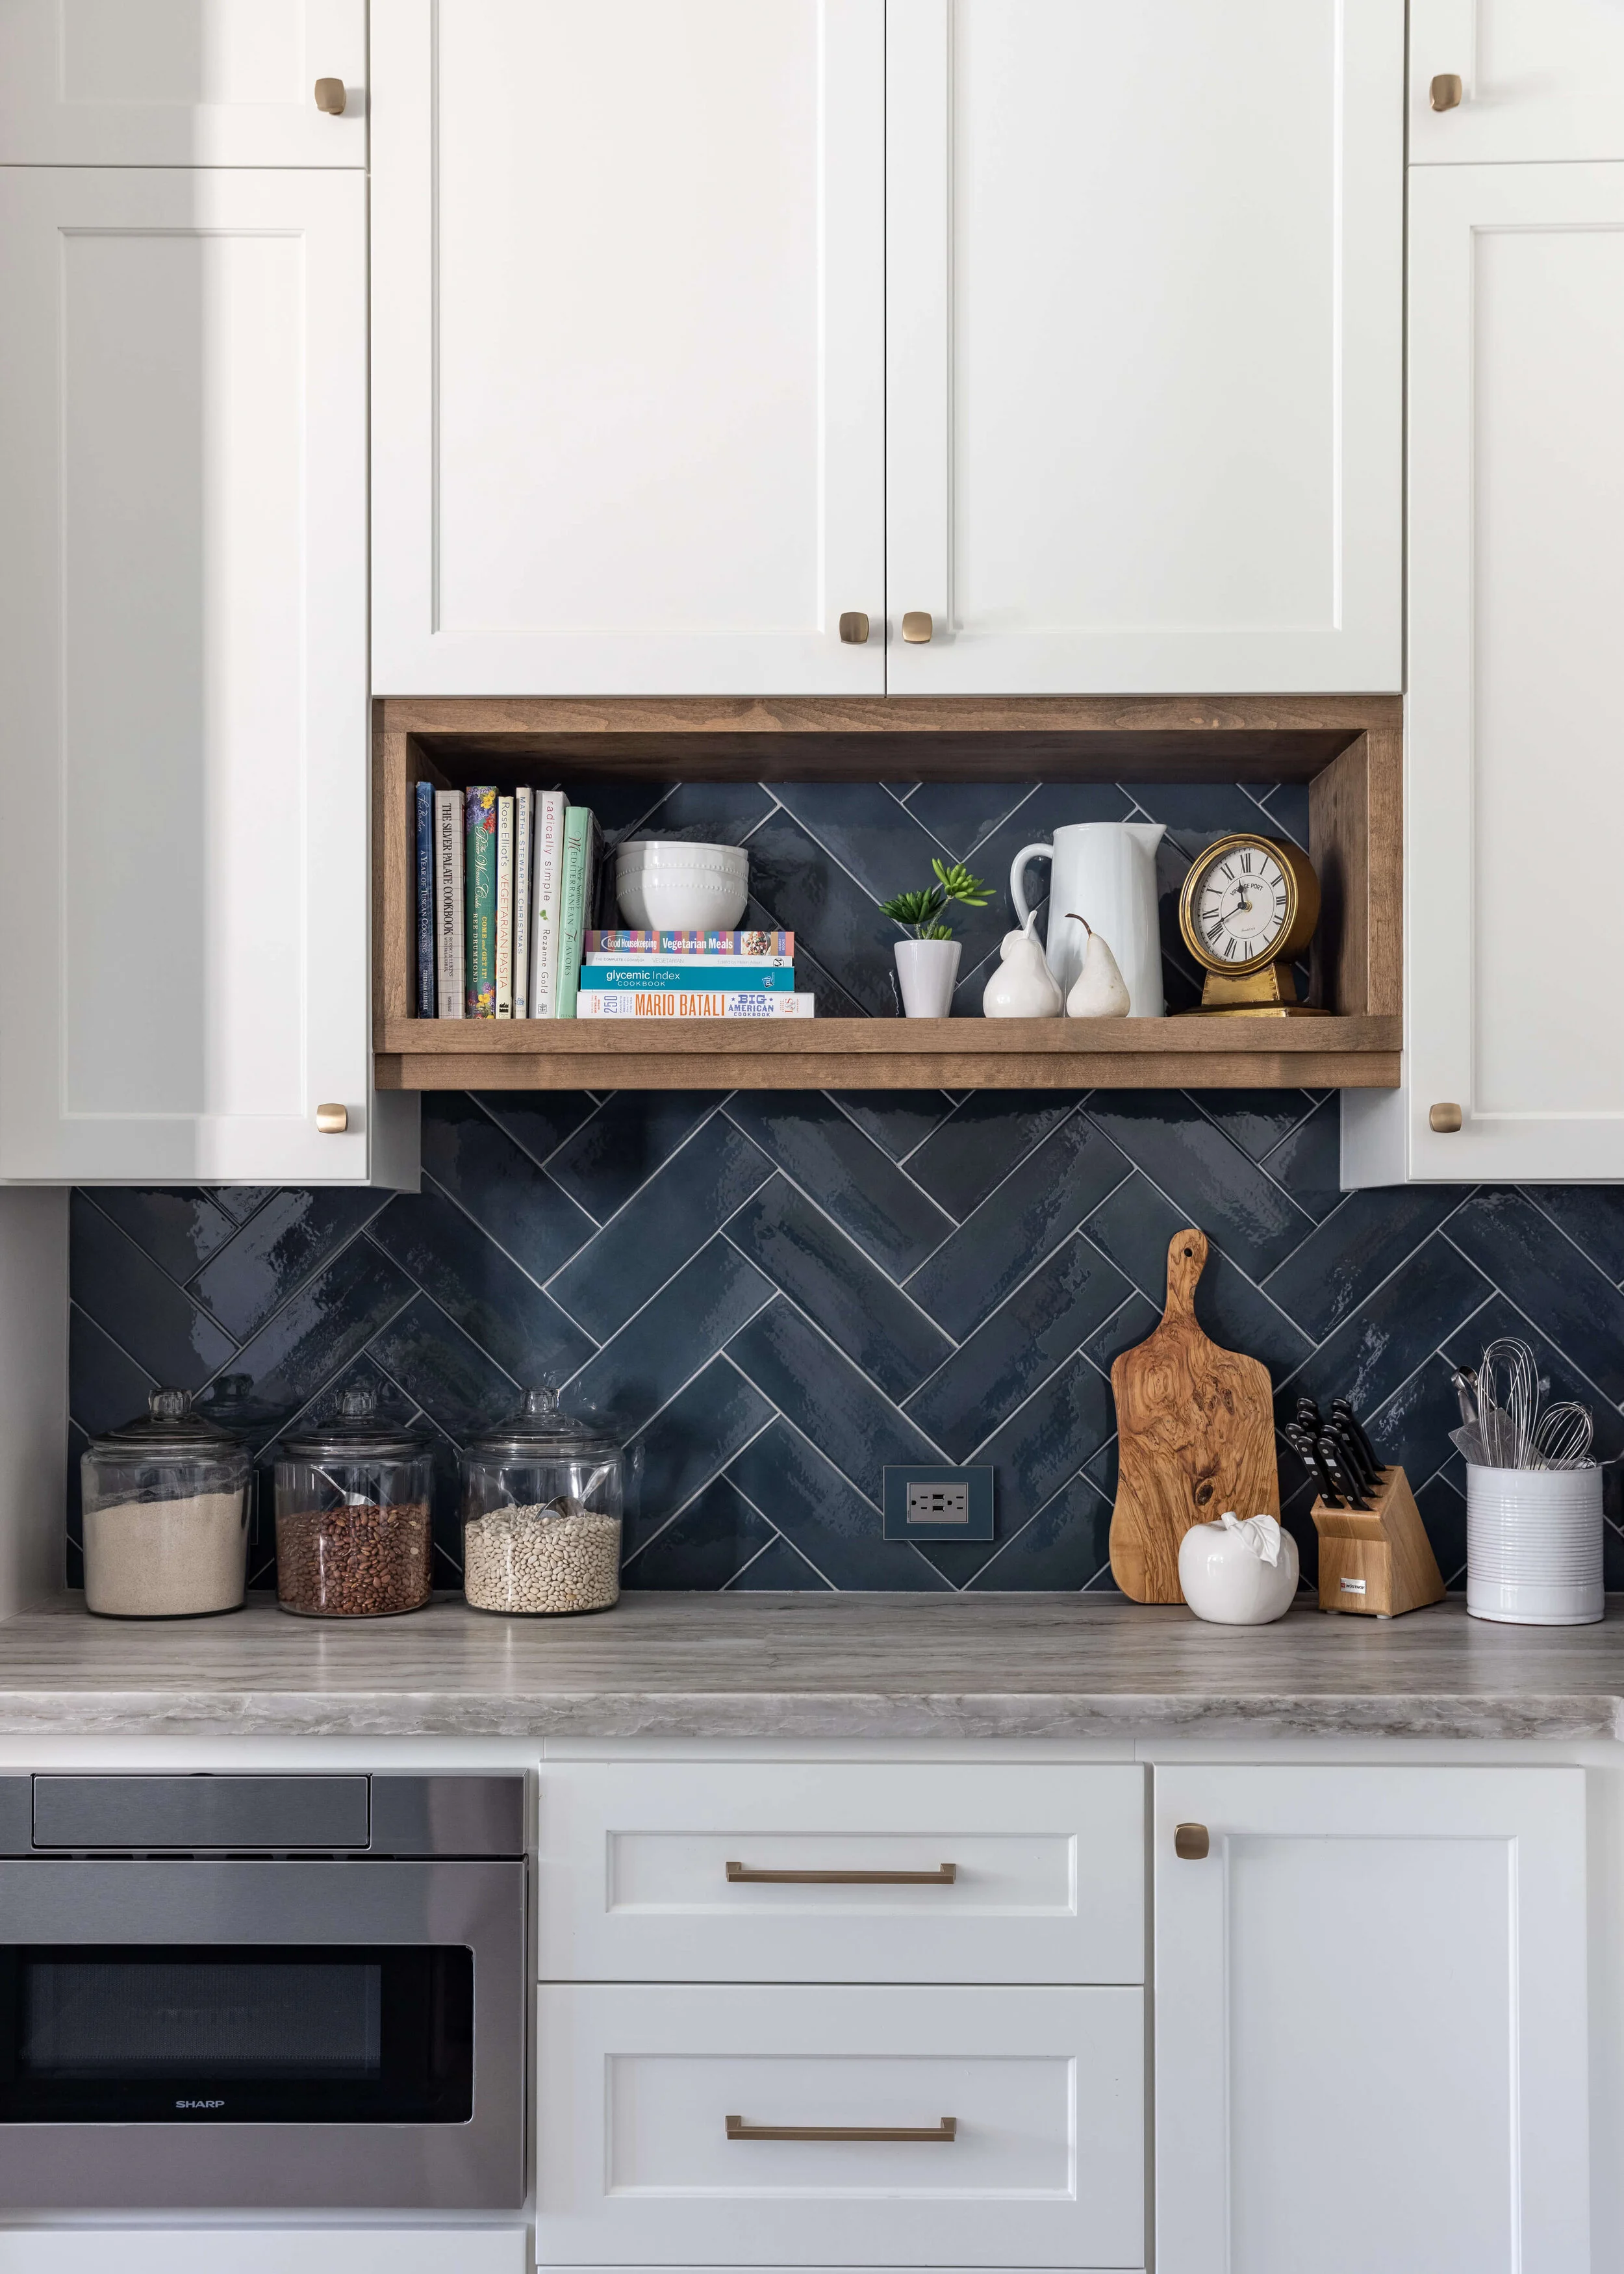
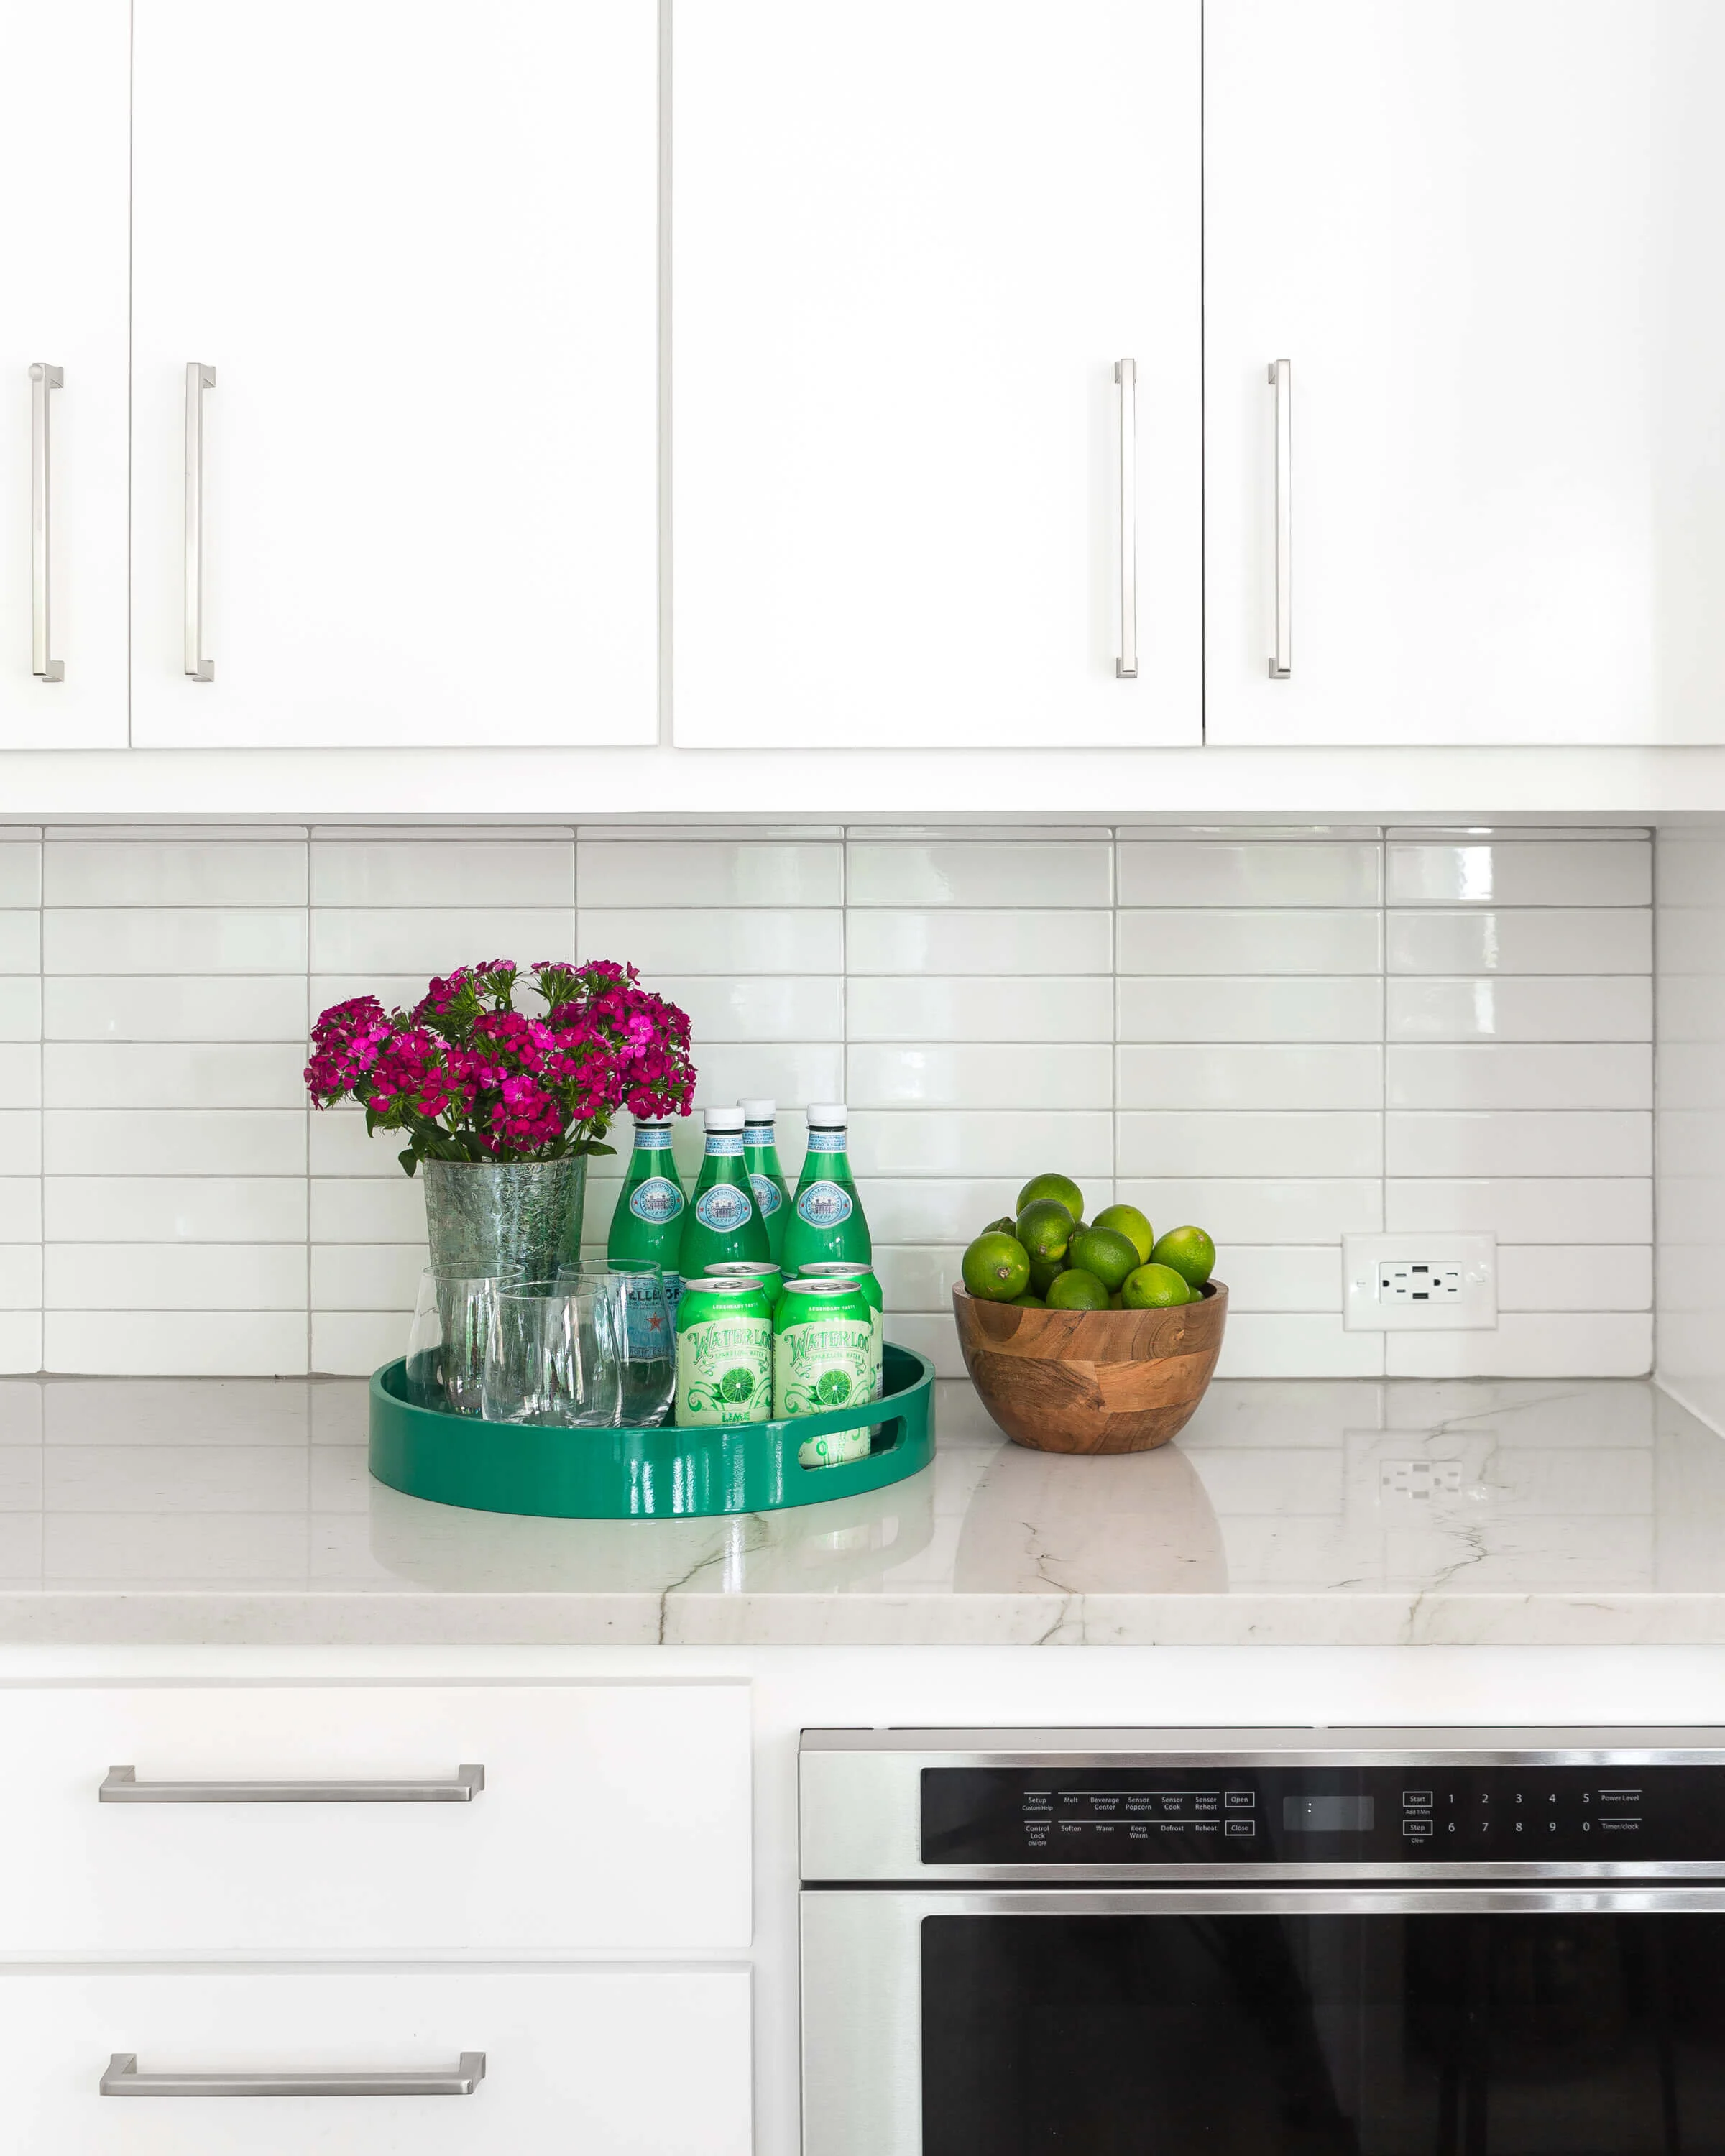
Here’s a kitchen project of mine with a vivid blue herringbone tile backsplash. We went with a paintable cover plate type outlet from Legrand and mounted them low and horizontally on the splash. You can see they are really unobtrusive.
Don’t forget your kitchen island outlets and switches!
Often I see a glaring white outlet on the side of a dark island or vice versa.
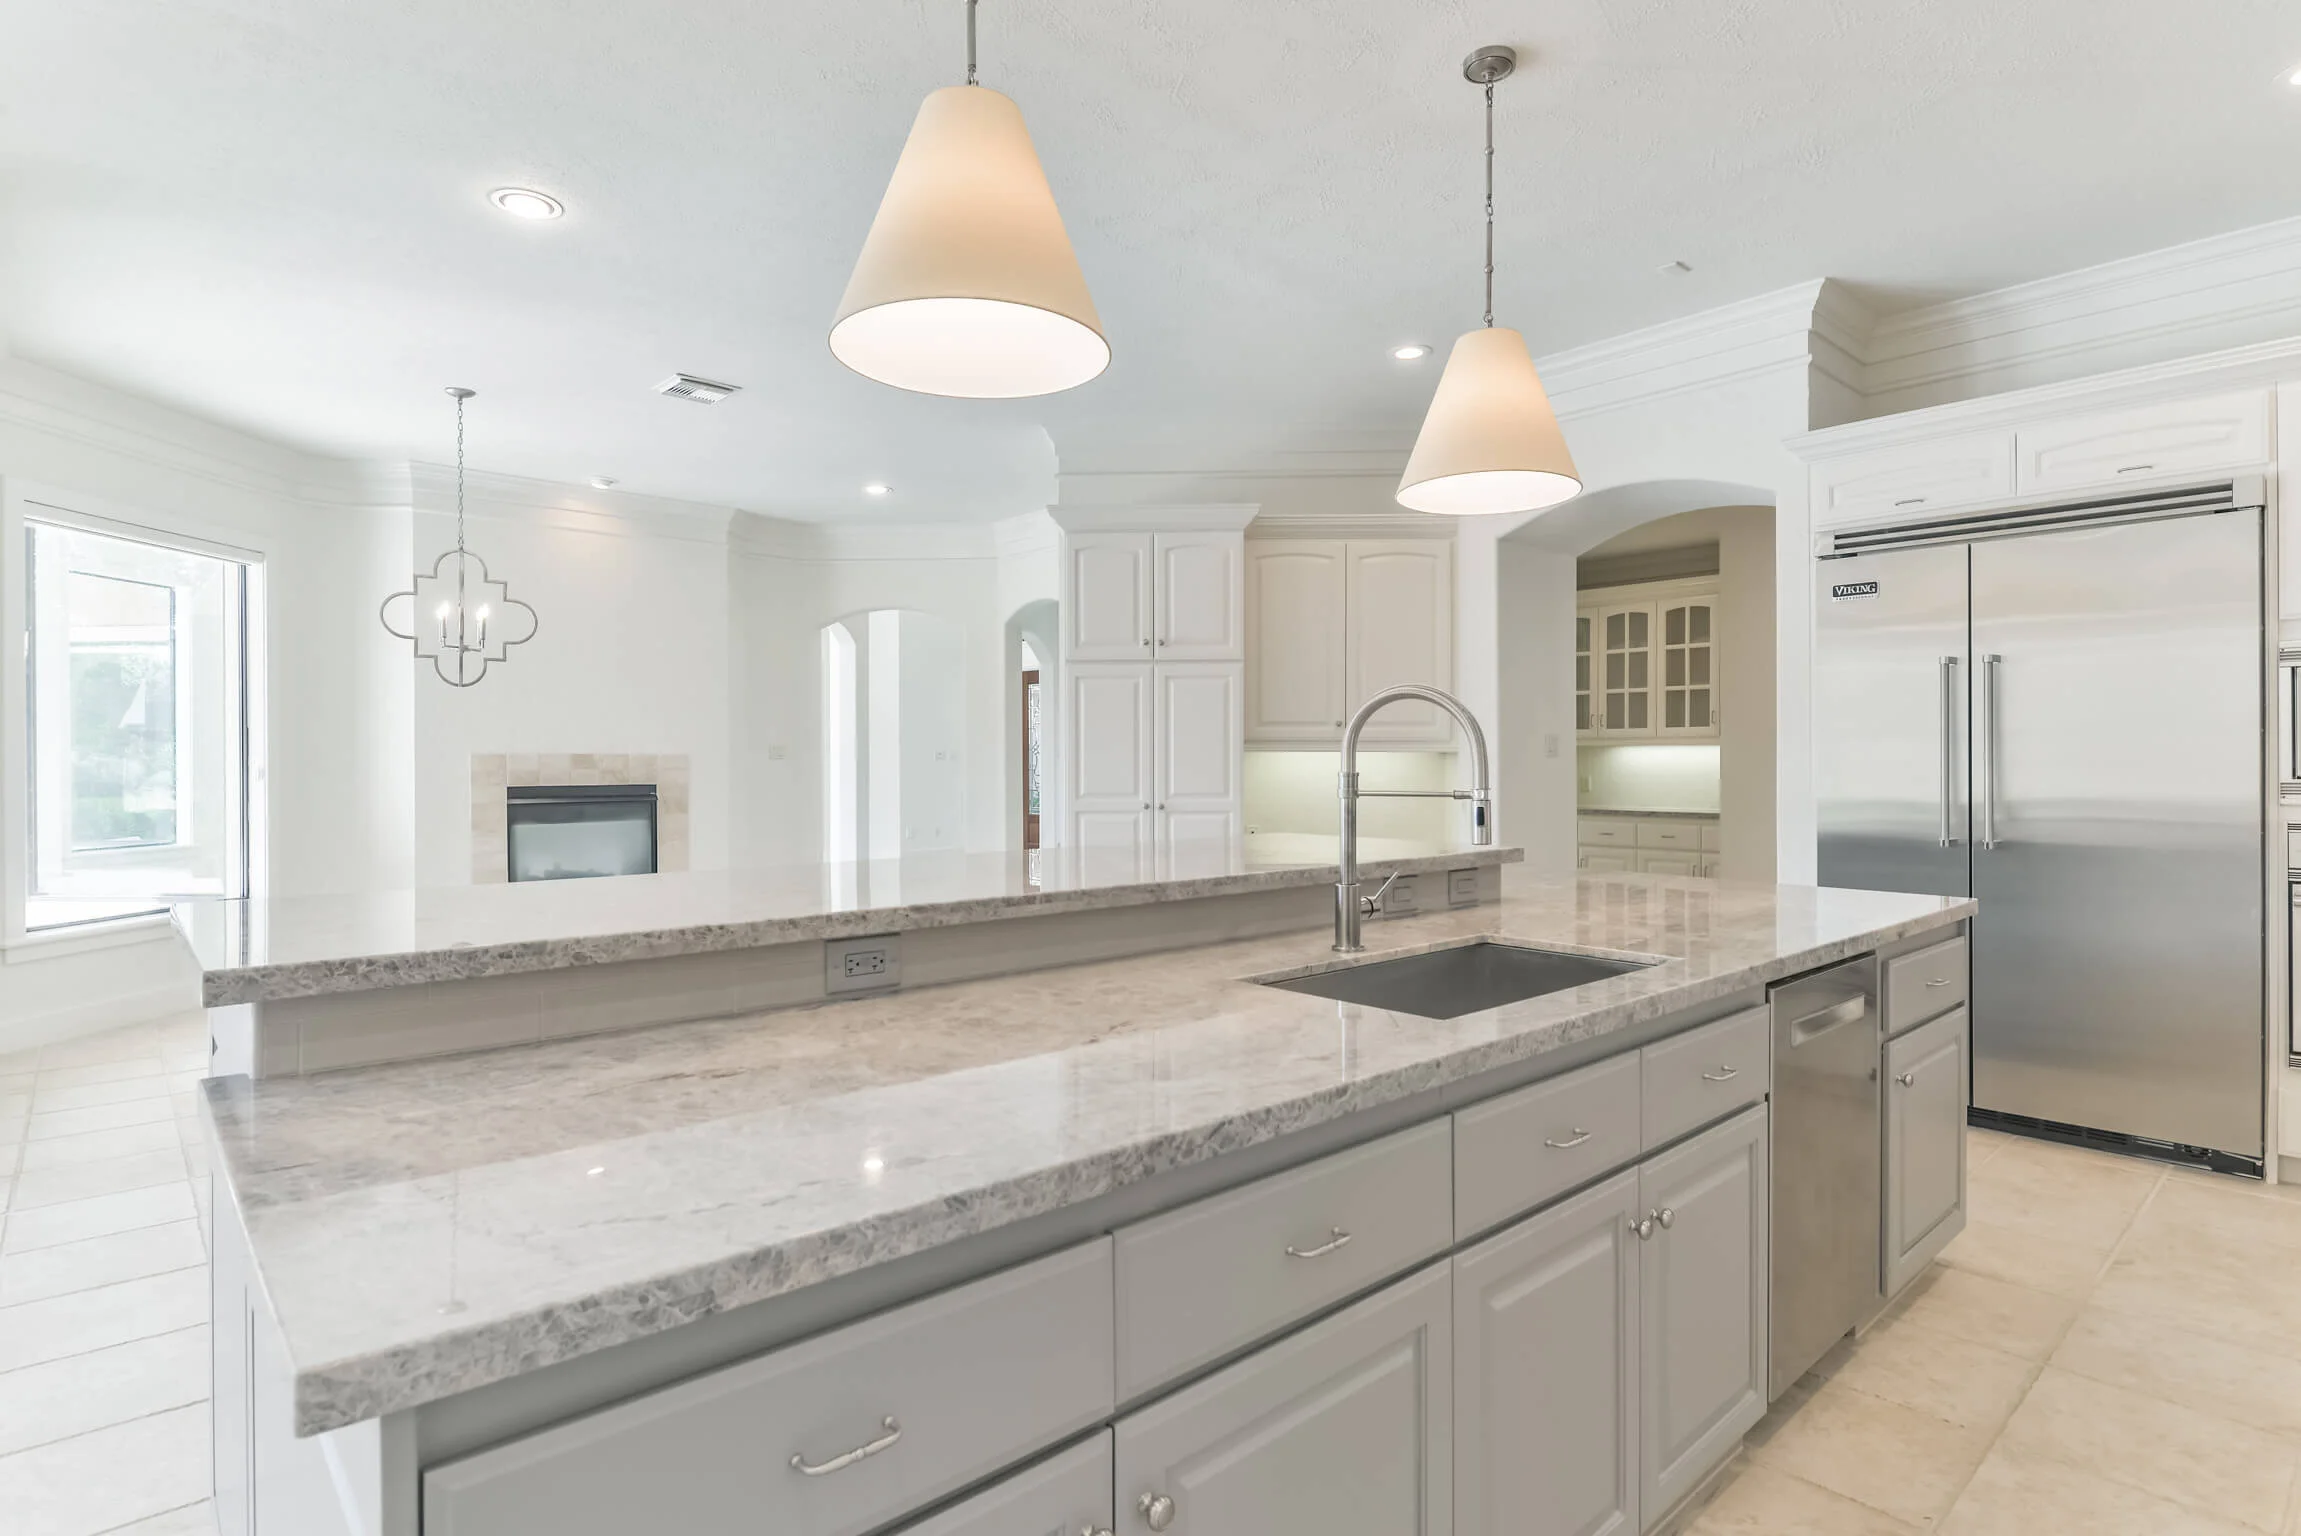
See how we did a standard gray color here on this light gray island. It’s not perfectly matched, but it works much better than a bright white would.
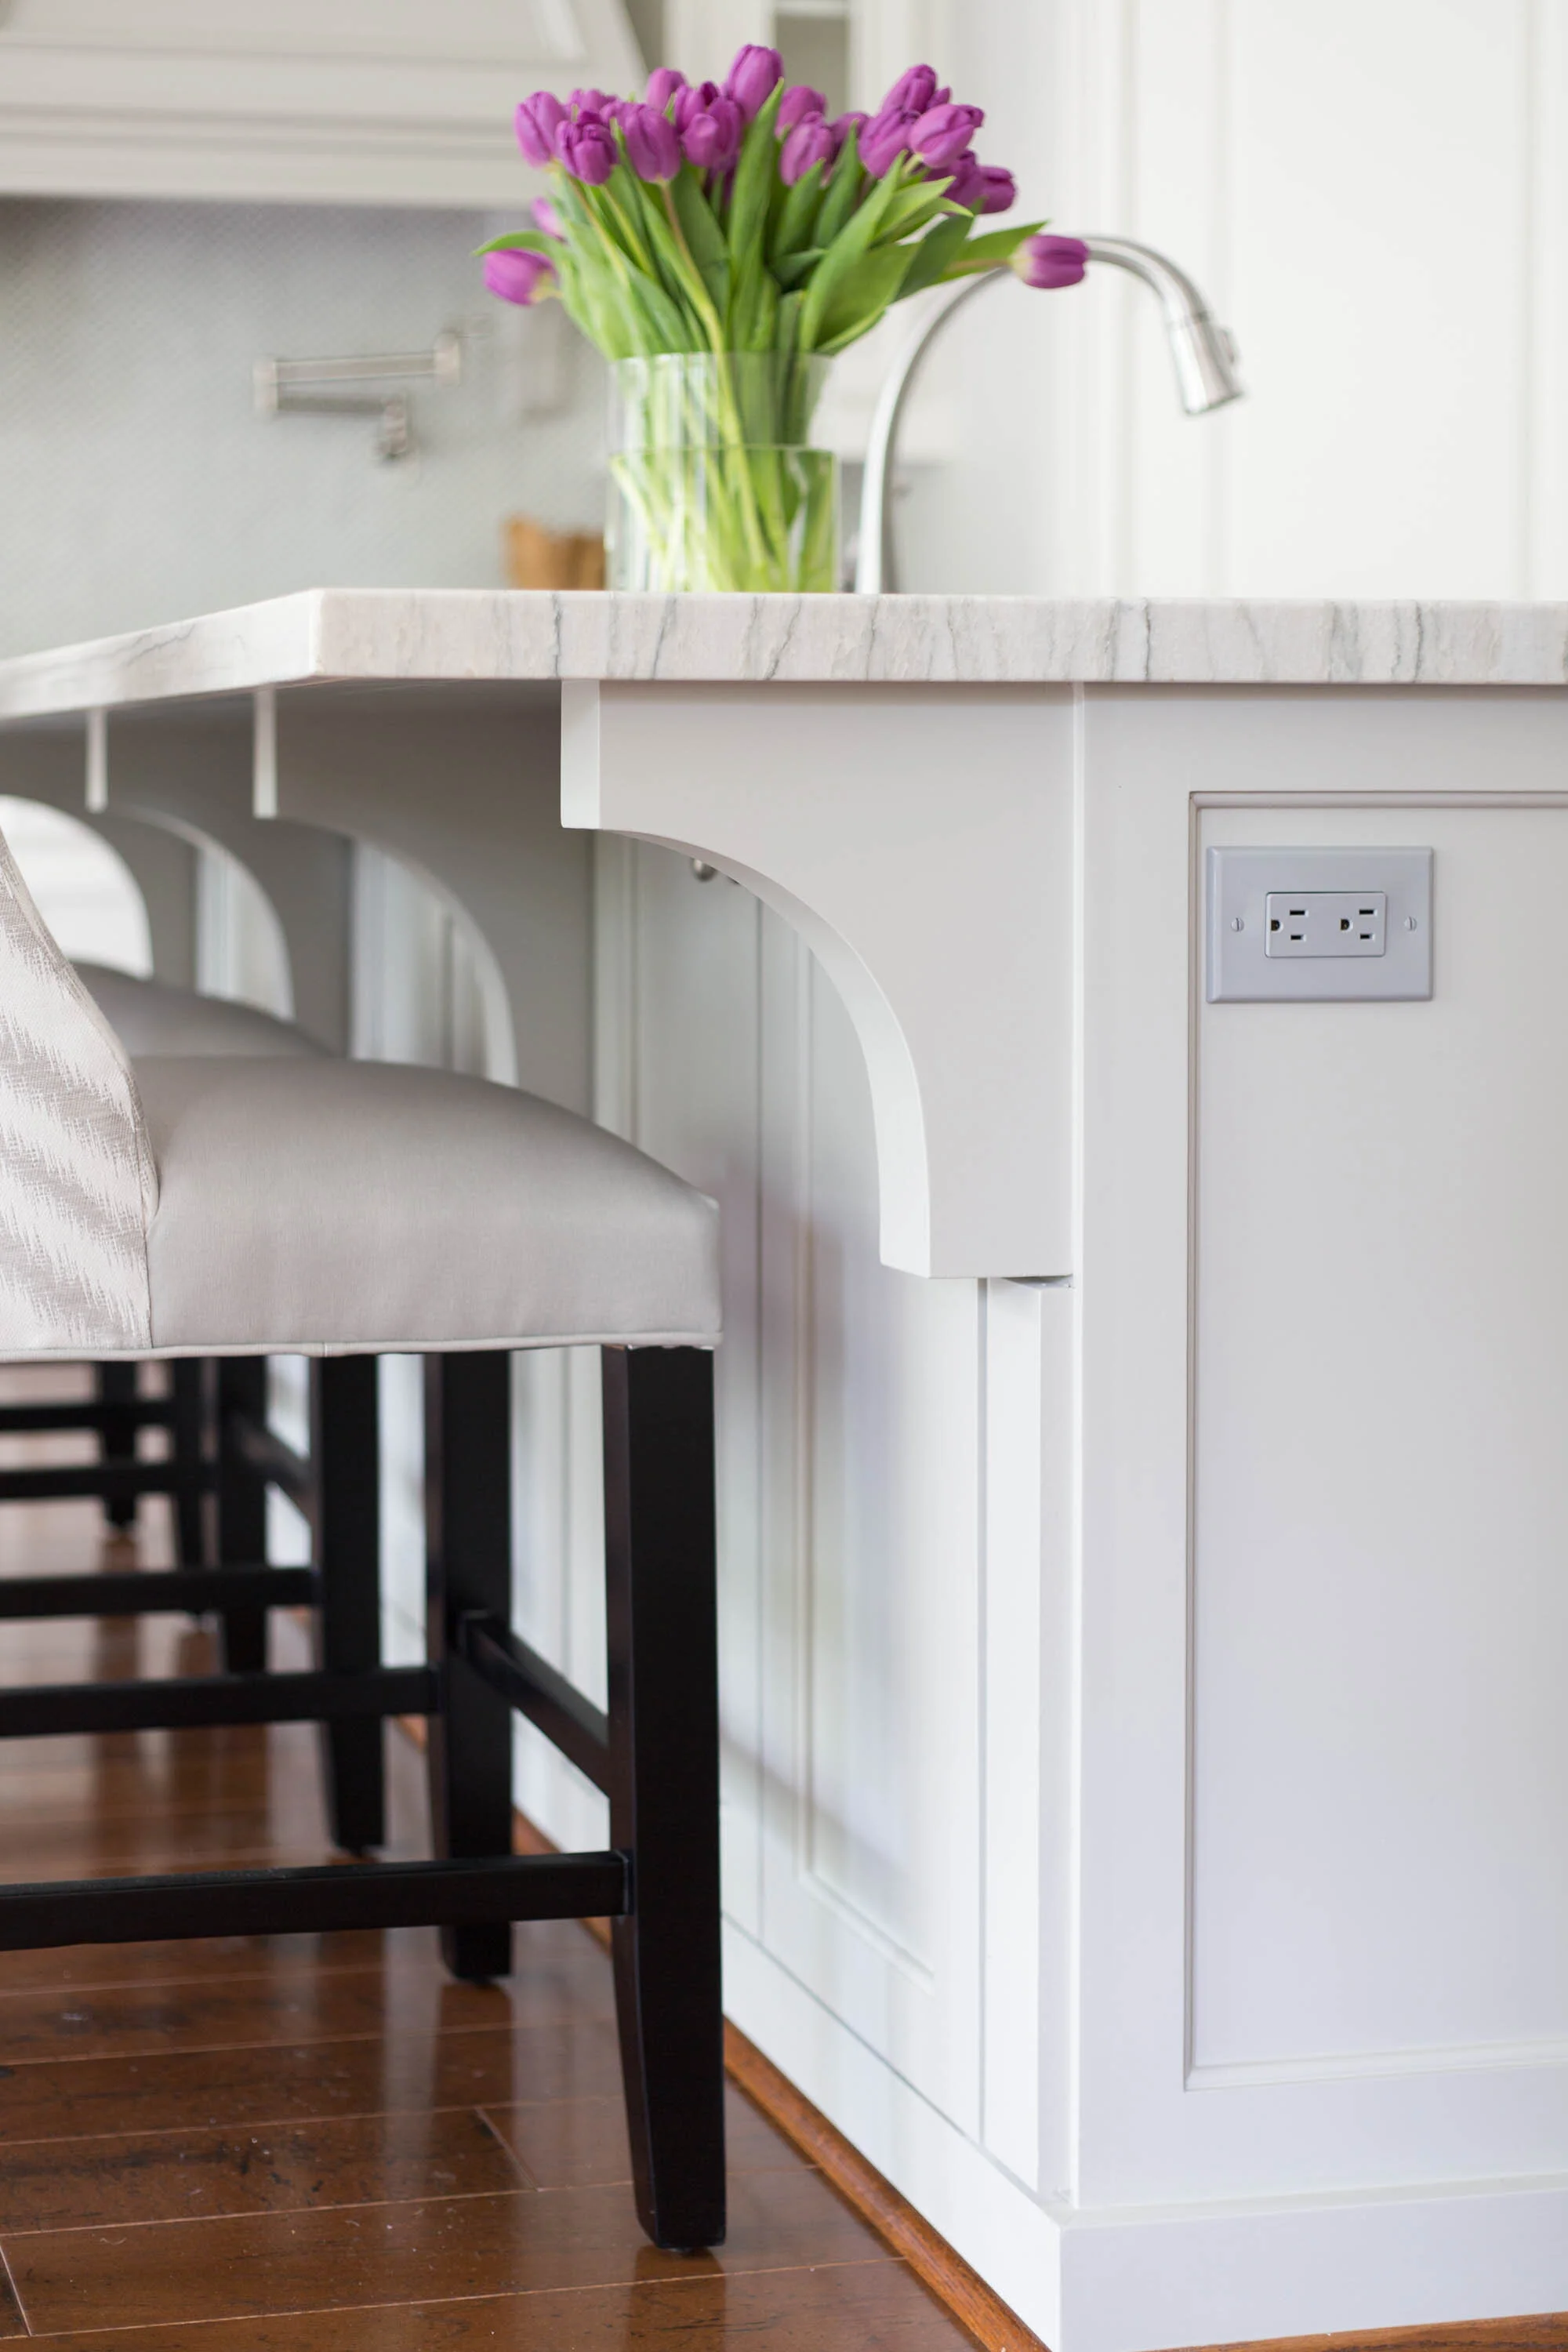
A standard gray outlet blends in with the light gray color on this kitchen island. Carla Aston, Designer | Tori Aston, Photographer

A black outlet on the side of this black kitchen island doesn’t stand out like a standard white outlet would. Carla Aston, Designer | Tori Aston, Photographer
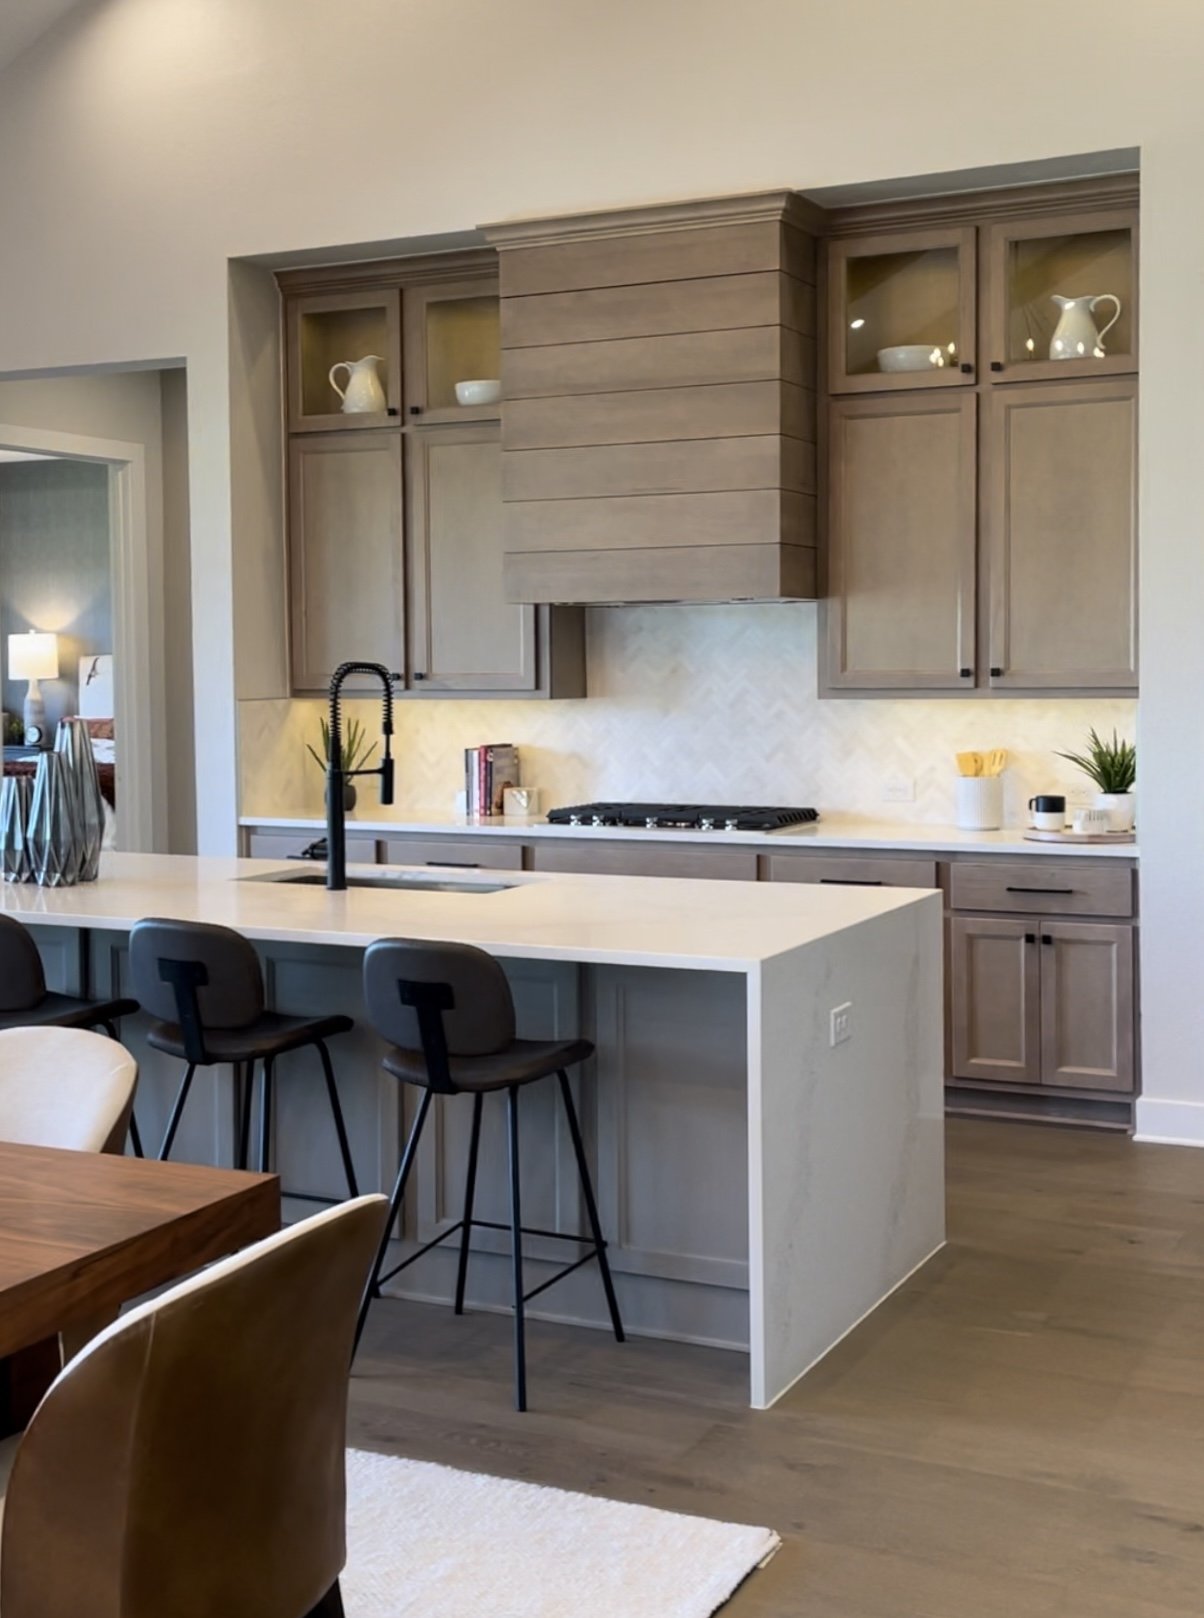
See how noticeable a plain white outlet looks on this dark taupe island? Just a darker color here would have been better.

White outlet on the side of a dark taupe color island. Try to match the outlet in color as best you can to the island cabinet for a more sophisticated look.
Here’s an outlet on top of a waterfall island’s side panel. Even though it is white to match the counter, this just hurts my eyeballs. To me, this sort of ruins the reason for having a waterfall edge here. Put the outlet on the front face or do a pop-up. Honestly, they are less obtrusive than this.
See how we did an outlet on one side and switch on the other of this island with a waterfall countertop. I can’t imagine cutting a hole in that slab on the side.

Waterfall island with electrical outlet and switch on the front face. Designer: Carla Aston
This outlet below was installed on the island in The New American Home 2025 as part of the builder’s show. It’s been faux finished to match the wood tone of the island.

Special products for electrical on backsplashes
There are many special products out there to make your electrical less obtrusive, visually, on your backsplash.
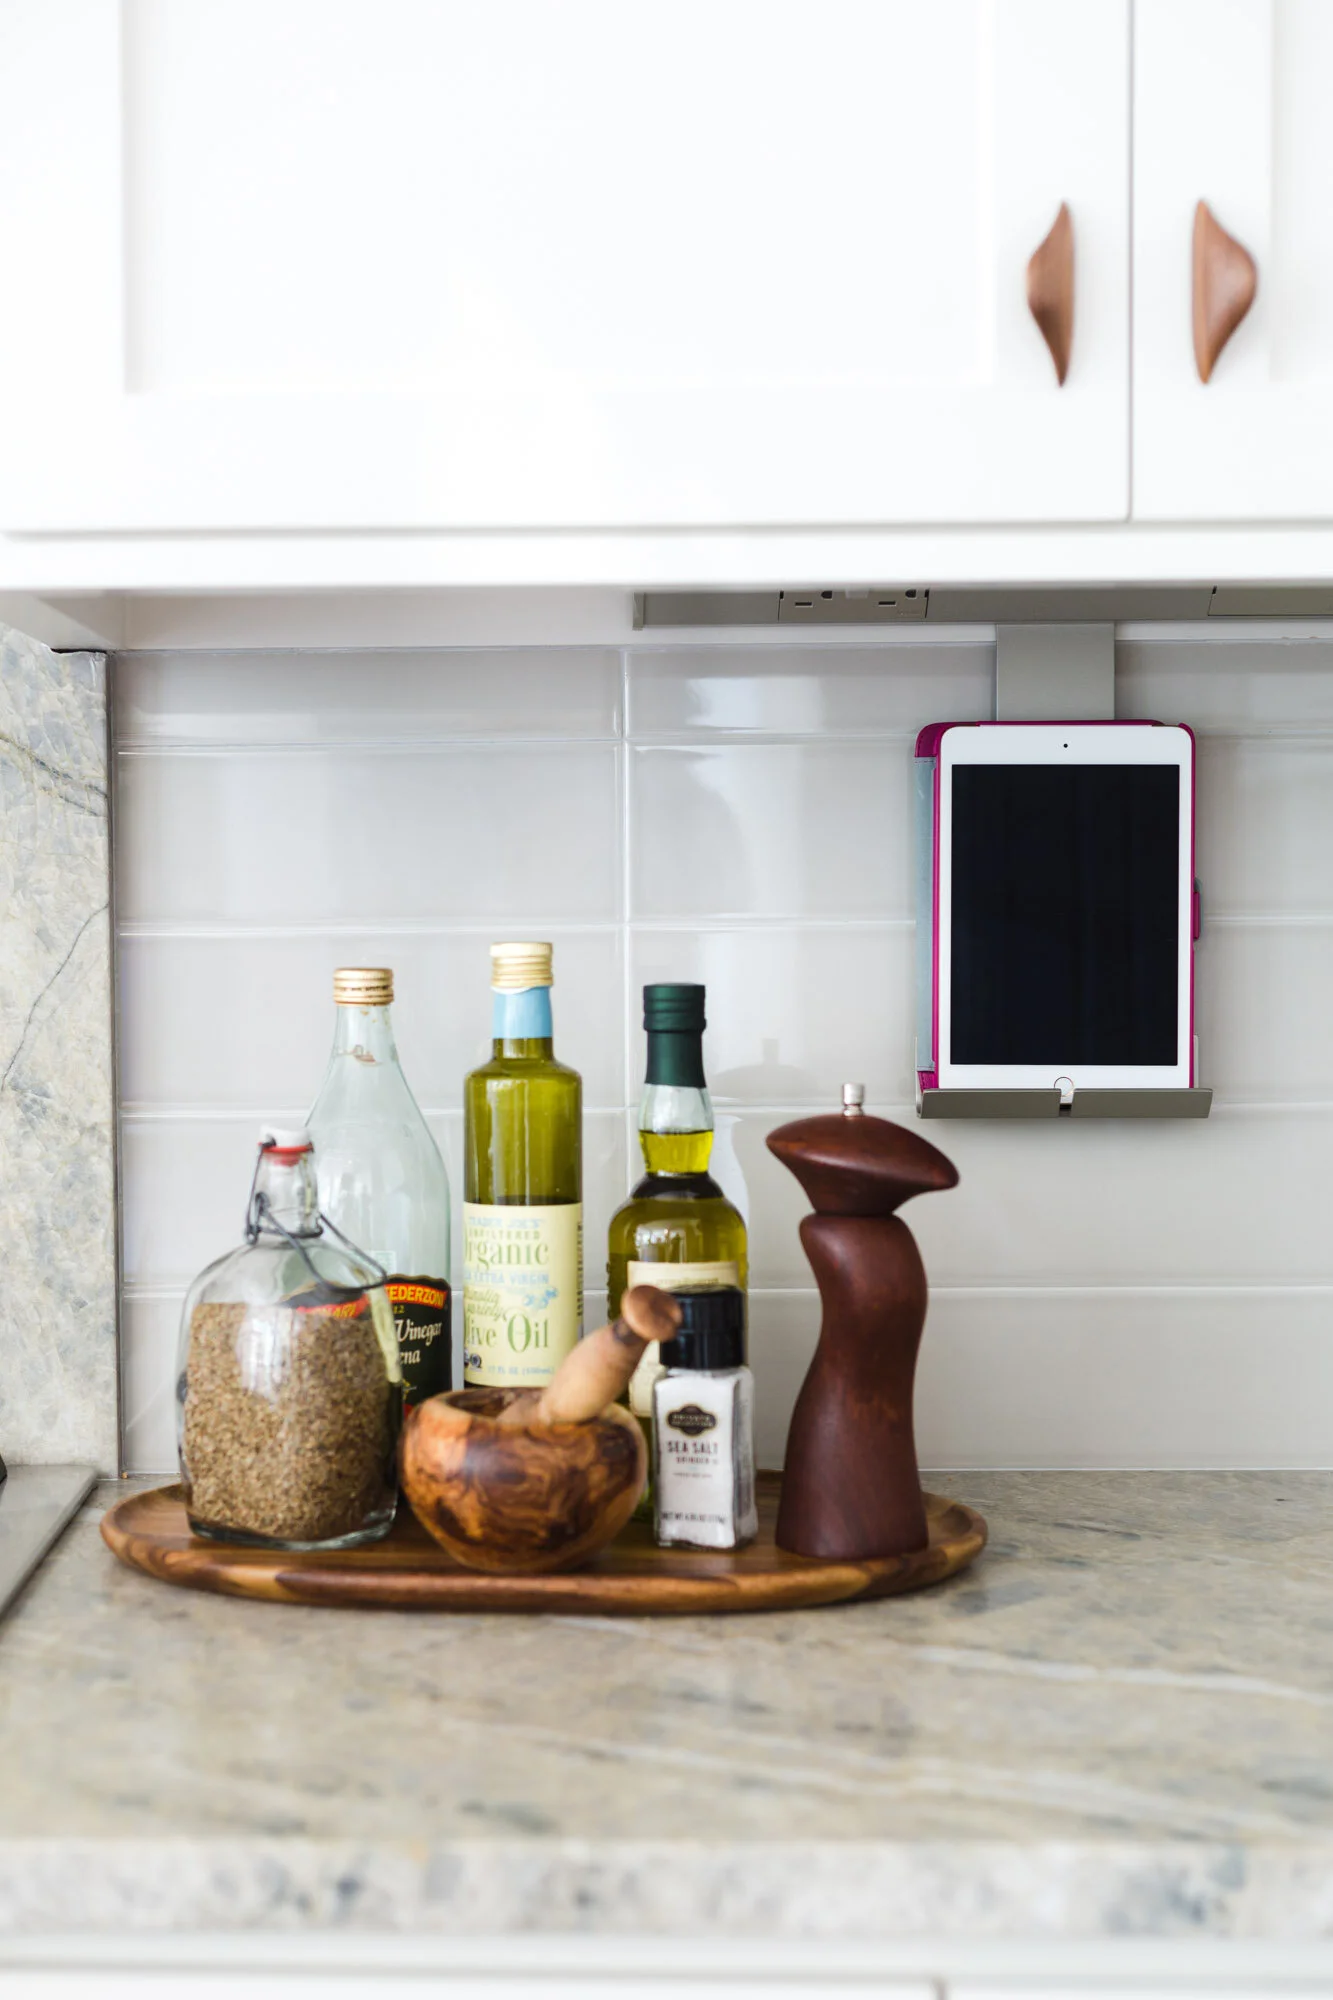
This undercabinet lighting and power system from Legrand Adorne, was used on one of my kitchen remodels. The homeowner really liked the clean look on her tile splash and that iPad holder was appealing. It included lots of outlets, charging receptacles, and LED undercabinet lighting.
The undercabinet lighting and power system from Legrand Adorne is concealed under the upper cabinets. Electrical outlets are kept off the kitchen backsplash with this type of installation. Carla Aston, Designer
Legrand Adorne rail system provides undercabinet lighting and outlets concealed under the upper cabinetry, if a clean backsplash look is desired. Carla Aston, Designer | Tori Aston, Photographer
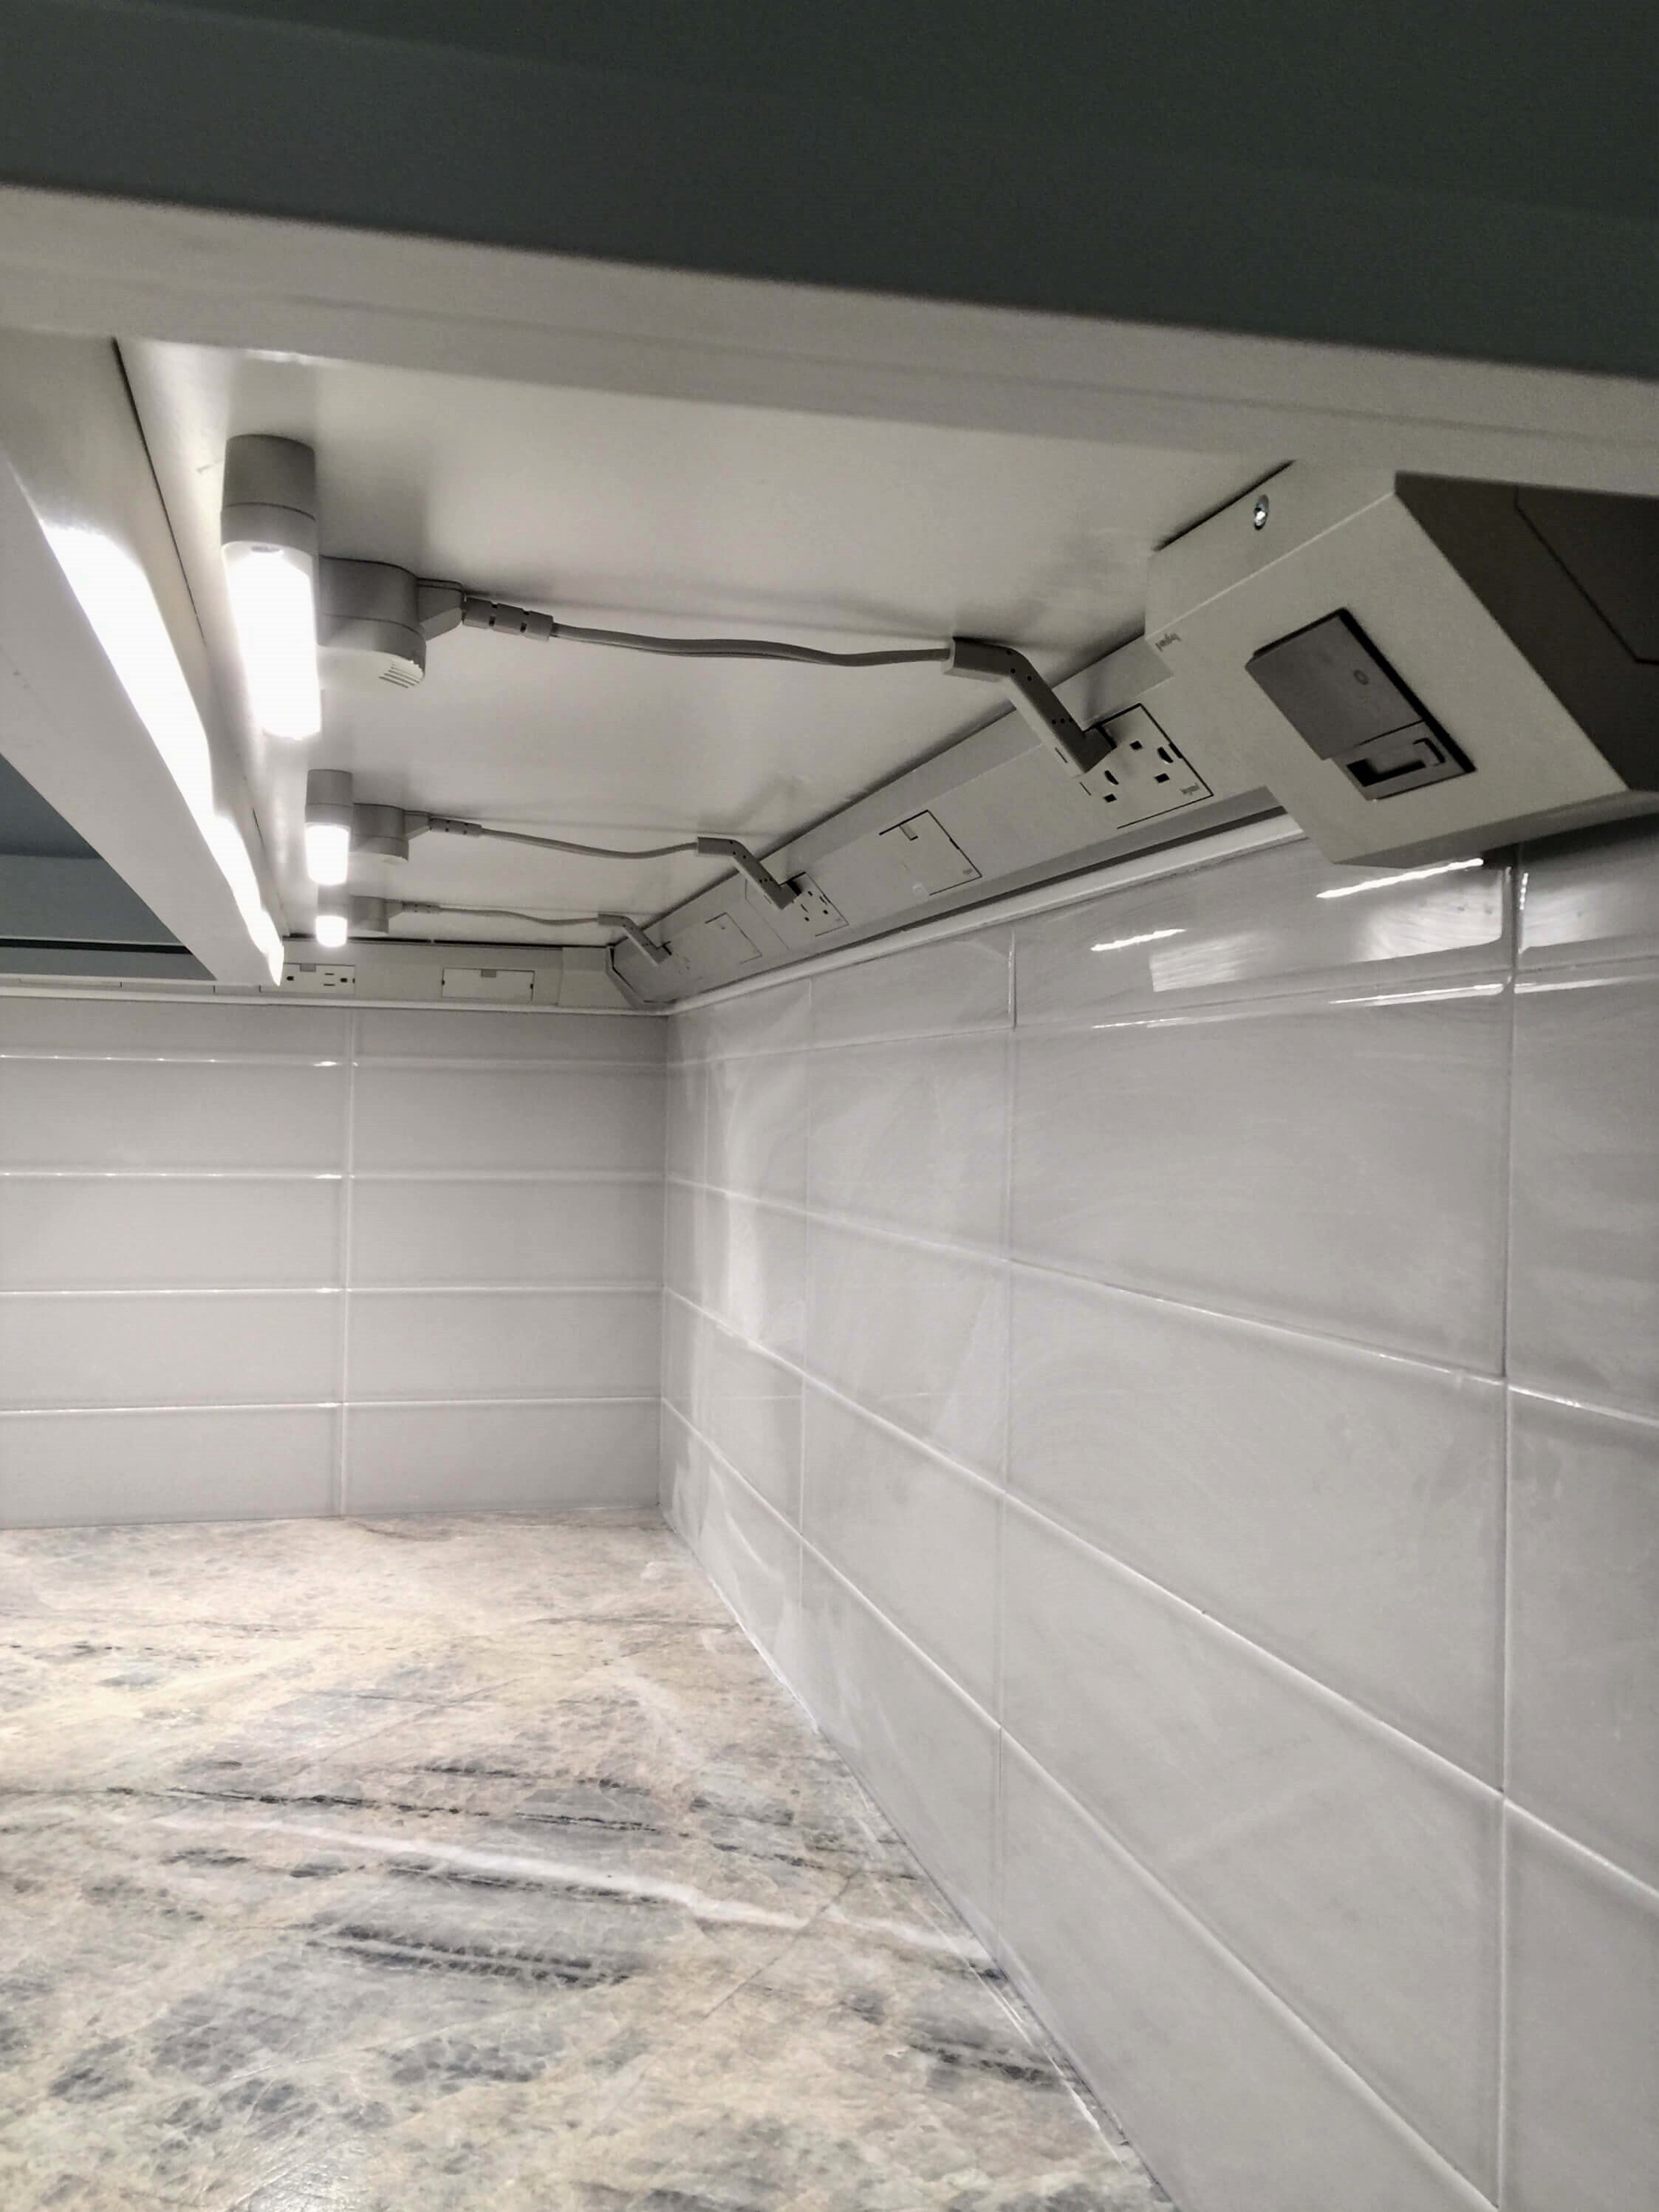
One problem with going with strip type outlets underneath the upper cabinets is this.
If you are going to use your outlets a lot, leaving items plugged in all the time, the trailing cord plugged in up at the bottom of the upper cabinet can be more unsightly than the outlet. It's also kind of a pain to bend down and look under the cabinet to see where the outlet is every time you want to plug something in.
For items like a toaster or toaster oven, an electric kettle, or anything that sits out, stays plugged in and gets used daily, I recommend keeping the outlets on the splash.
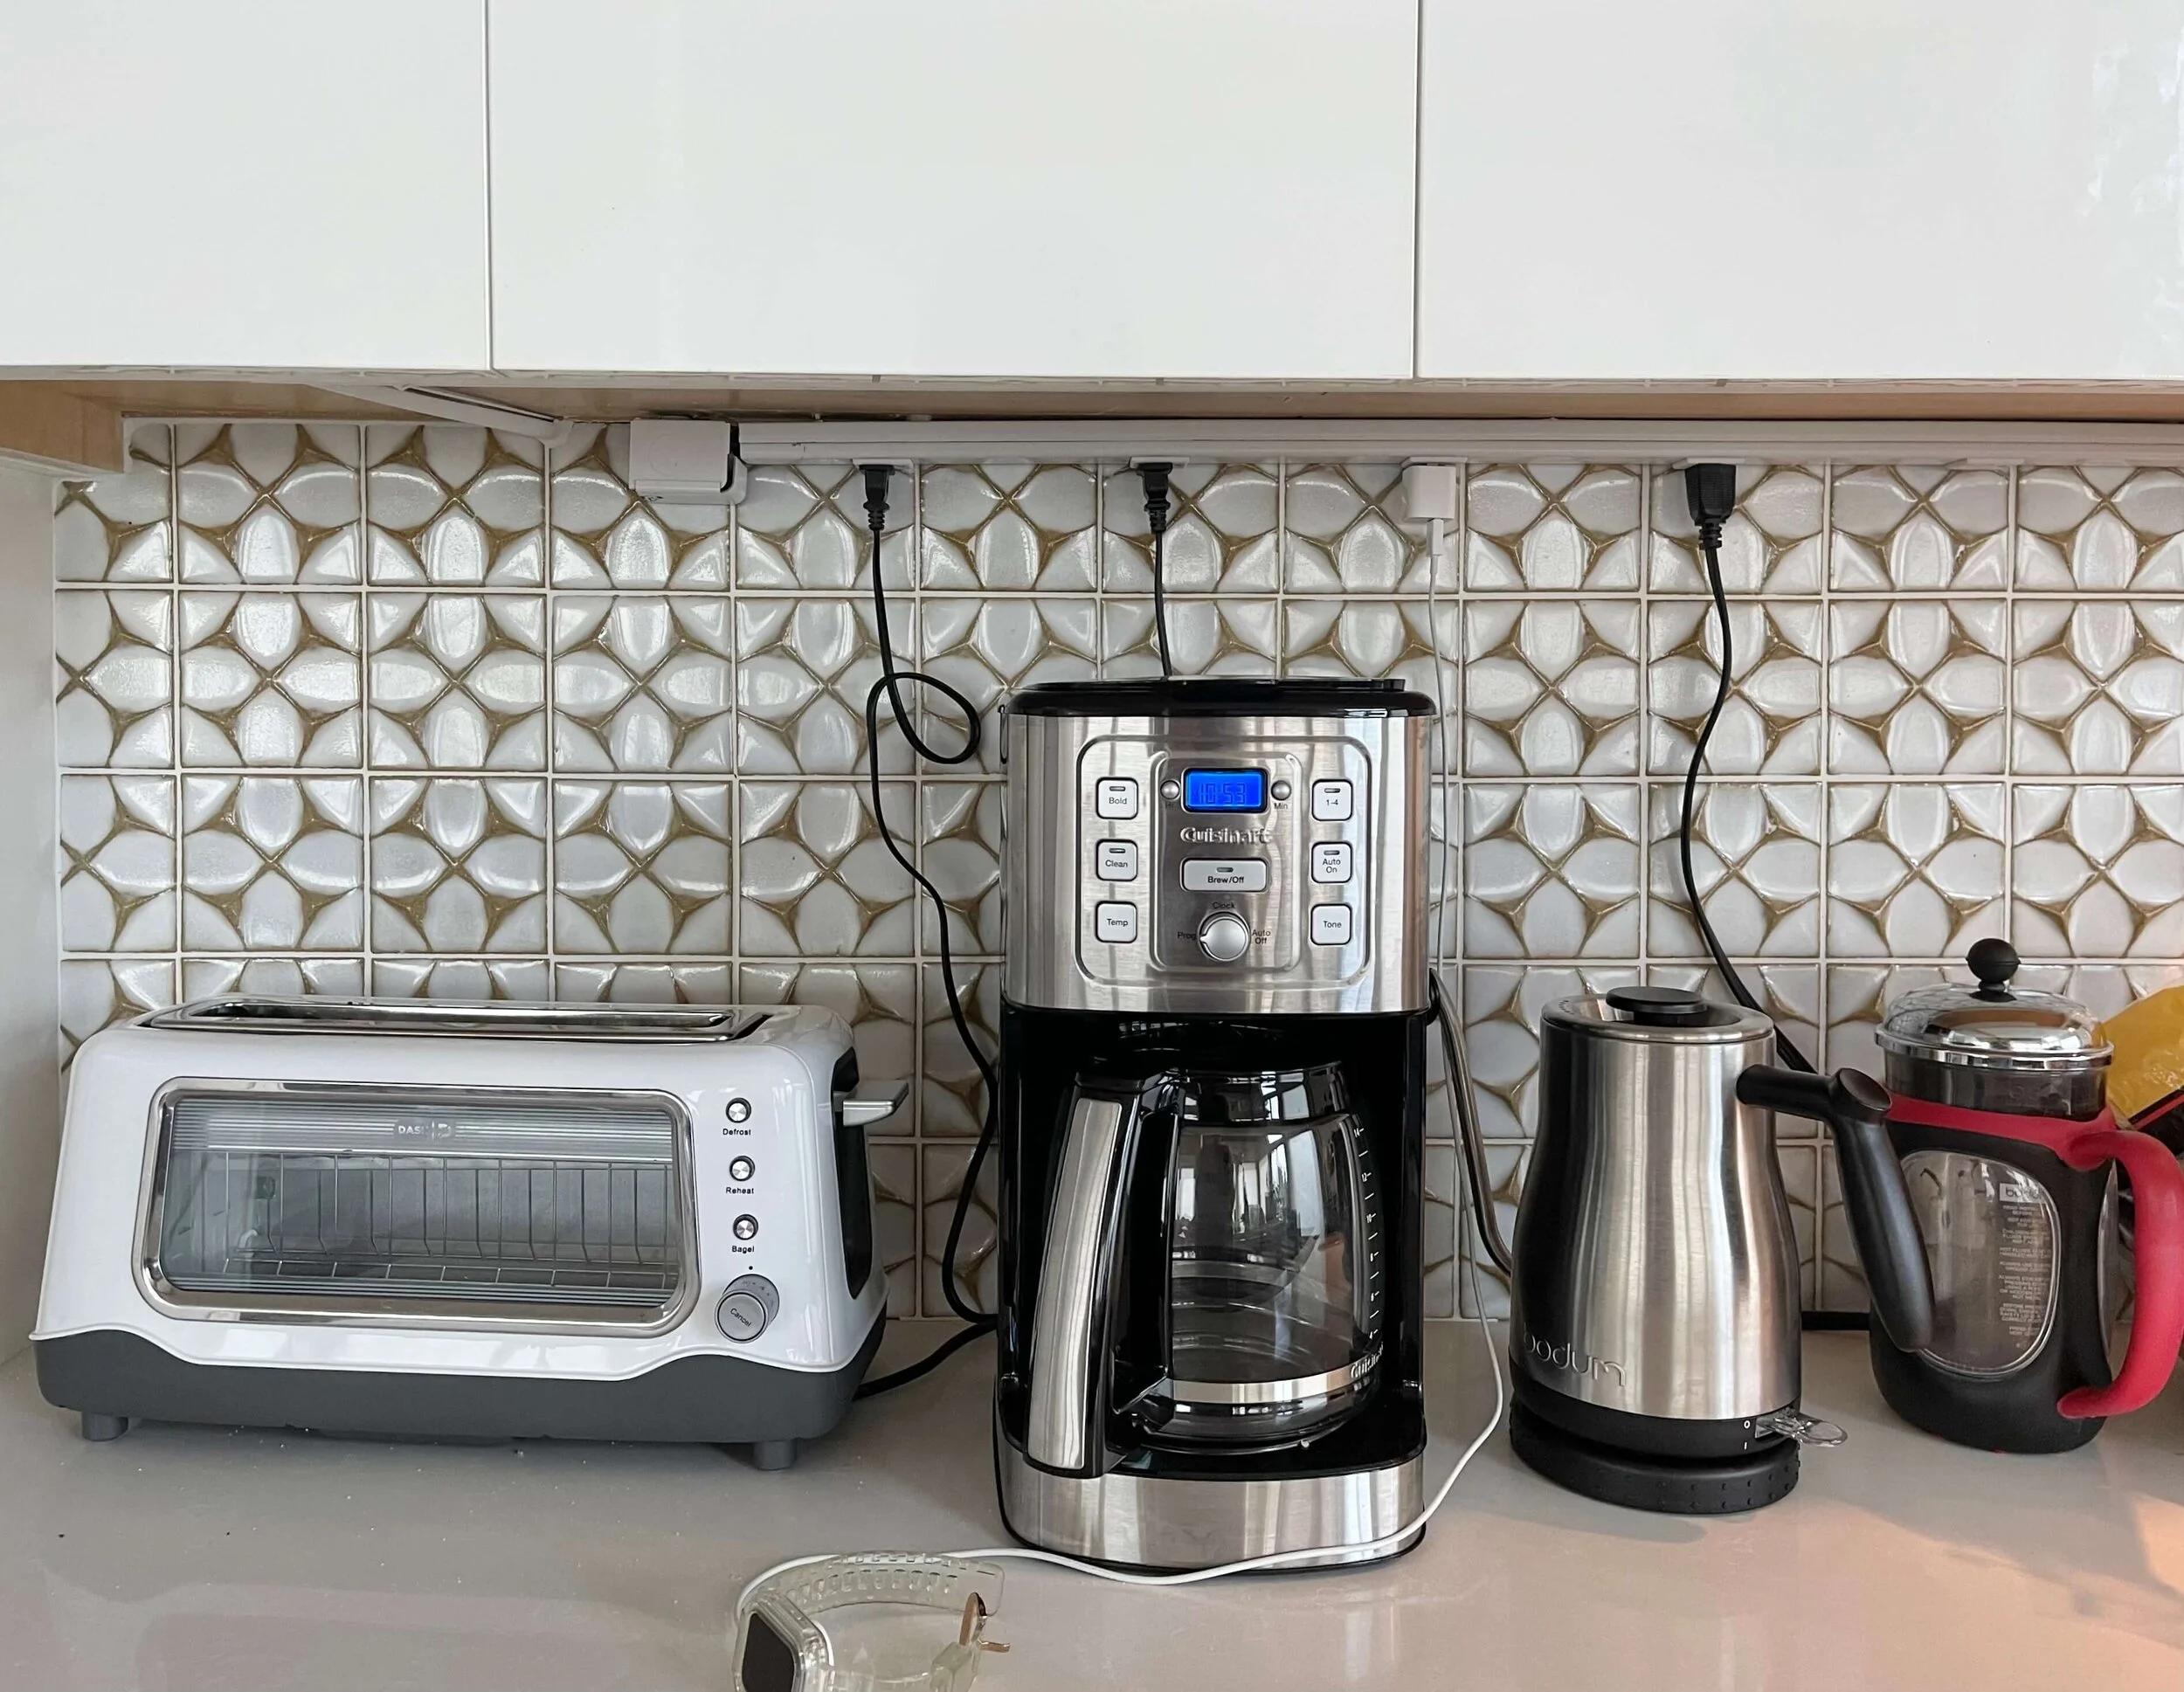
This outlet strip under the kitchen cabinets kept the outlets off the pretty backsplash tile, but the ugly cords hanging down were actually more annoying looking than having a simple outlet, well-placed, lower on the backsplash. carlaaston.com
Lower backsplash outlets and mount horizontally
Another way I address outlets sometimes (and this is my favorite really) is to move them lower on the splash and mount them horizontally. It depends on their existing location, if there is length in the wires to move them without rewiring the entire backsplash, the tile or backsplash selection, etc.
This can work really well with subway tile or any kind of more horizontal tile.
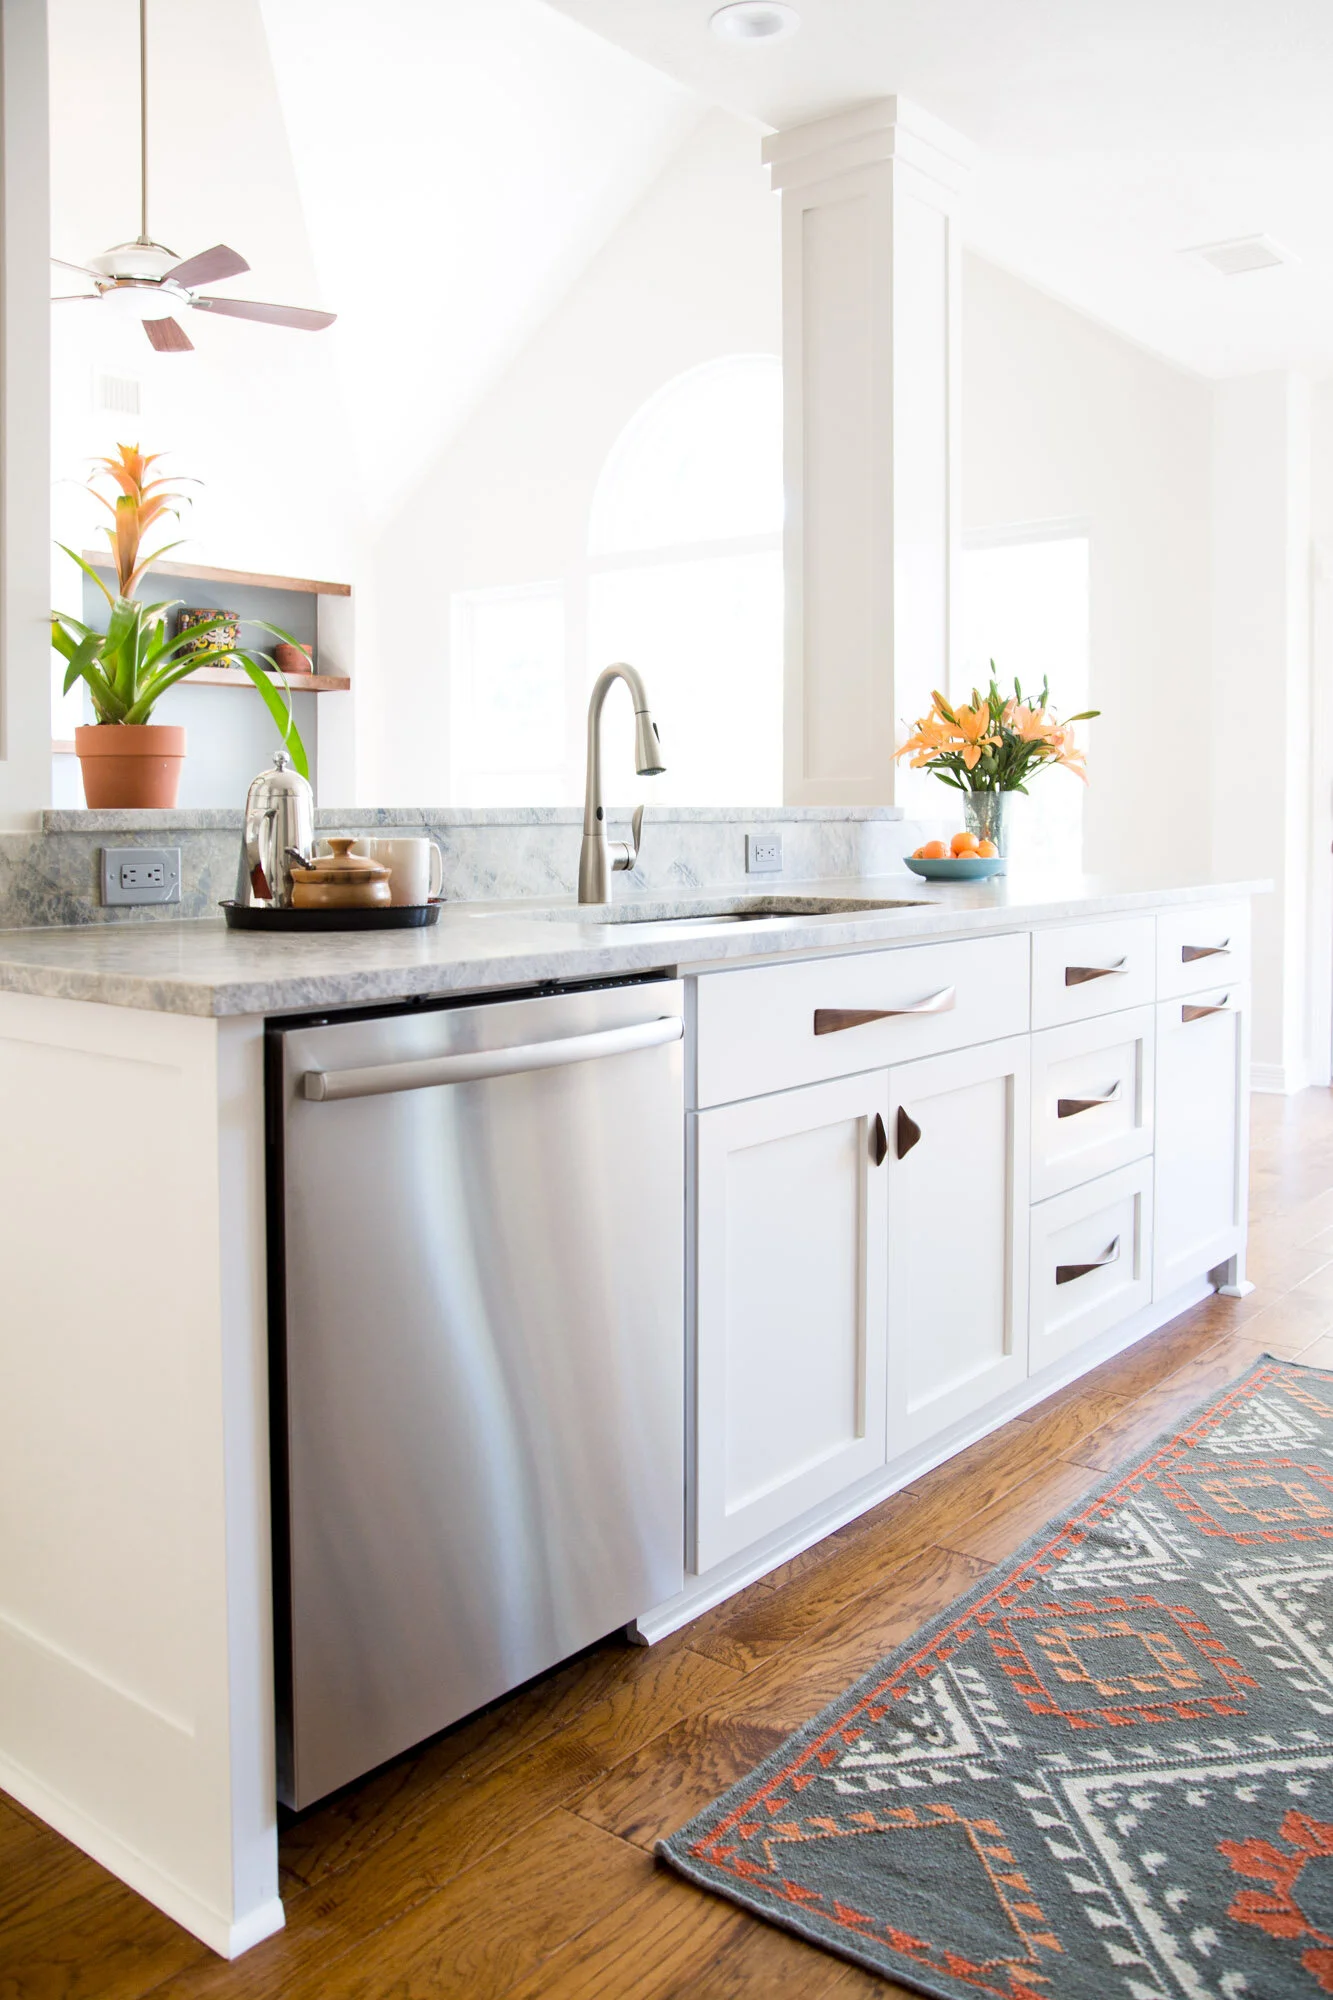
The lower height and horizontal placement of the outlet on the splash makes it easier to disguise with decor or kitchen items, if desired. Carla Aston, Designer | Tori Aston, Photographer
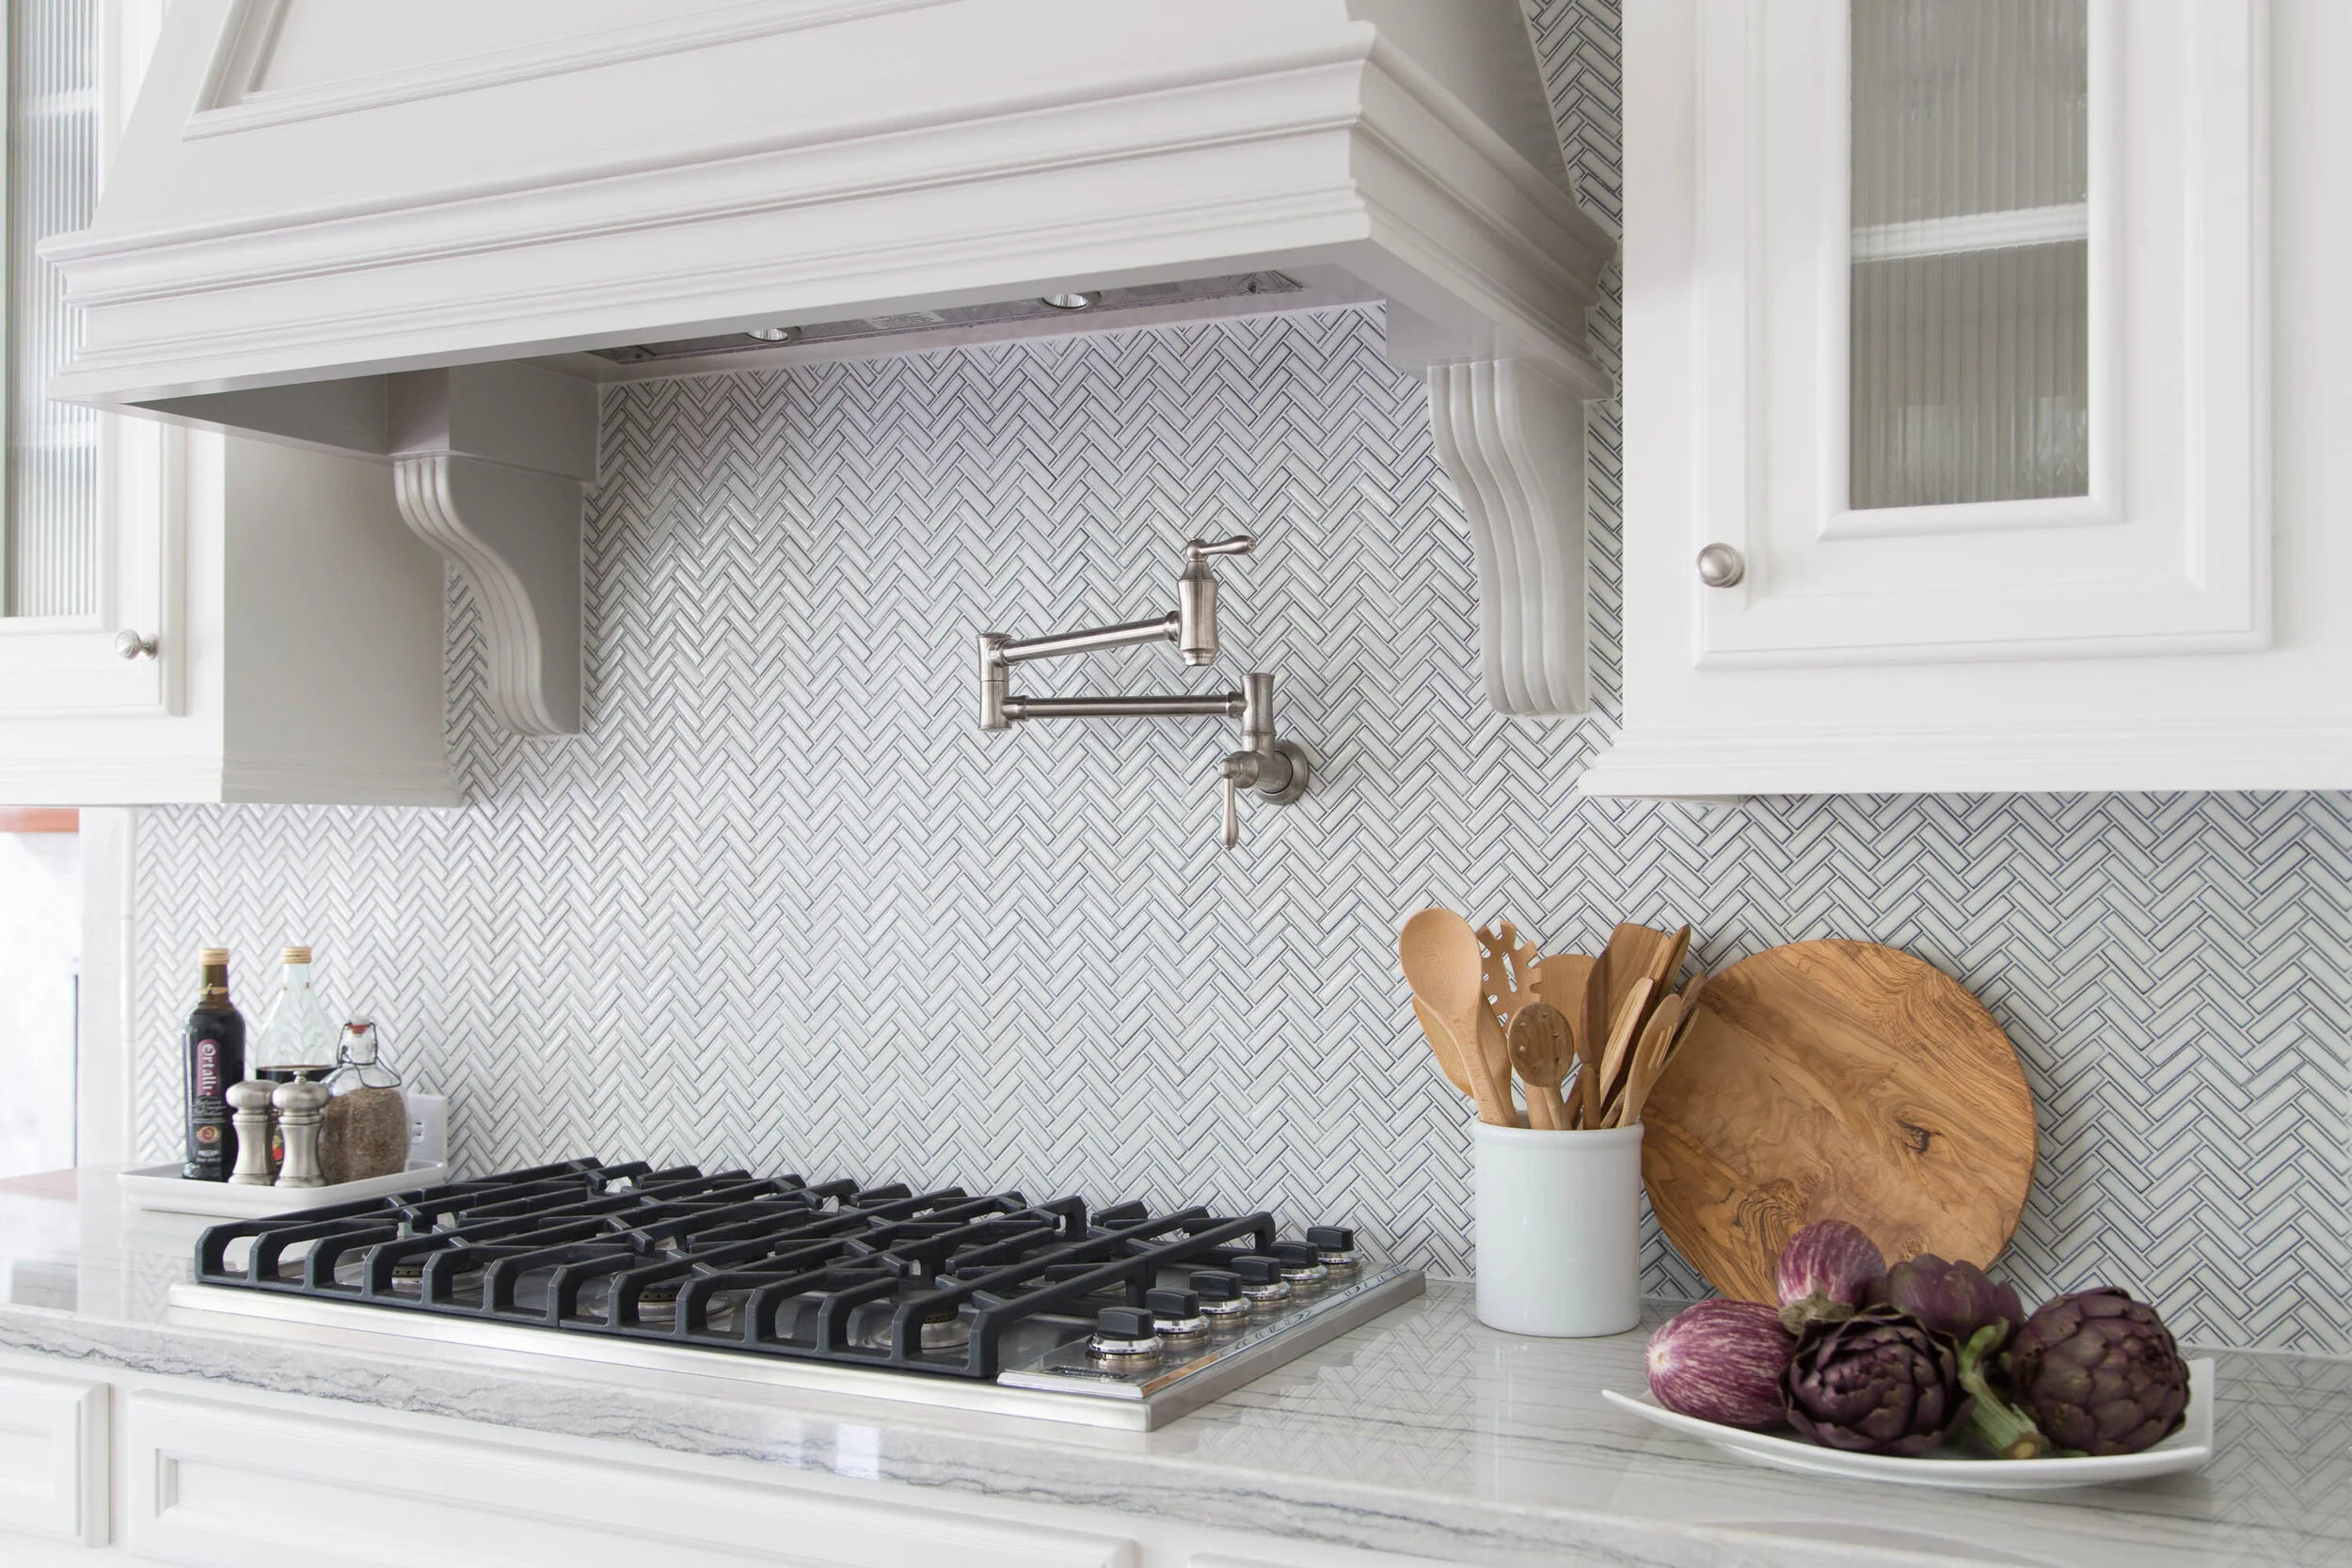
See the outlet over there behind the small tray of condiments? There’s another one behind the round cutting board too. Placing them lower on the splash makes it easier to make them unobtrusive in the design. Carla Aston, Designer | Tori Aston, Photographer
This outlet is placed low and horizontally on the kitchen backsplash, allowing for it to easily be tucked behind kitchen countertop items or decor. Carla Aston, Designer | Colleen Scott, Photographer
This is basically like mounting your outlets at the same height as a 42” high bar, where you have a 6” gap in counter levels. Mounting this low can get them out of site and make them easy to cover up with kitchen counter essentials or decor.

This outlet is typically how outlets are mounted on the kitchen side of a 42” high bar top. Carla Aston, Designer | Colleen Scott, Photographer
Here’s an Airbnb kitchen I recently stayed in where the black plug really stands out. You can see how lowering it and then mounting it horizontally would have tucked that outlet behind the appliance for a more unobtrusive look.

Lowering this outlet on the splash would have resulted in a less conspicuous plug-in. carlaaston.com
Move Backsplash Outlets To Side Walls
Obviously you have to consider your local codes, etc. as far as outlet placement, however, if you can relocate one to the side wall, it can work out beautifully.
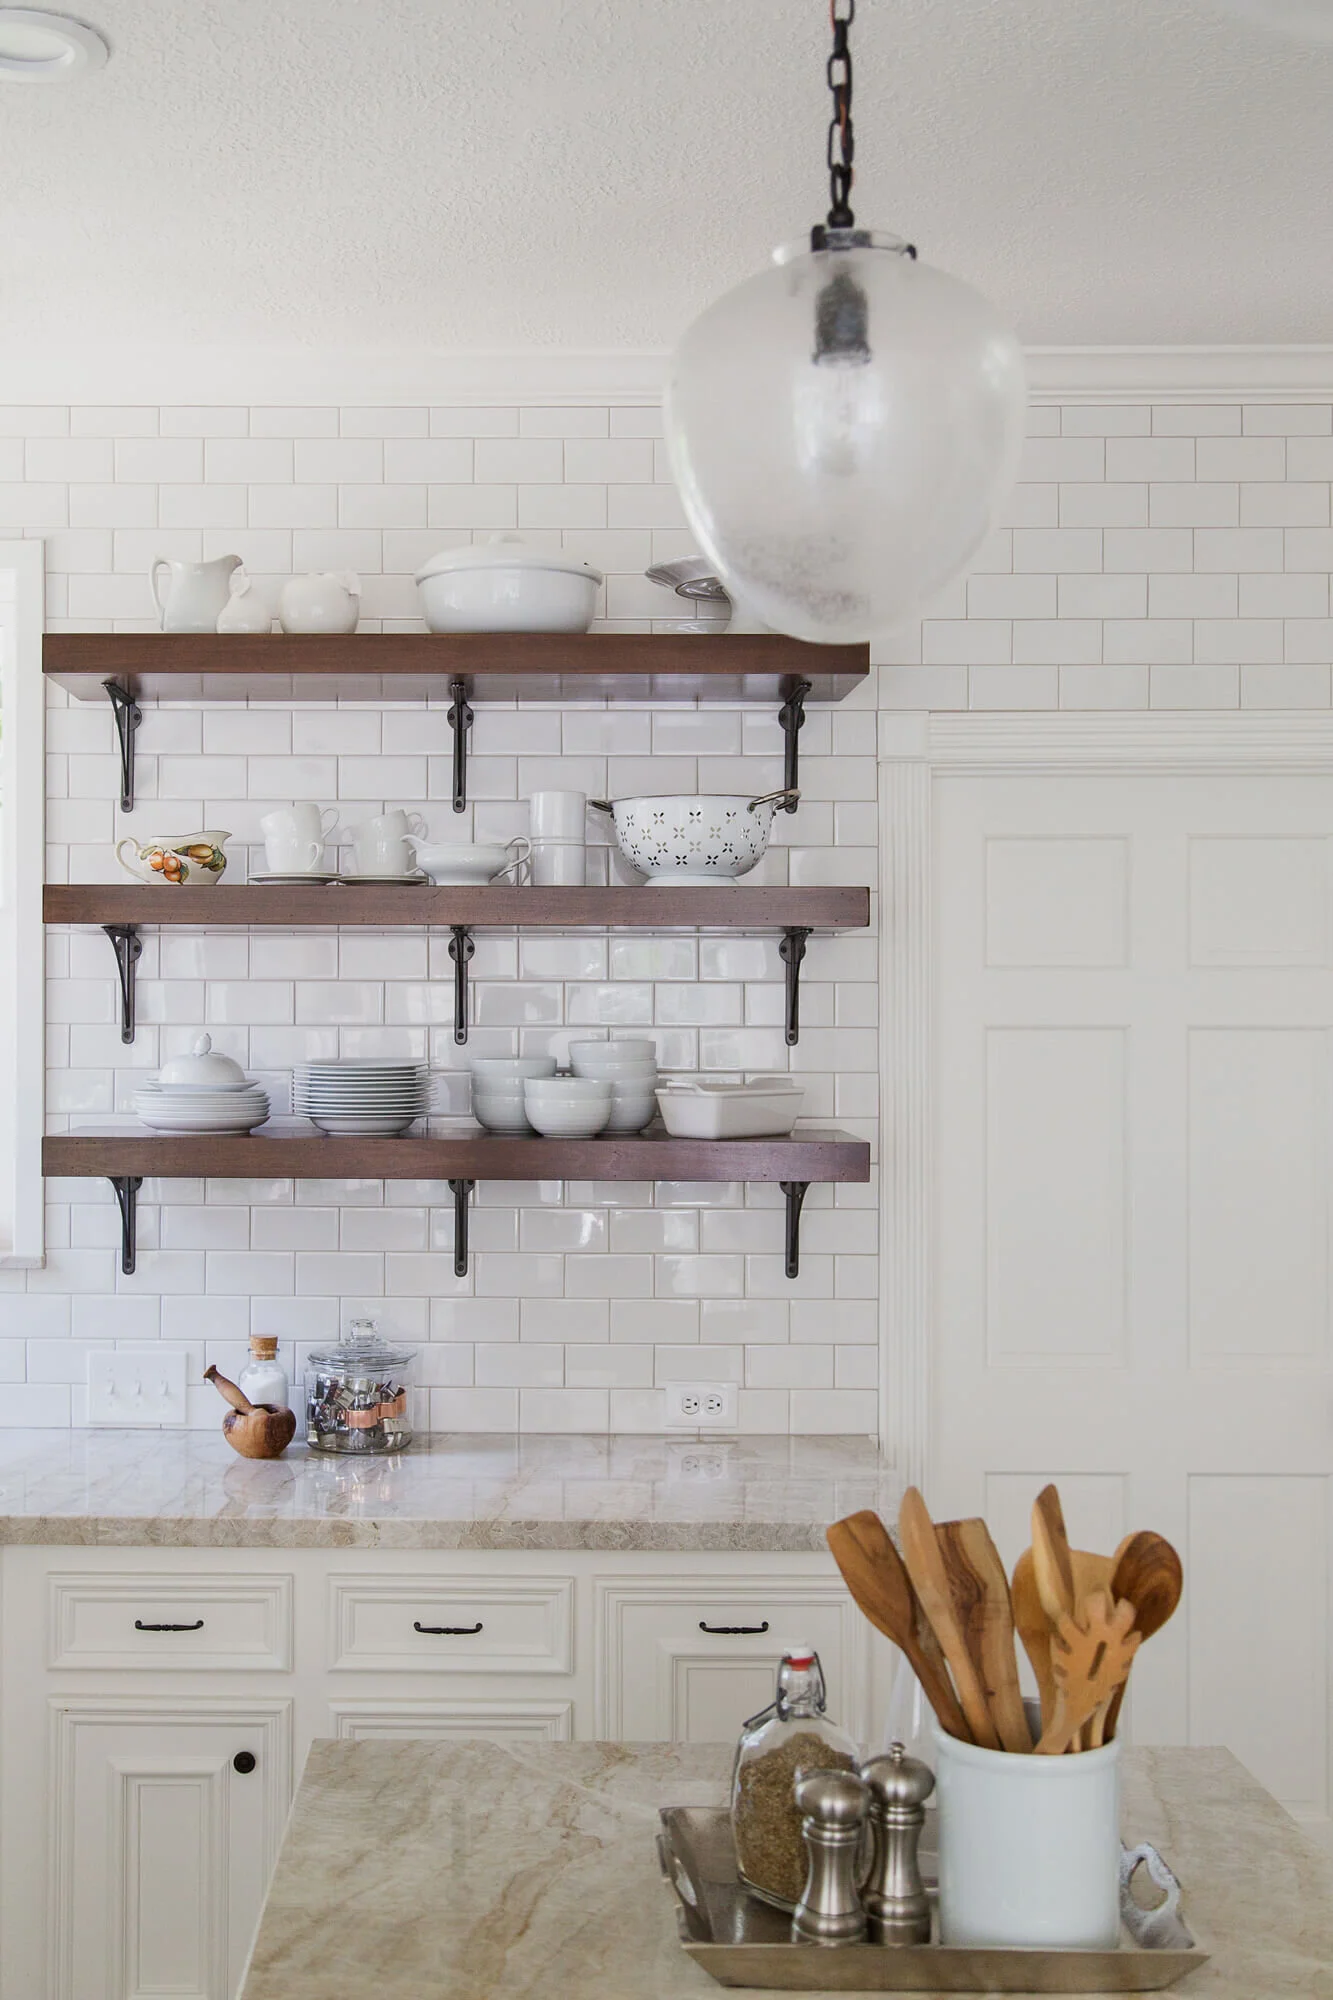
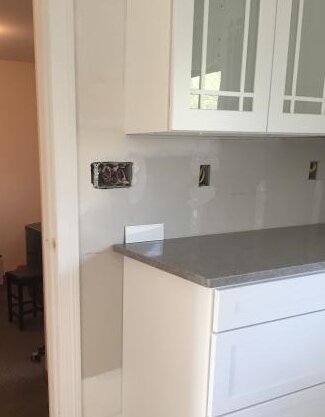
In this butler’s pantry, we had a really special antique mirrored tile splash and I couldn’t bear to break it up with an outlet. We moved them to the side walls in this small counter area and it worked out great.

This mirrored tile backsplash at a small butler’s pantry was too beautiful to interrupt with outlets. They were relocated to the side walls at the back, for convenience and beauty. Carla Aston, Designer
Light Switches At The End Of The Backsplash
I cannot tell you how many times I’ve had this kitchen backsplash question come up on my blog or sent to my inbox.
People who come across my blog online have asked this, usually when they are finishing up tiling their backsplash. They reached this moment and then, uh-oh!
“Where do I end my kitchen backsplash with this switch on the wall? That’s right where I want to end it!”
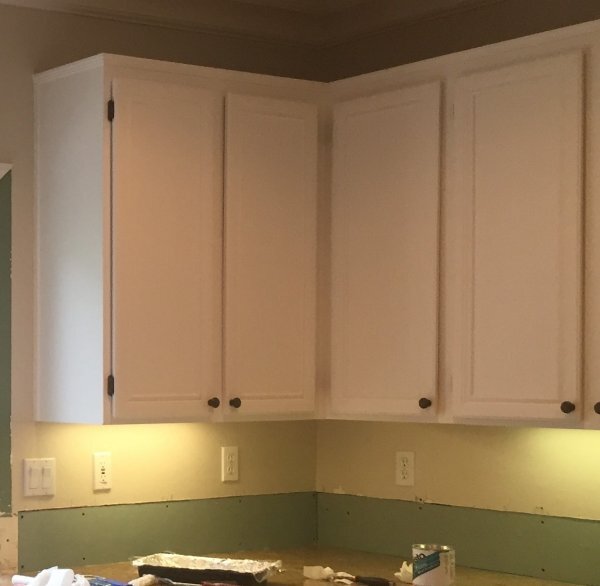
See that double switch located right where this homeowner wanted to end their kitchen backsplash, with the upper cabinet? What do they do now?
Here’s another problem switch location for the end of this kitchen backsplash.
Question About Ending Backsplash With Switch In The Way
See this example, below, of a question posted on my blog recently.
She wanted to know if she could just continue the backsplash across to the door jamb to just tile around the switches, even though both her lower and upper cabinets and countertop stopped short of the jamb.
See her countertop below the switches?
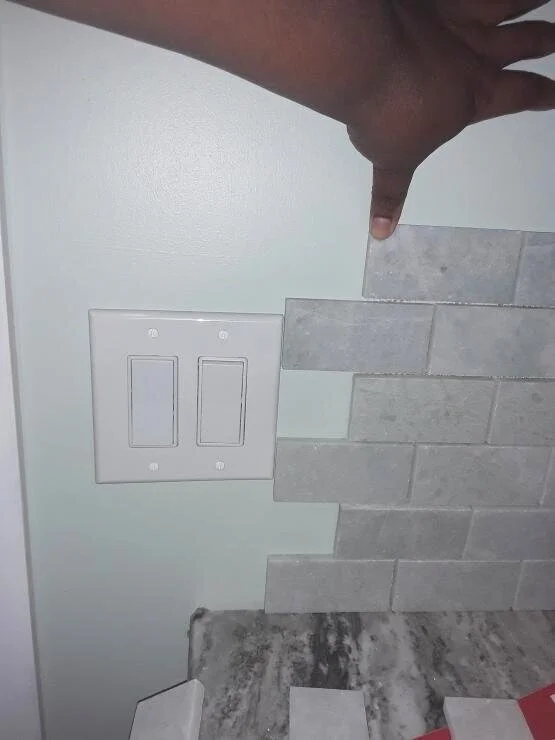

The answer is no. Don’t do that.
All that money you’ve just invested in your new backsplash is just thrown out the window when you do something like this, It makes your backsplash and your whole kitchen update look like an afterthought. :-(
If you’re going to all this trouble, then call an electrician to either move the switches on or off the splash, or combine the switches into a smaller box with some stacked switches like this. Oftentimes this will be just enough to move them one way or the other.
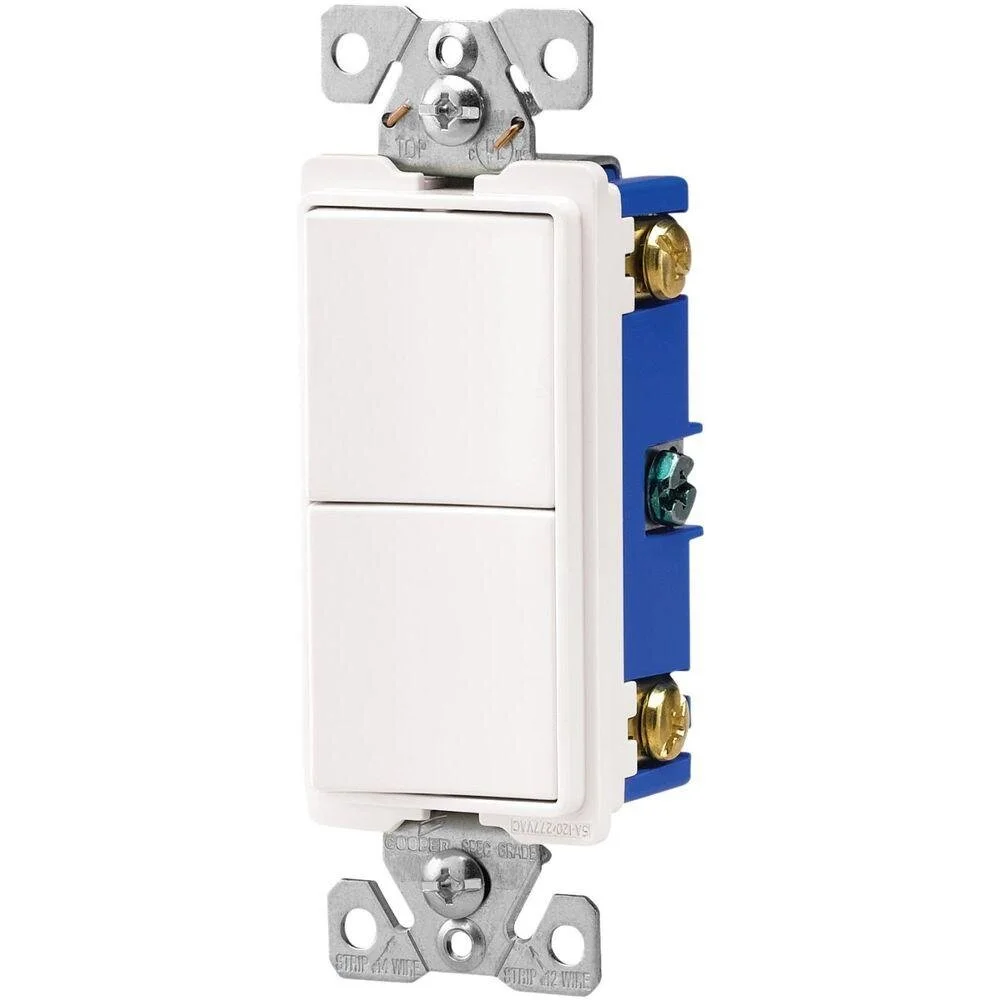
Leviton stacked switches combined in to a single j-box, 2 stack.
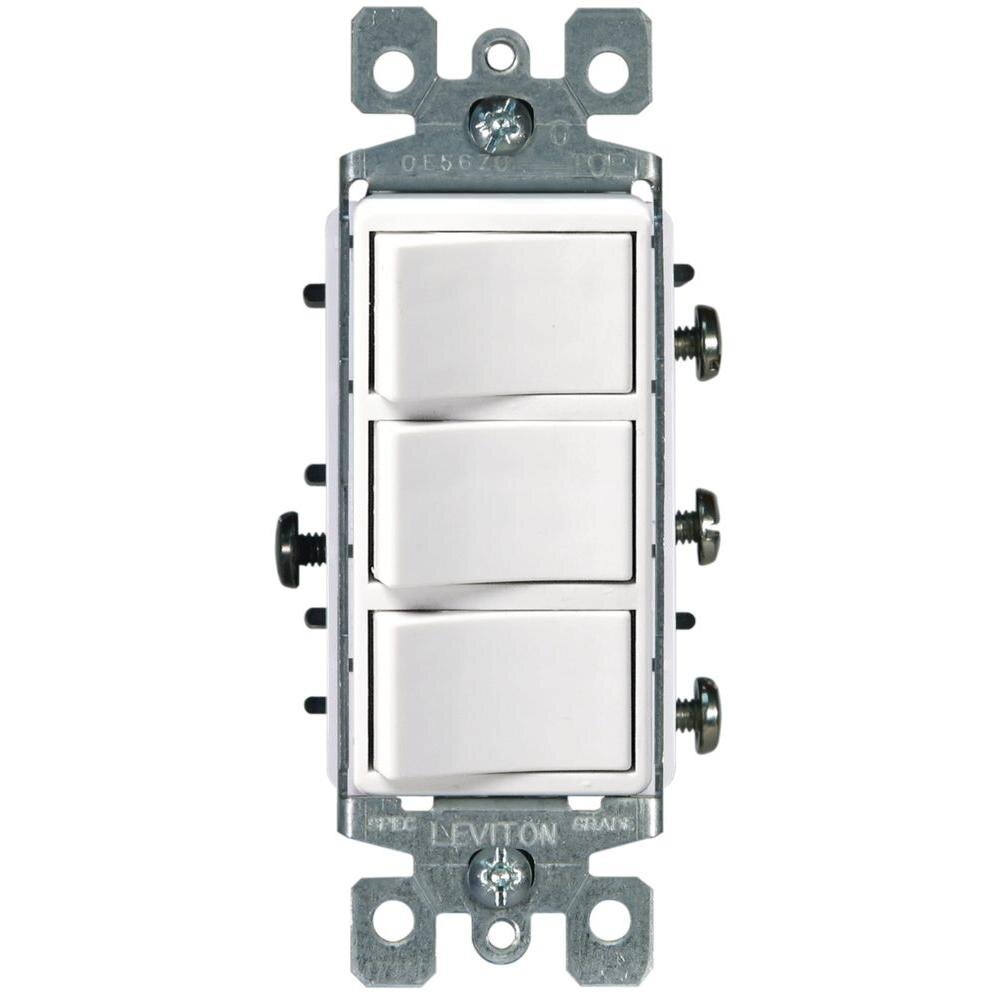
Leviton stacked switches combined in to a single j-box, 3 stack.
This double switch in a single j-box was used here, mounted low and horizontally, on the tiled backsplash.

This double switch in a single j-box was used here, mounted low and horizontally, on the tiled backsplash. Carla Aston, Designer | Colleen Scott, Photographer
I’ve long been a fan of lining up your kitchen backsplash tile with the upper cabinet, not the lower, so that your backsplash doesn’t hang up in mid-air. I’ve written several posts about this scenario, mainly this one.
Don’t Leave Your Kitchen Backsplash Hanging In Midair!
Many people do understand that (especially people that read my blog :-).
If they haven’t had a tile backsplash before in their kitchen though, maybe only one of those 4” slab backsplashes, then they might have this type of scenario. The builder didn’t have to deal with a tile backsplash and therefore put the switches or outlets in, without regard to that kind of installation.
Another way this scenario is created is if a homeowner remodels with new cabinets that might be different lengths (even a few inches can make a difference).
One thing is for sure…..
….you don’t want to leave the decisions up to the installer!
While many installers follow good practices or have experience in dealing with outlets, switches, awkward corners, side backsplashes, etc., most can’t really be expected to understand your overall design and many aren’t versed in best ways to handle awkward situations.
Trust me. Even in my own jobs, when I’ve had drawings done that show them what to do, they sometimes end up just plowing ahead, doing the simplest fix, which is often not what I want and not the best design.
Pin this post to Pinterest to save it for later and to help me share this valuable info. :-) Thanks!

7 Top Takeaways For outlets and light switches on kitchen backsplashes
Takeaways you should remember when tackling your own kitchen backsplash project when it comes to switches and ending a backsplash:
Start with a plan and think these issues out carefully before you start on your tile project. Figure out exactly where your tile will end and seek answers to your problems before the tile installer arrives on site.
Call an electrician in to move any outlets or switching around before you begin tiling to get a clean, thoughtfully designed look.
Blend in to the backsplash. To keep costs down, go with standard outlets and switches that most match the color of your backsplash. You can also go for higher end devices with more color options for even better color matches.
Lower the height and turn horizontally to disguise outlets and switches easily behind kitchen items or decor.
Relocate outlets to side walls if convenient and code compliant in your area.
Consider getting rid of outlets altogether on your splash by using electrical strip devices like Legrand Adorne’s Undercabinet Lighting and Power System.
Use stacked switches in a single j-box to keep light switch boxes smaller on the splash, if possible.
Cause you don’t want your project to end like this!